![PALUSA New Logo Transparent-1.png]](https://helpcenter.skywire.com/hs-fs/hubfs/PALUSA%20New%20Logo%20Transparent-1.png?height=50&name=PALUSA%20New%20Logo%20Transparent-1.png)
Step 1: Configuring USB Interface
To configure your printer to accept the USB interface, please follow the guide in the link below:
https://helpcenter.skywire.com/knowledge/usb-interface
Step 2: Installing the printer drivers
- Look for the APD_456E.exe Driver, or Call SkyWire Support for the driver.
- Right click the icon and select “Run as Administrator.”
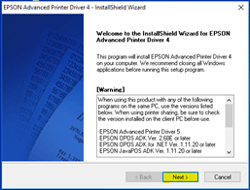
- Select “Next.”
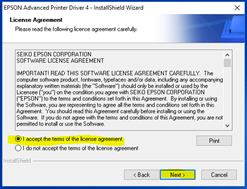
- Accept the terms and select “Next.”
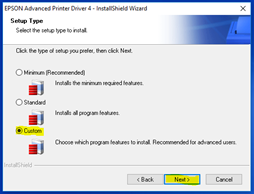
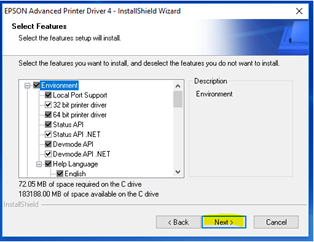
- Check “Custom” and select “Next.”
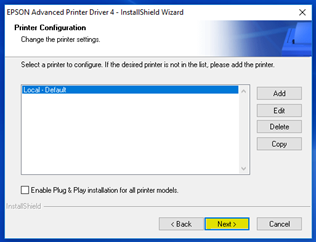
- Select “Add.”

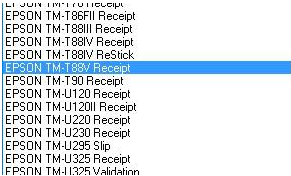
- From the drop-down menu, “Select Driver” choose the correct model.
- Rename the printer to “Local.”
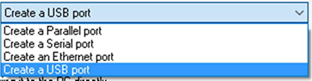
- Select “Create a USB port.”
- Check “Set as Default Printer.”
- Select “Next.”

- Select “Next.”
- Select “Next.”
- Select “Finish.”
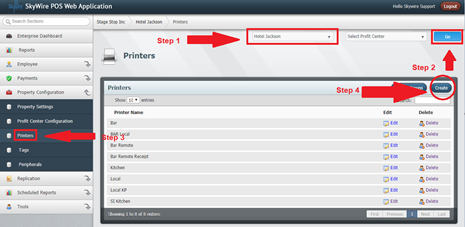
Step 3: Create the device in Webconfig
- Sign into Webconfig.
- Select a Property.
- Select “Go.”
- Select “Printers.”
- Select “Create.”
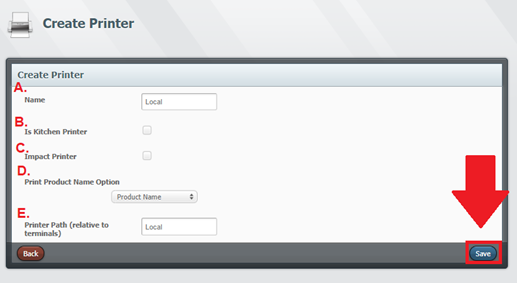
Create Printer
- Name: Enter the name of the printer.
- Is a Kitchen Printer: Check this box for network printers. Local printers connected USB will not need this box checked.
- Impact Printer: Select this option if you are using an impact printer. This will need to be checked to print modifiers and special requests in red.
- Print Product Name: Select an option for name printing. Options include: Product Name, Short Name or Product and Short Name.
- Printer Path: This will be the name of device on the POS terminal.
- Select “Save.”