Here you can create notes for a single Appointment or an entire Reservation.
To Add a Note
Step 1:
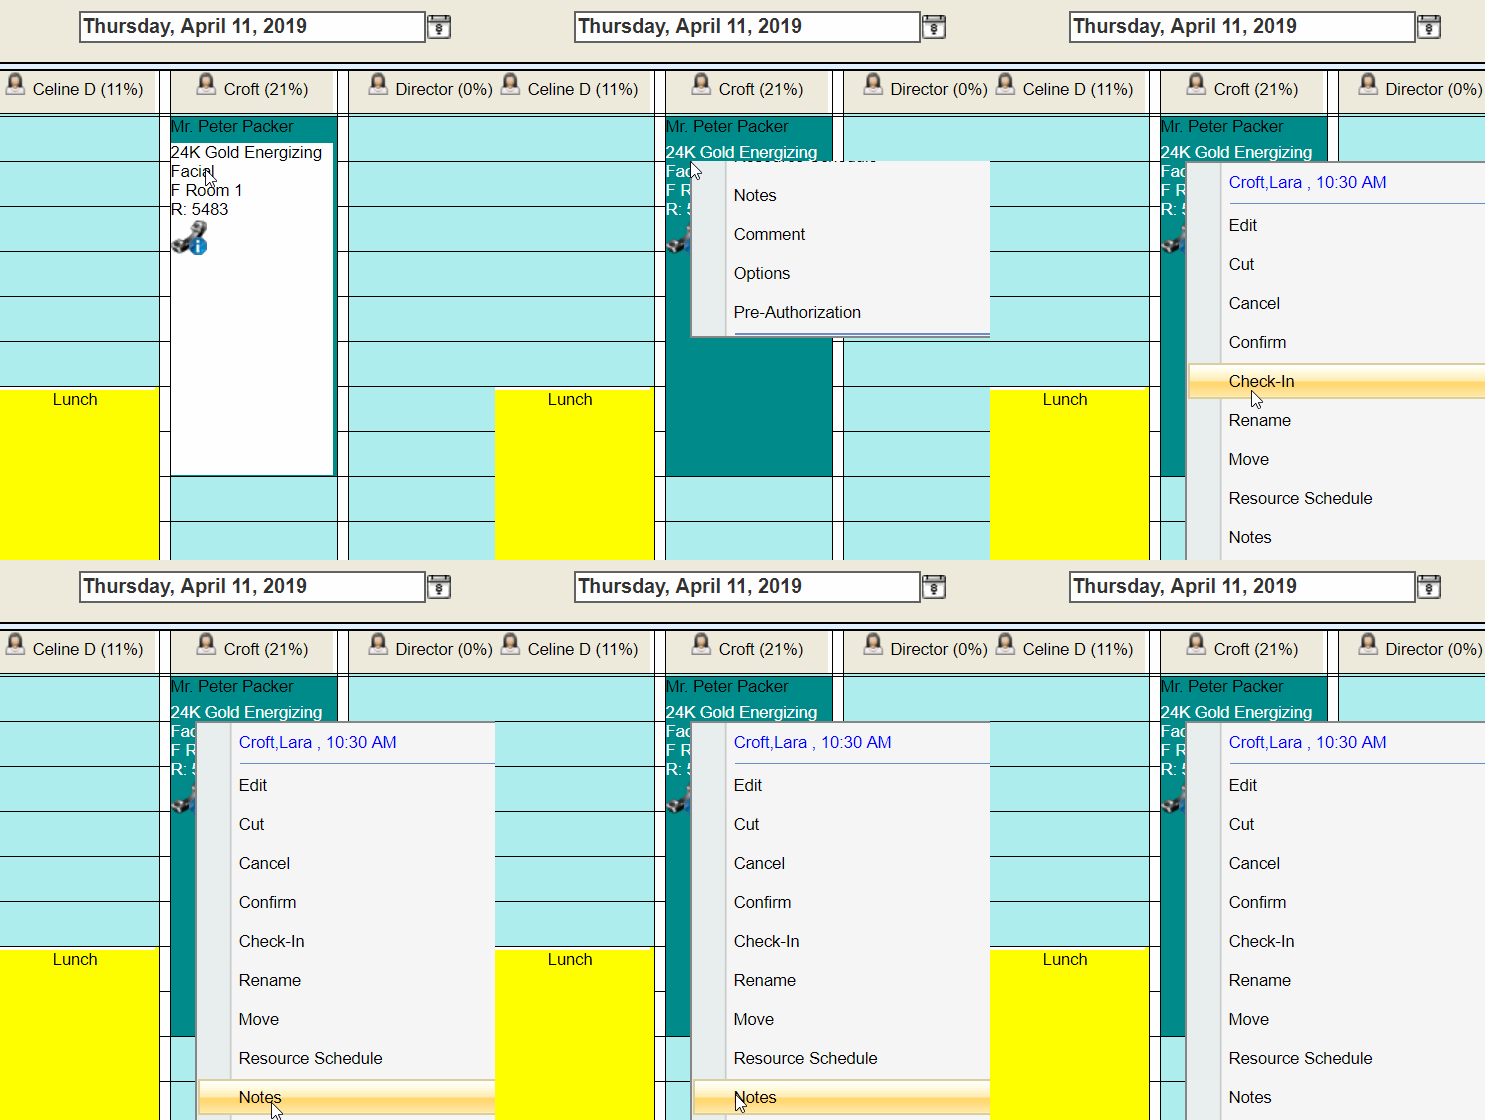
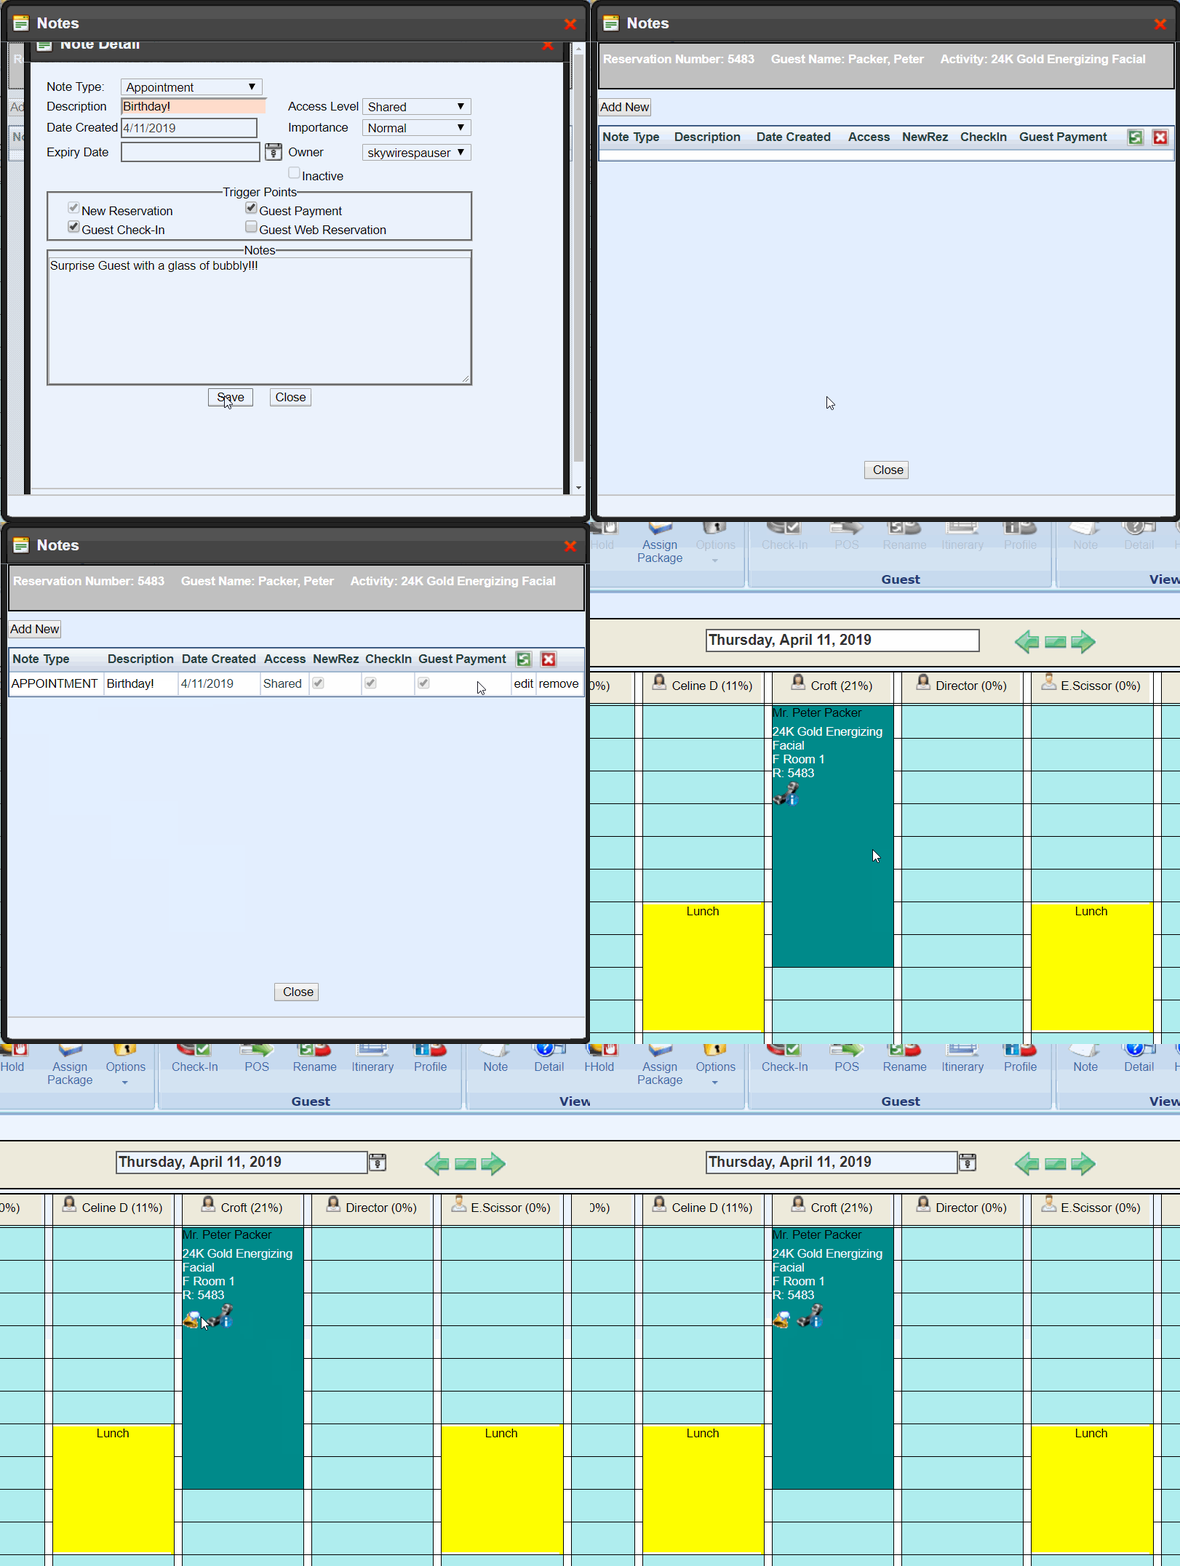
Access Notes by double-clicking an appointment or
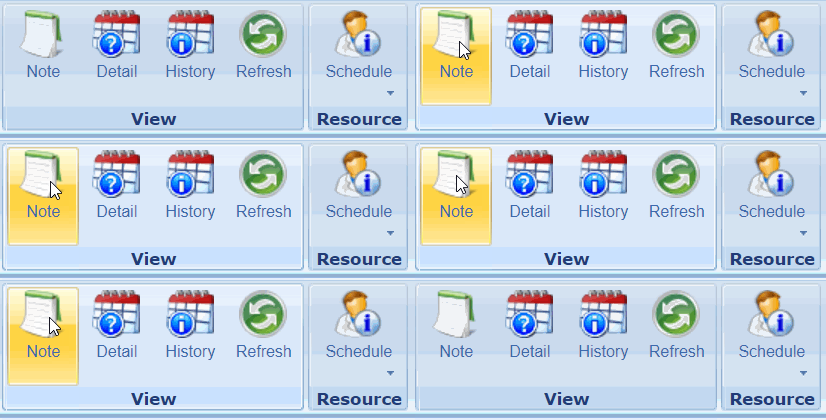
highlighting the appointment and then selecting "Note"
Step 2:
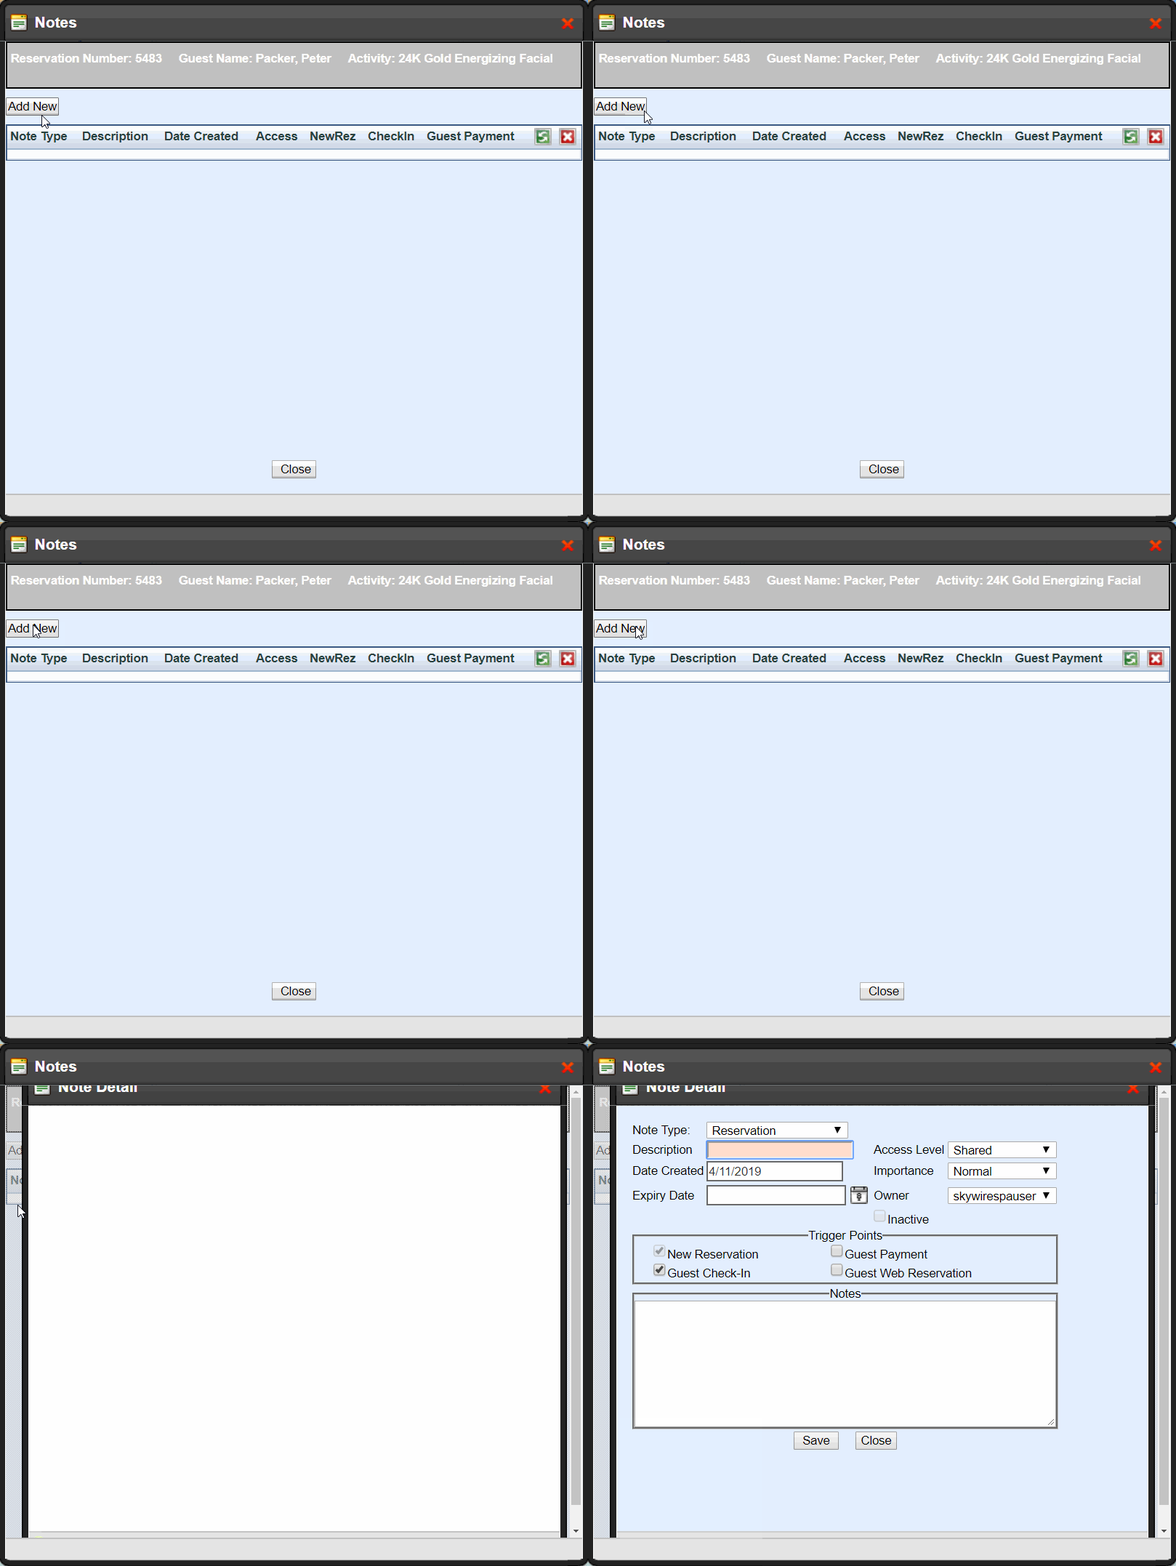
Select "Add New"
Step 3:
Specify if this Note is for an entire reservation or only for this single appointment
NOTE: A reservation note "type" will attach this note to every appointment in one reservation
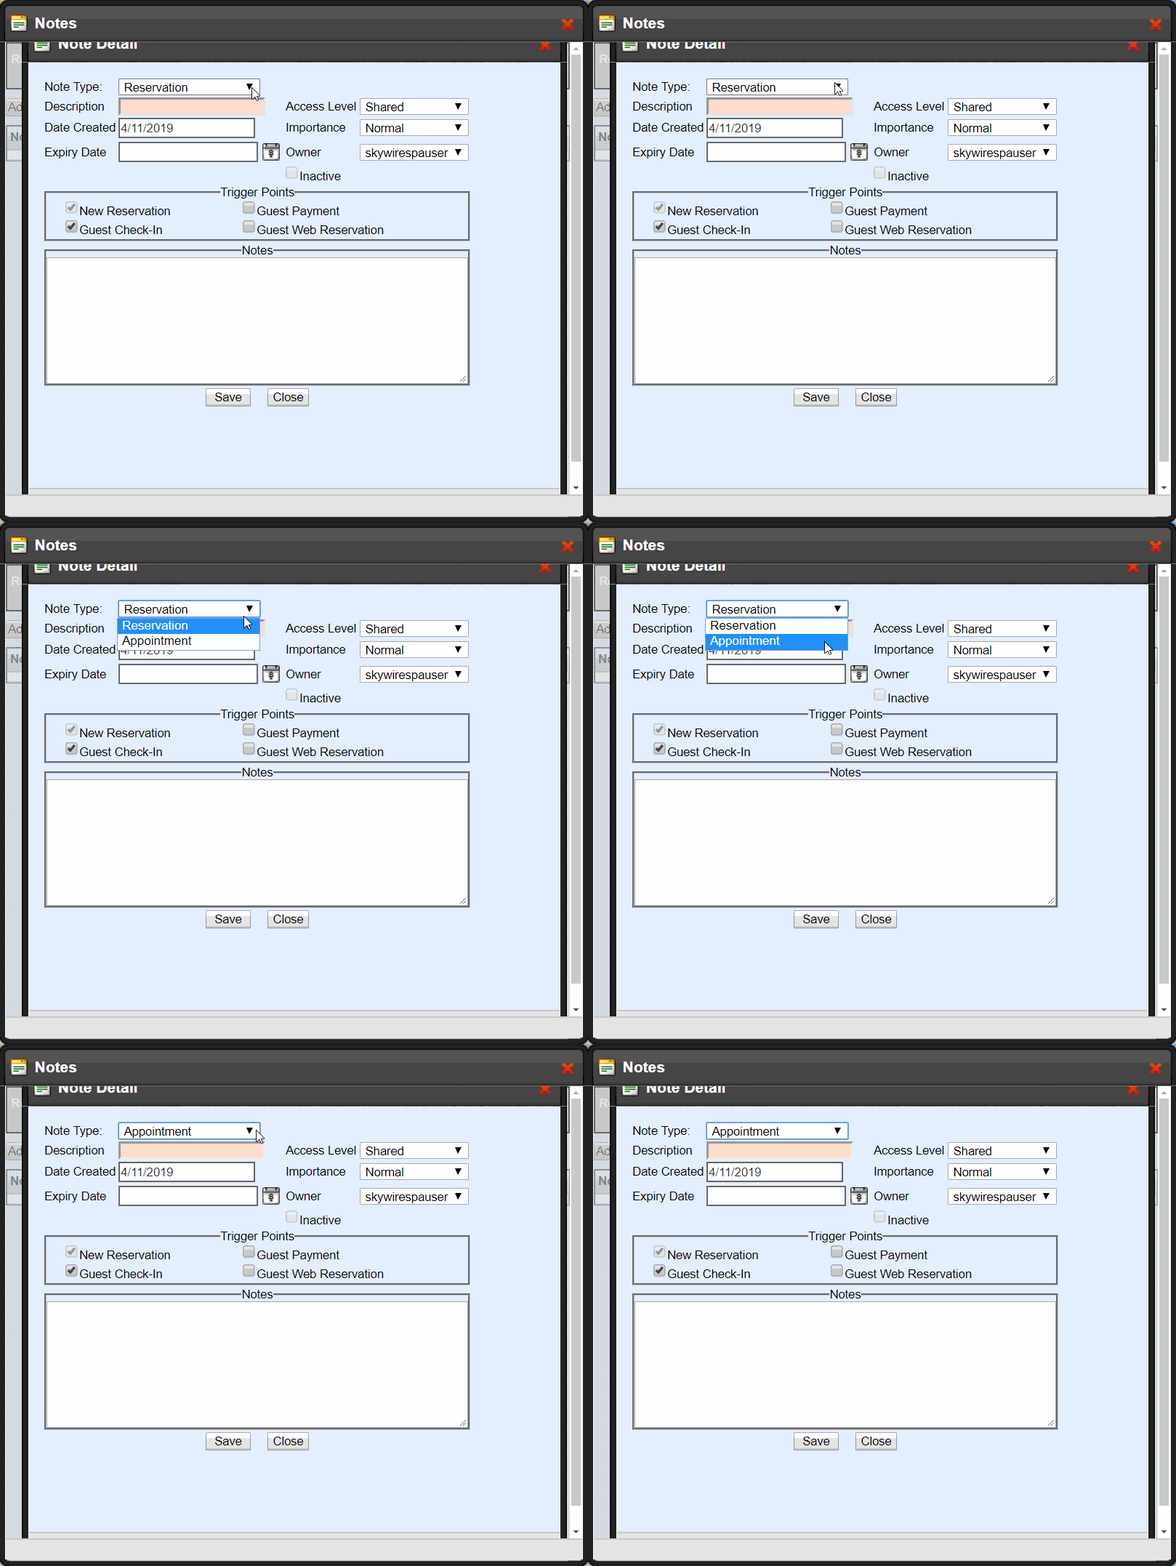
Step 4:
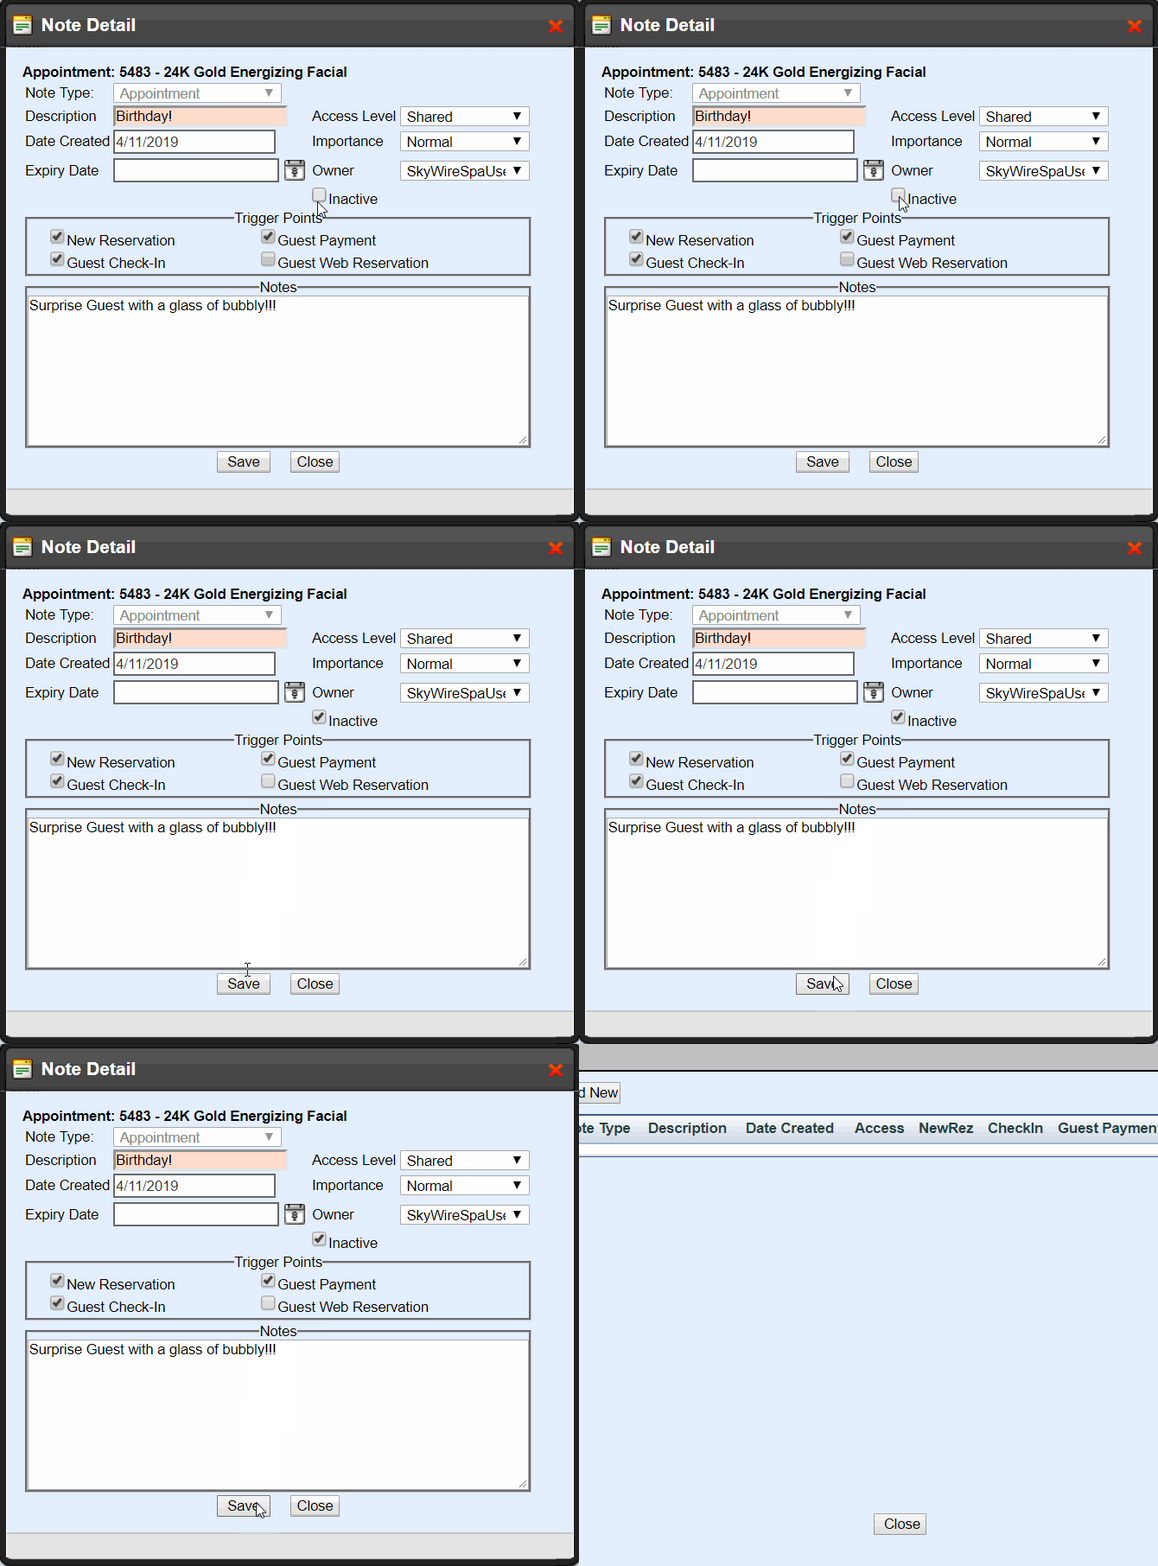
Enter a Description of this note, the date will automatically populate to the current date
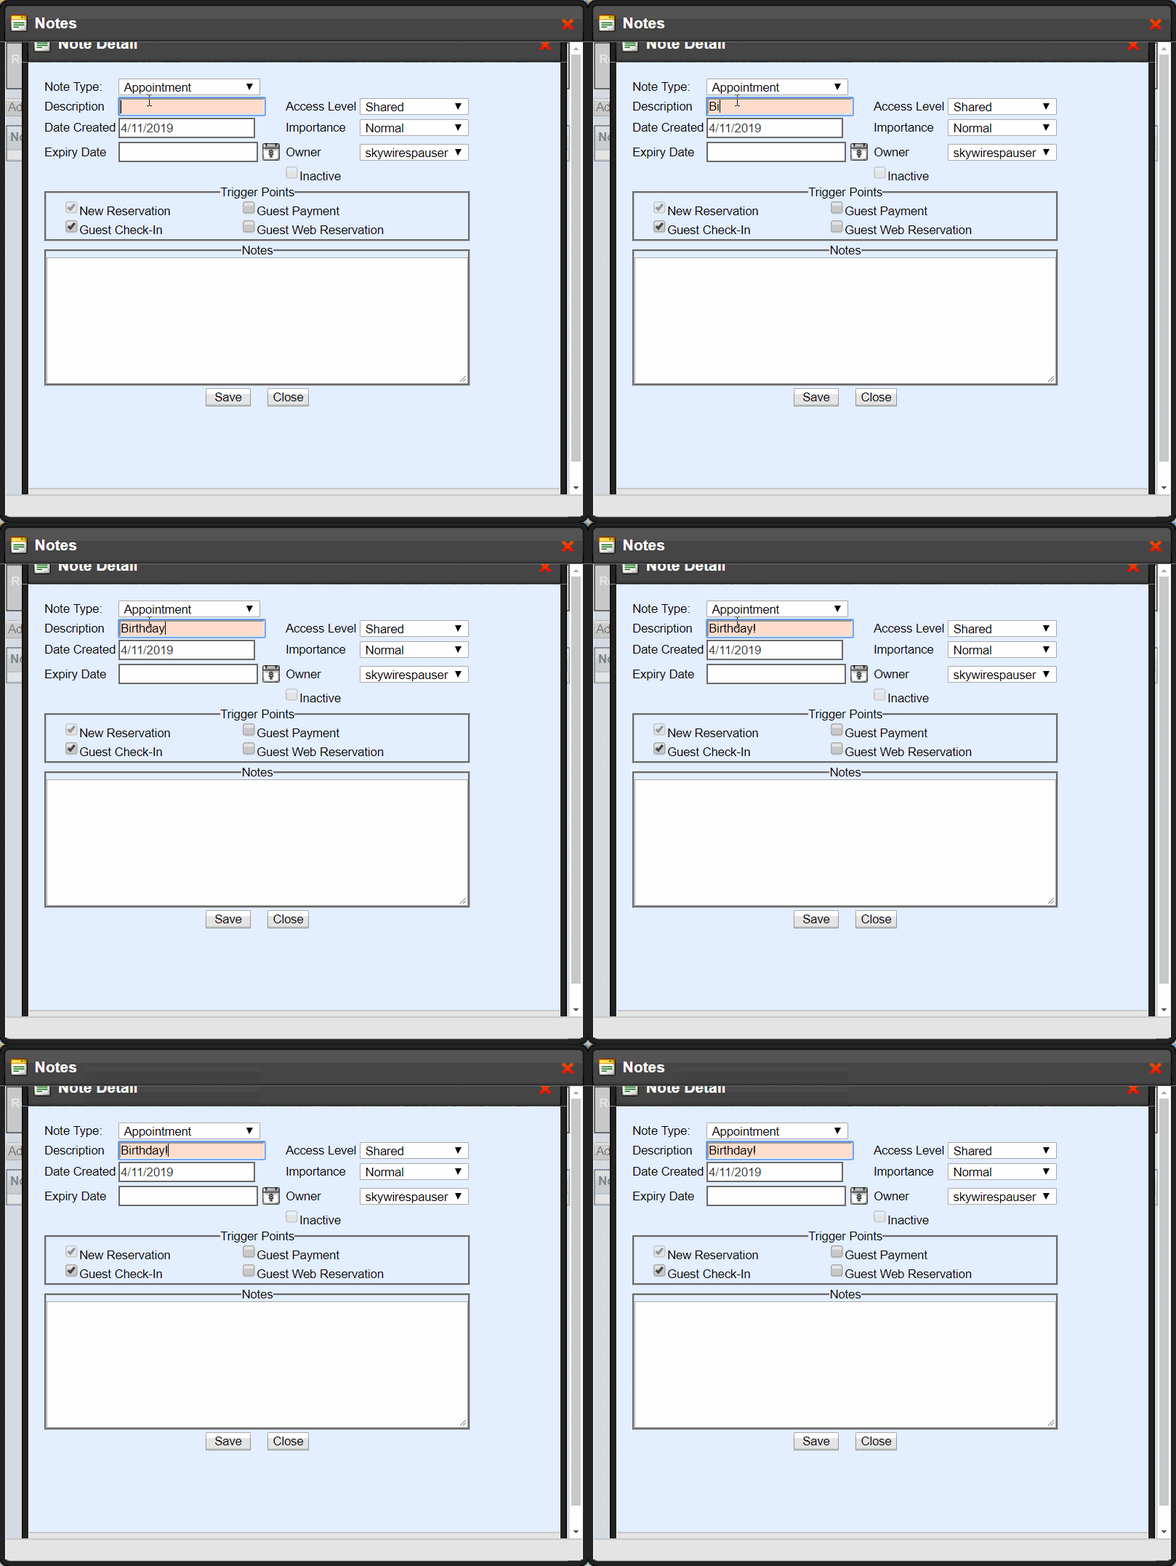
Step 5:
Select the appropriate Trigger Points
NOTE: You can set notes to be alerted at different times of visit, which is what we call Trigger Points
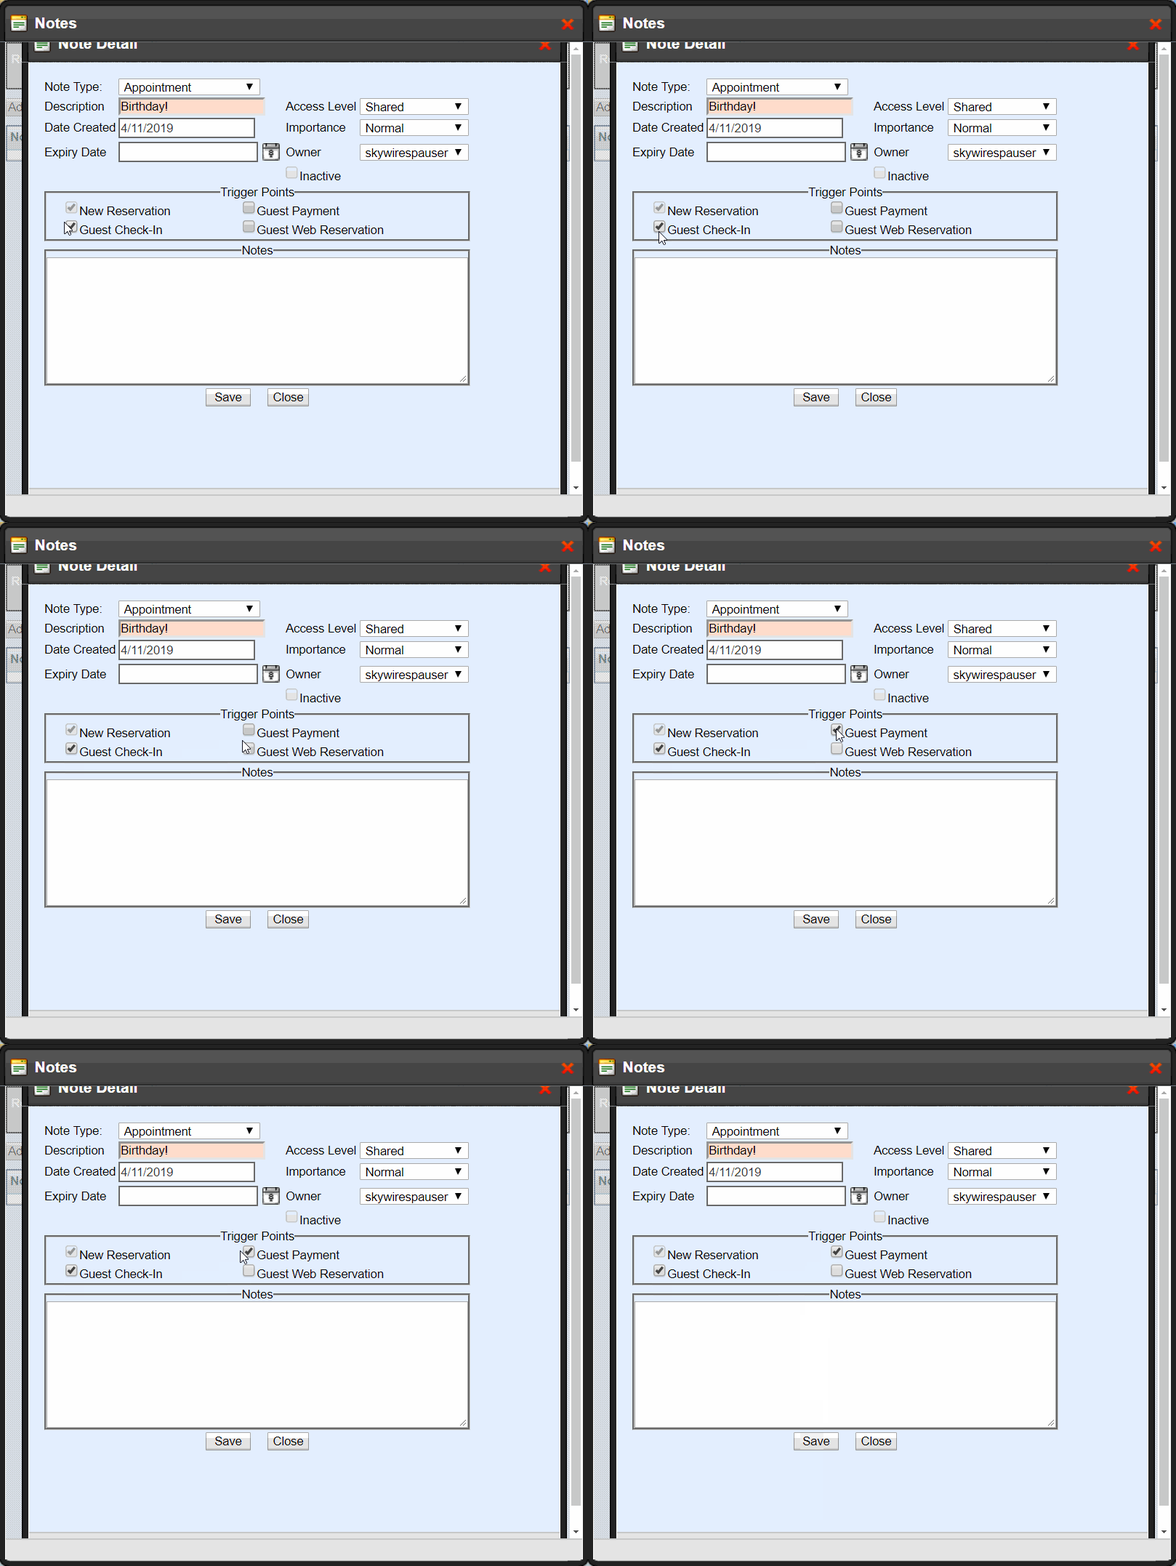
Step 6:
Enter the body of the Note
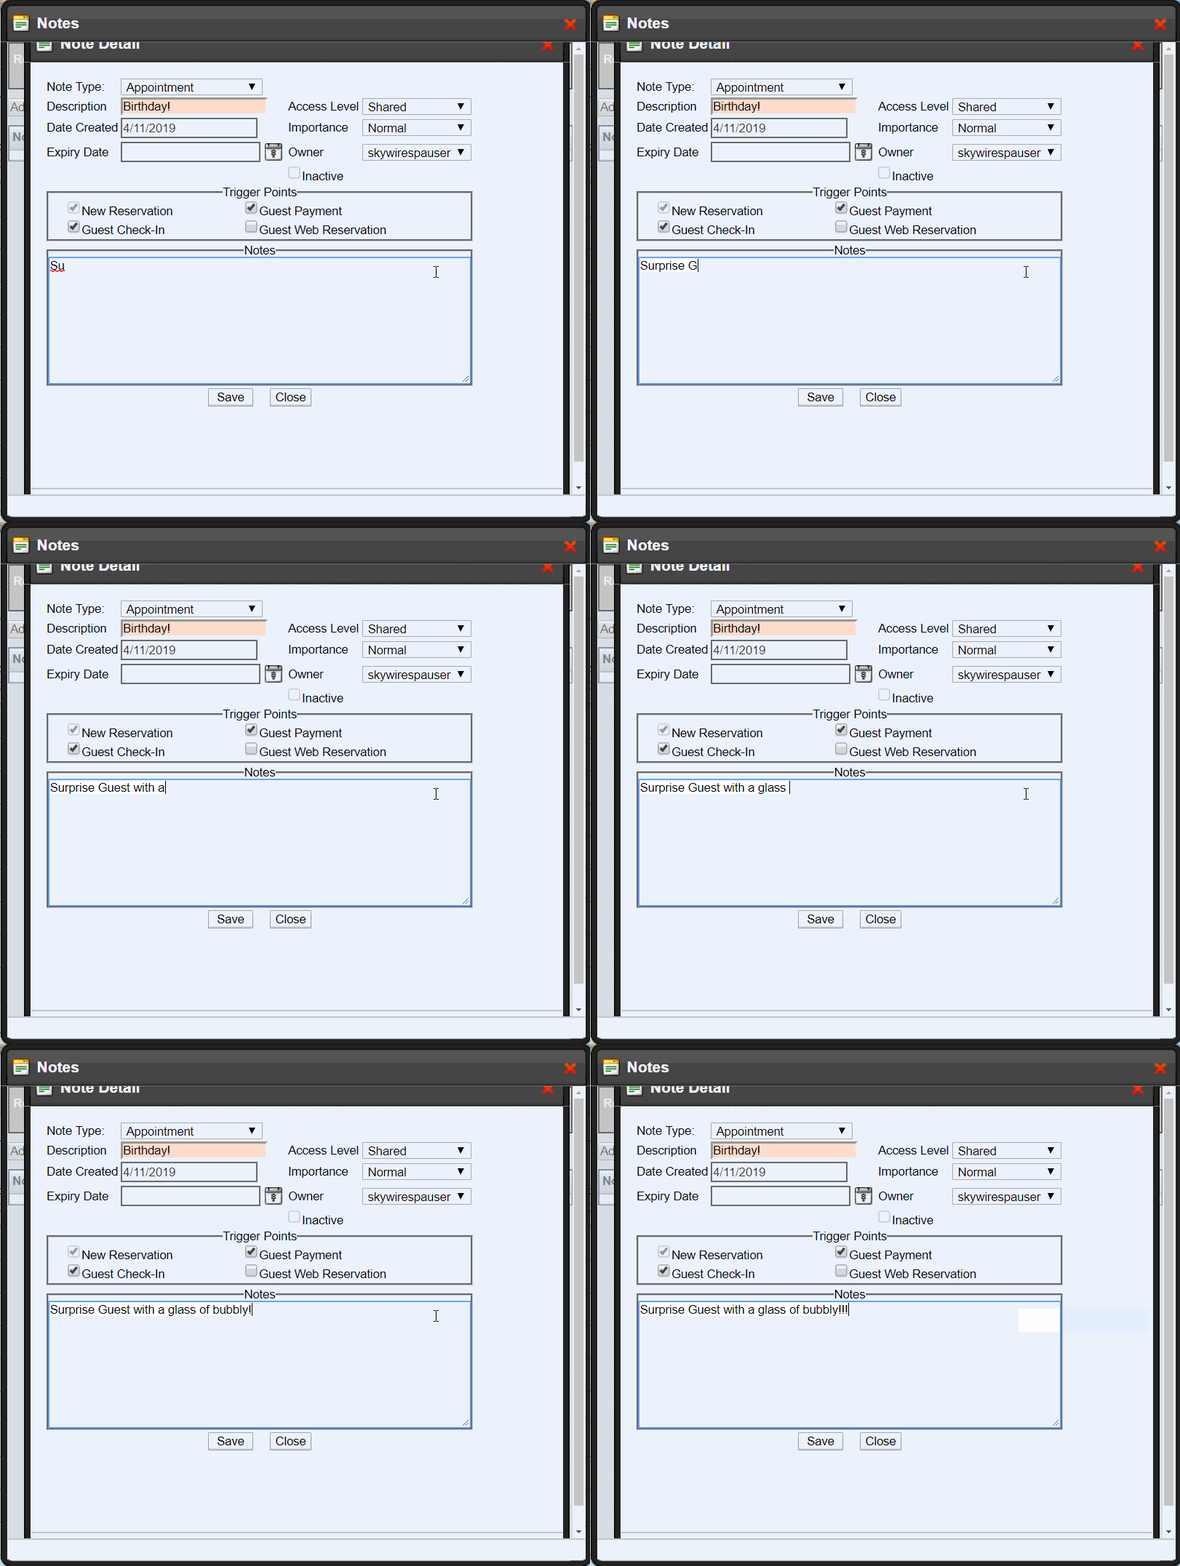
Step 7:
Select "Save" - you have added a Note!
NOTE: Bell icon will appear on appointment
Optional

Enter an expiration date if this is a time-sensitive note
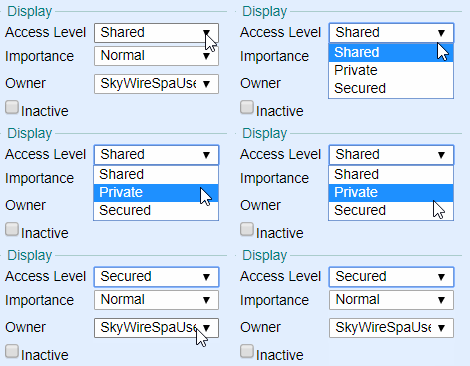
Assign an Access Level
- Shared: Users who have the permission to view Notes can view
- Private: Only the Owner (you) can view
- Secured: Only Users with the permission to view Secured Notes can view
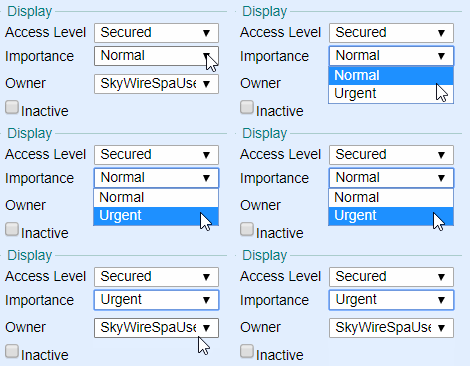
Assign Importance – For informational purpose only
- Normal
- Urgent

Owner Will automatically populate with the User that is logged in
Delete a Note
Select “remove” to completely delete the Note.
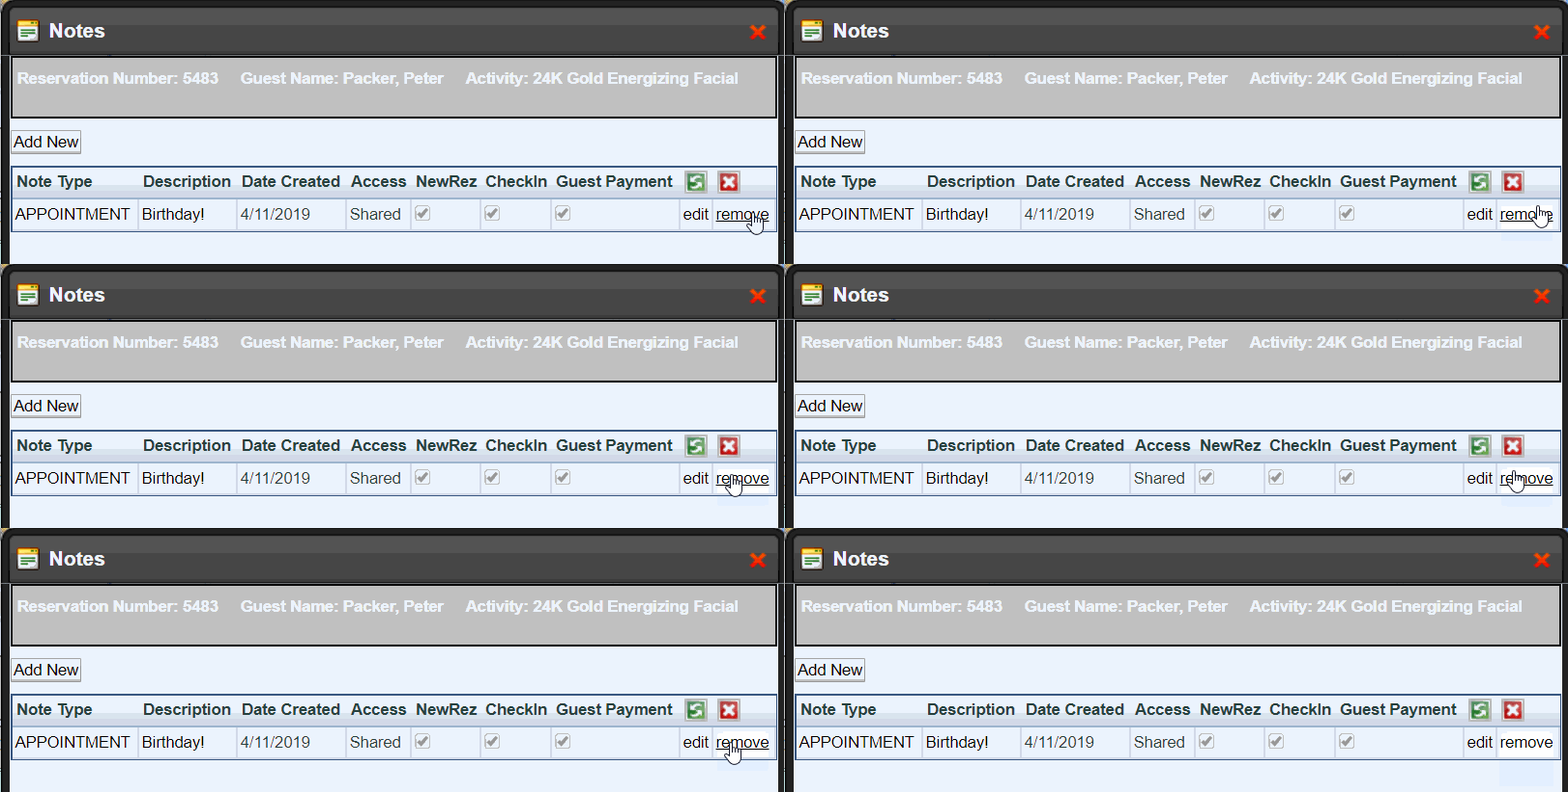
Select “edit” and flag as Inactive to keep the record of the Note.
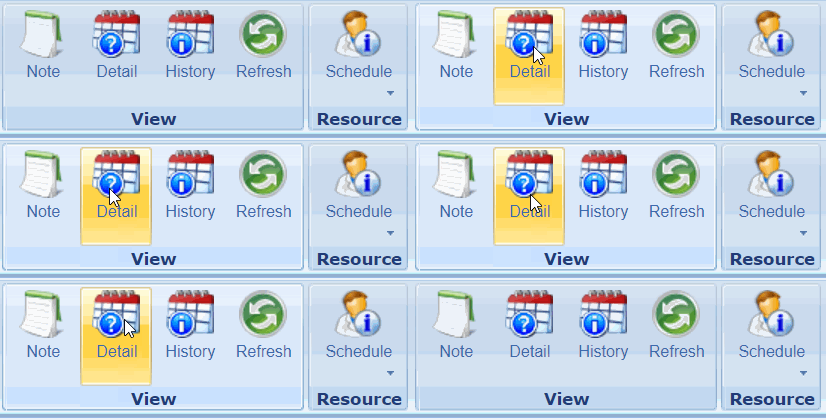
View appointment details like when it was booked, comments, Resources assigned, and Guest information.

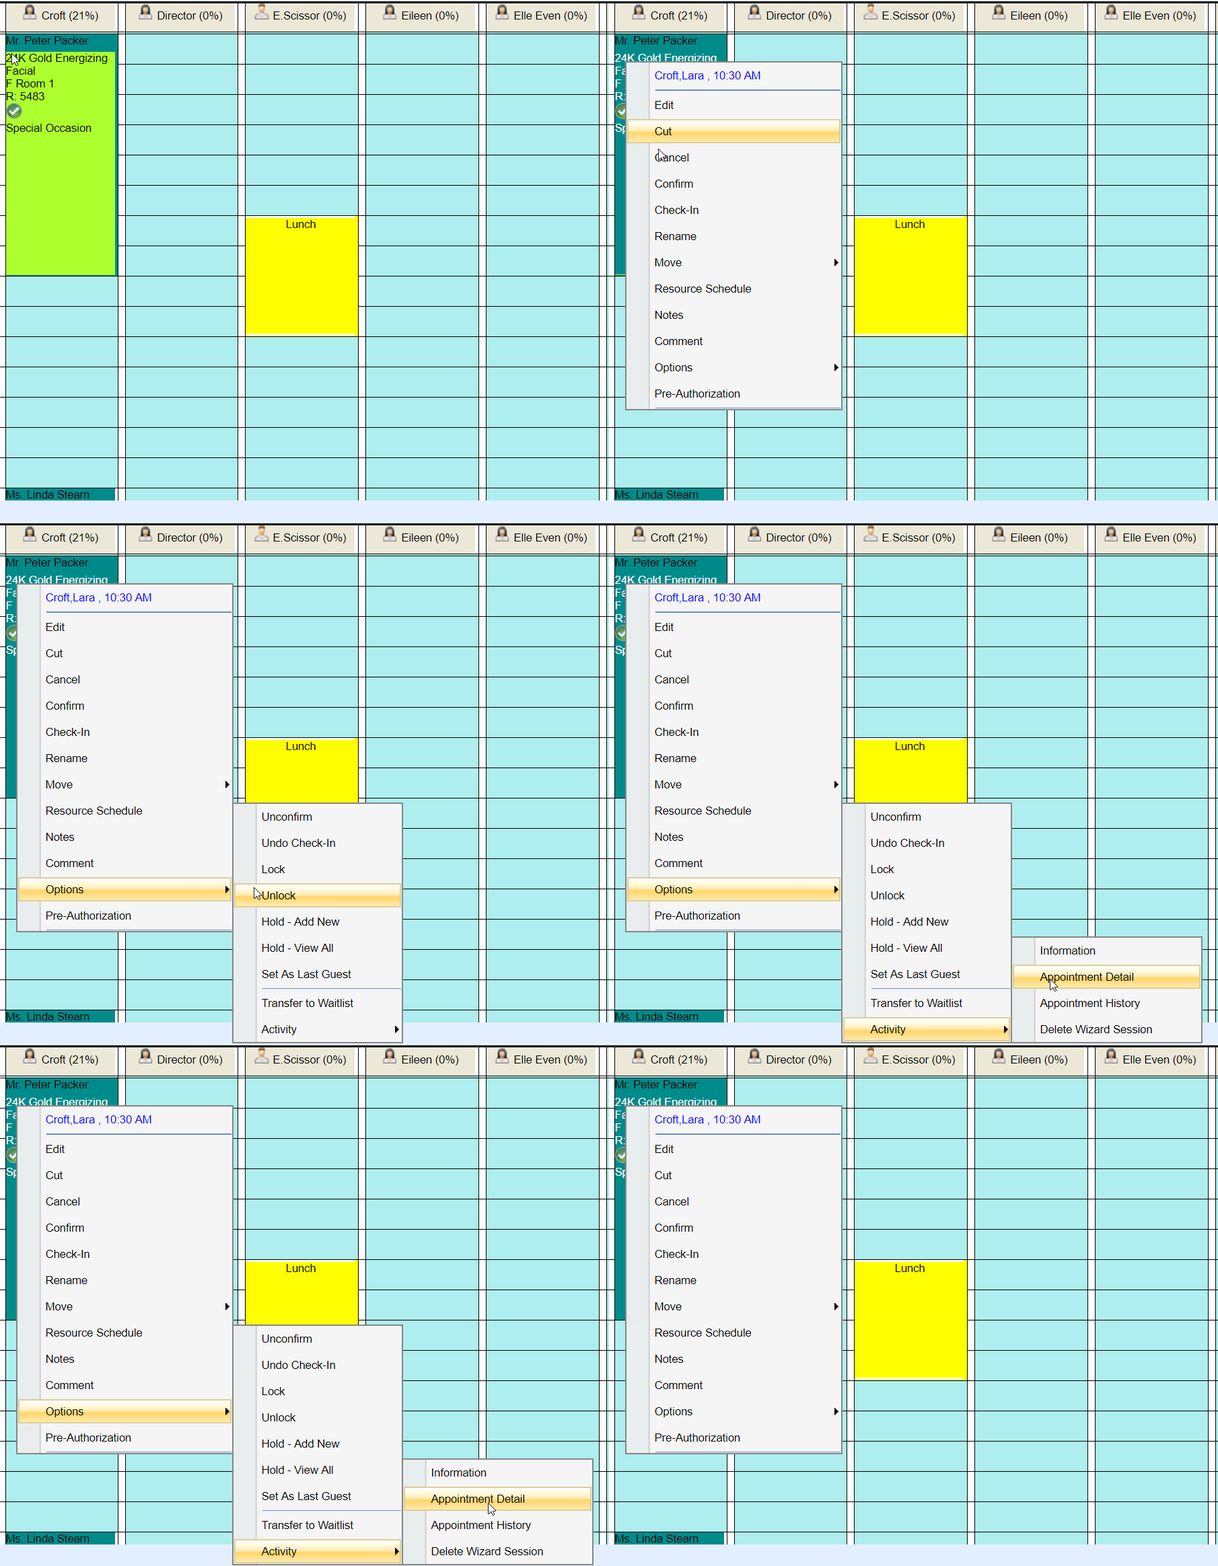
Access Details by double-clicking an appointment or highlighting the appointment and then selecting "Detail."
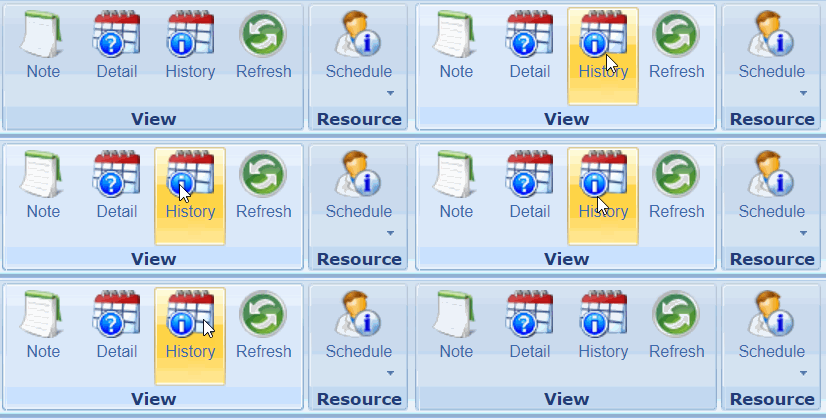
View a full audit trail of each action performed such as booking, confirming, price changes, cancelling, and tendering payment.
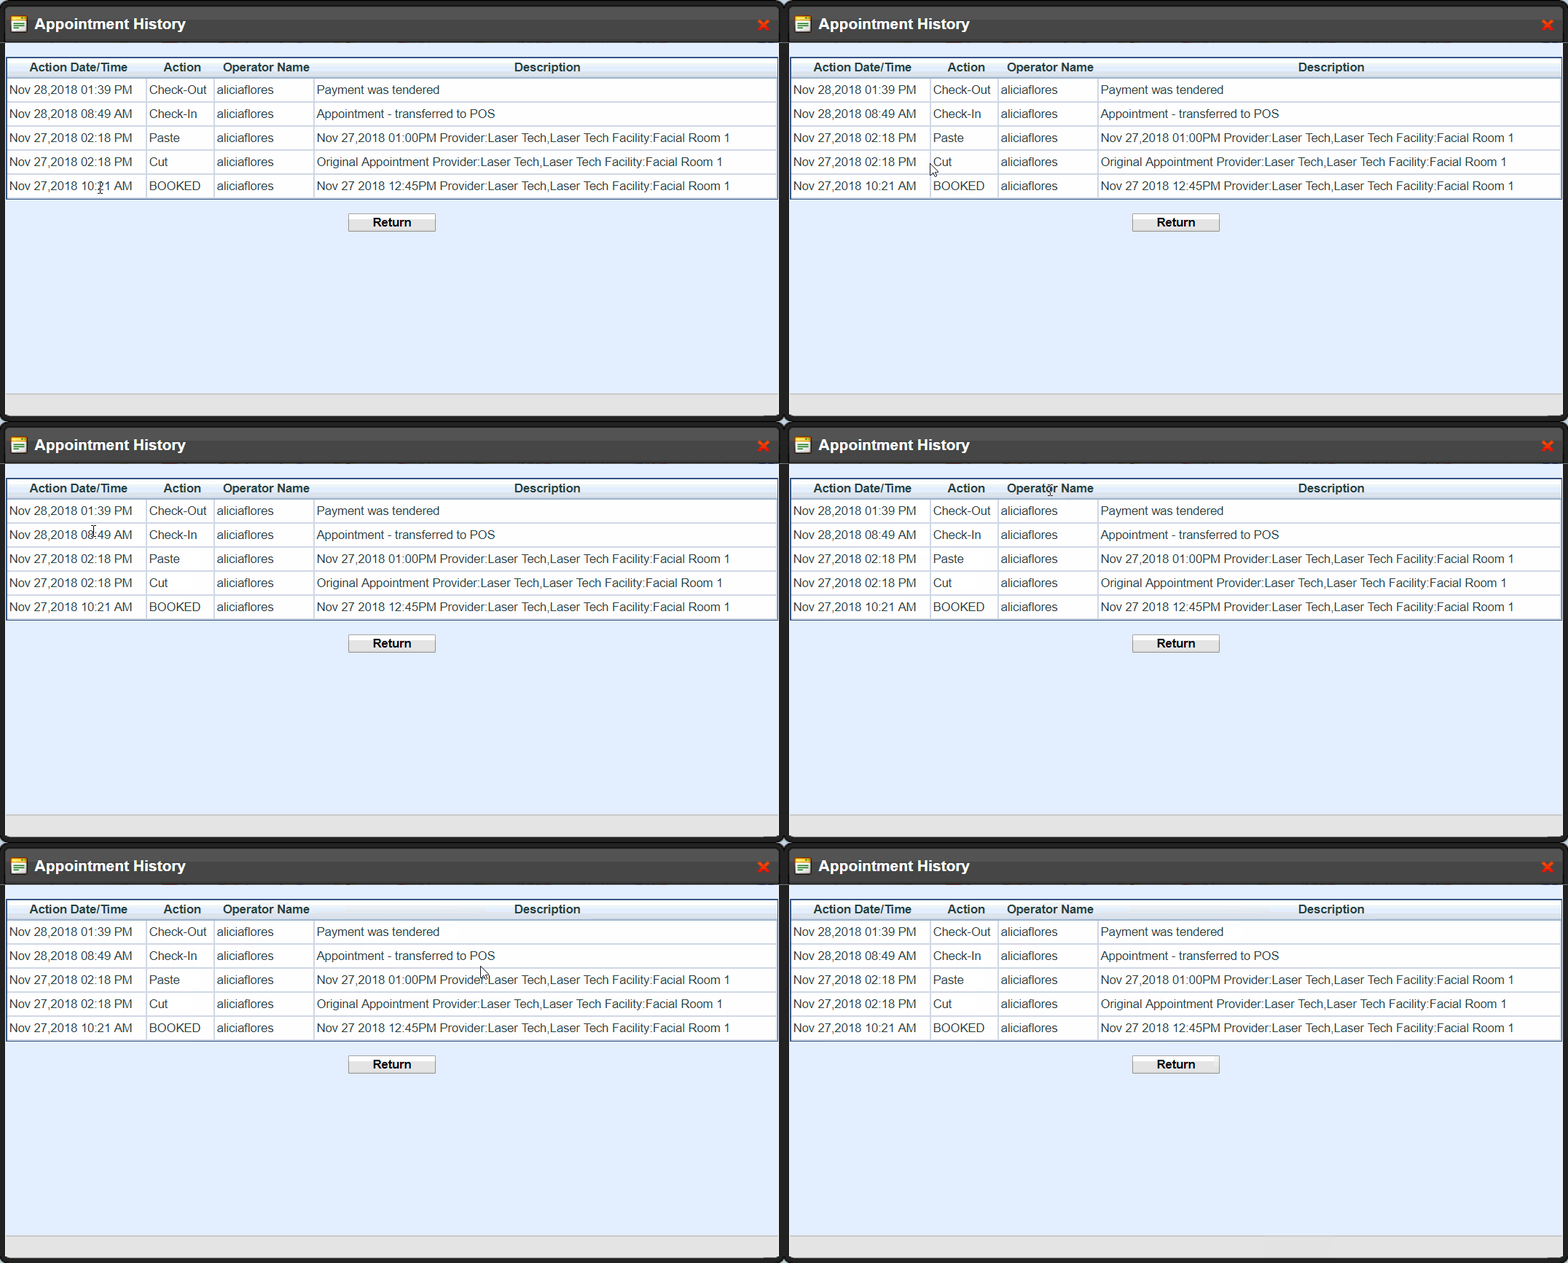
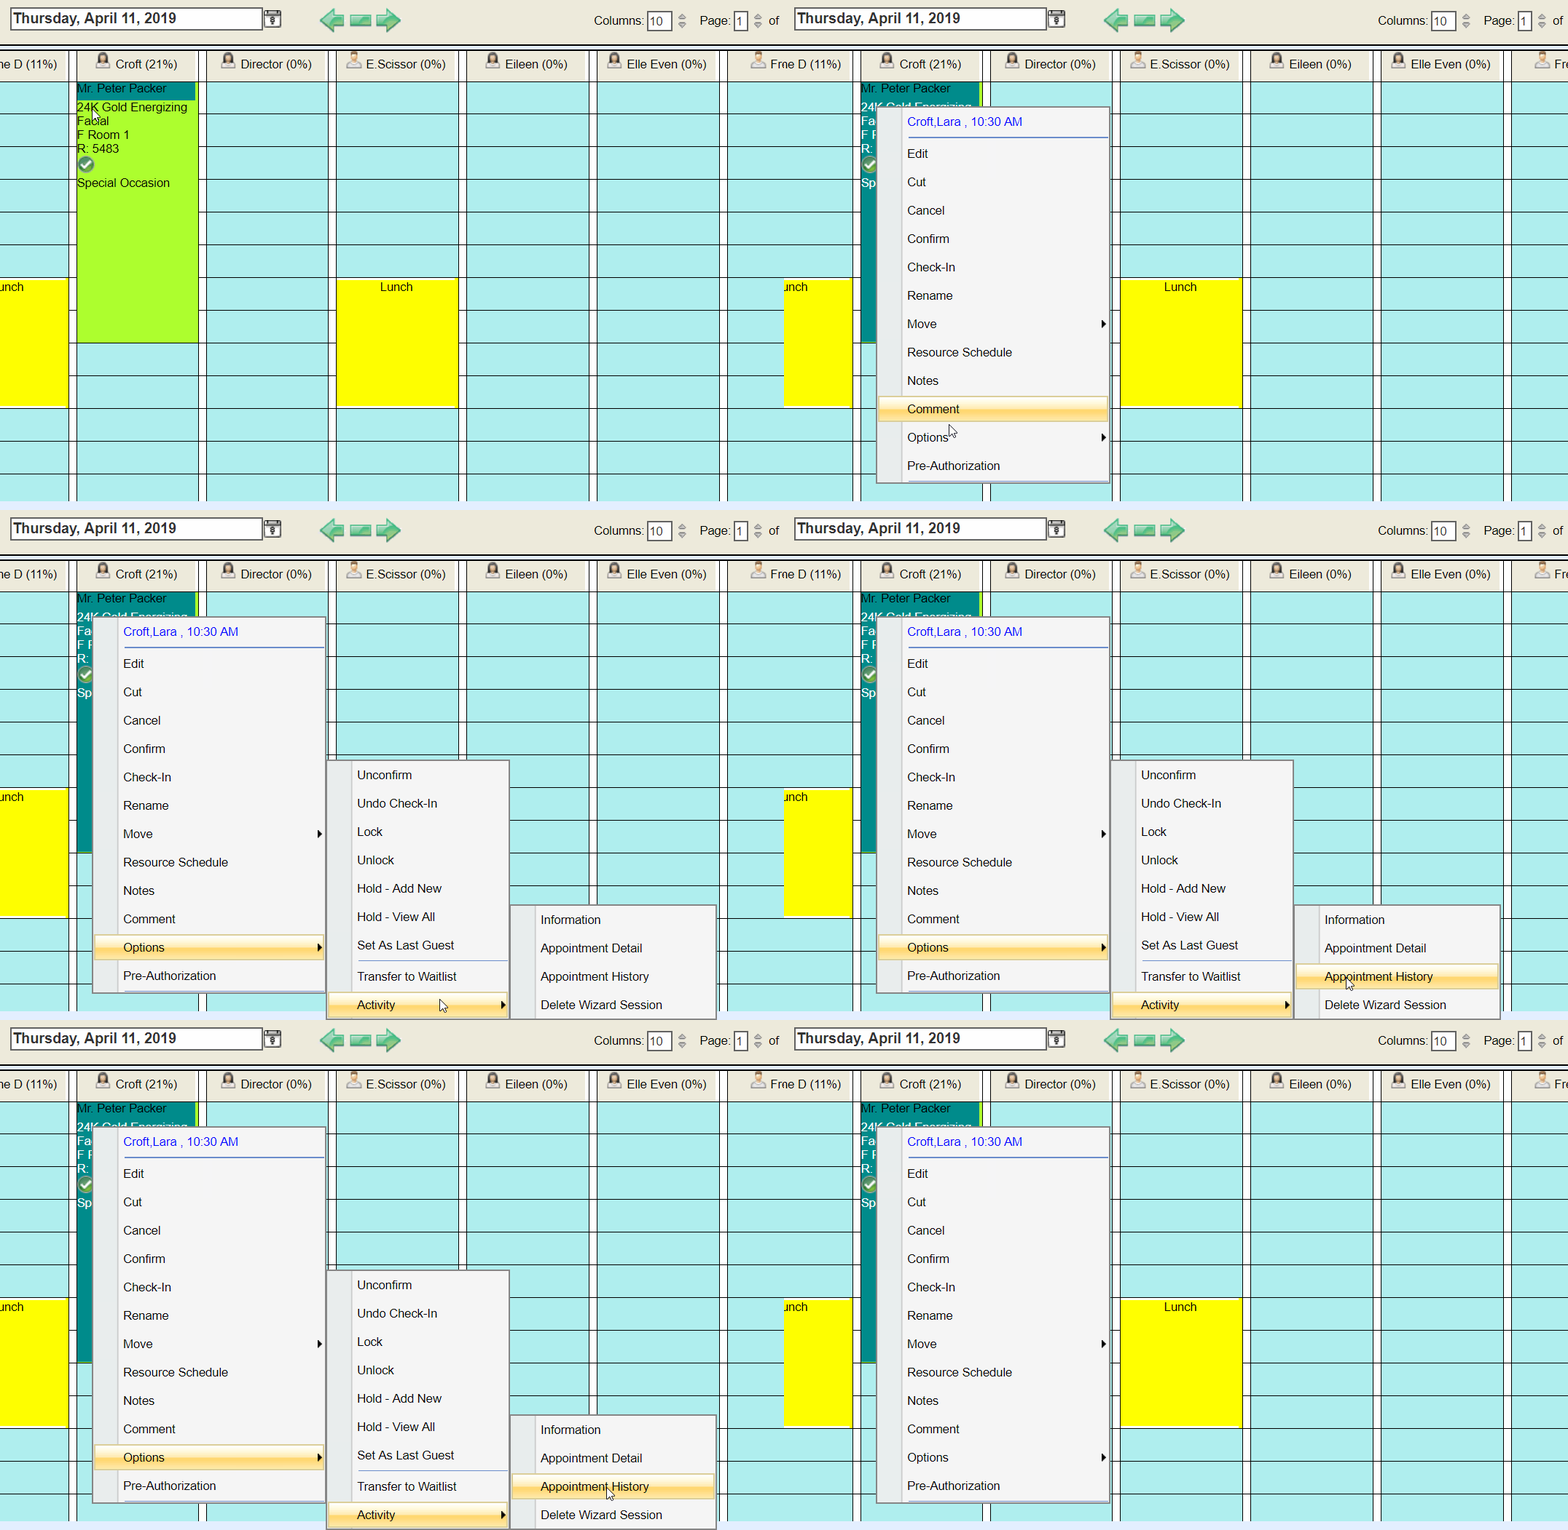
Access History by double-clicking an appointment or highlighting the appointment and then selecting "History."
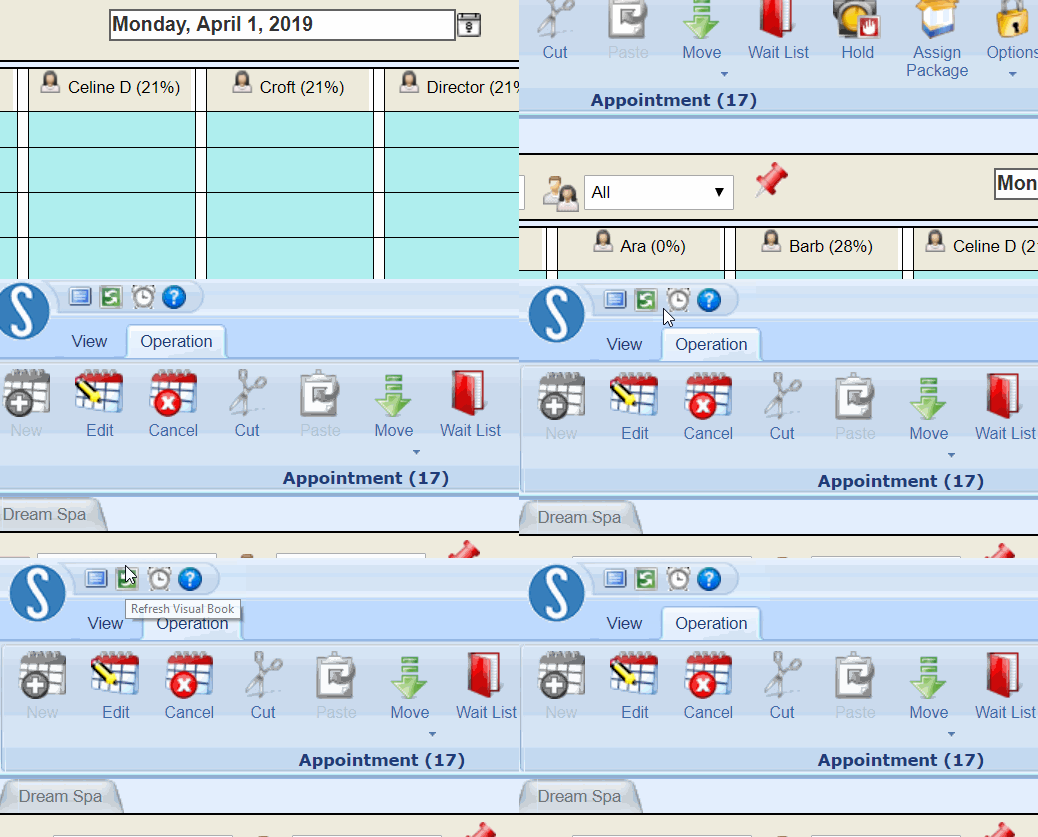
Use this option to Refresh the Visual Book if in case any other users logged in book, edit, or cancel appointments
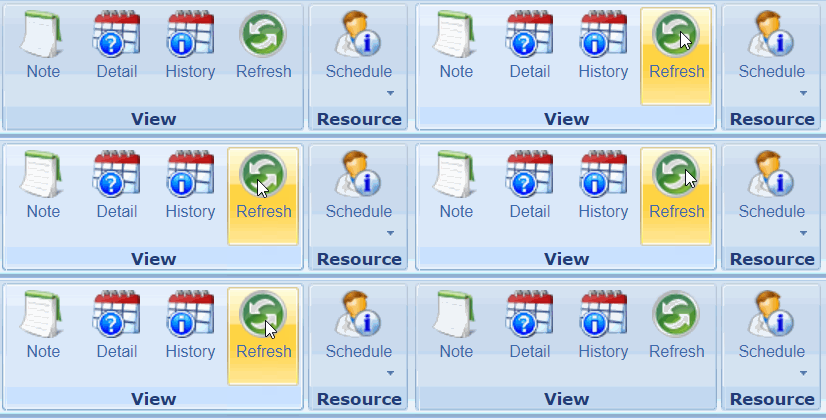
Visual Book will automatically Refresh depending on your system’s configured settings.You can also refresh by selecting the icon at the top of the toolbar.
