![PALUSA New Logo Transparent-1.png]](https://helpcenter.skywire.com/hs-fs/hubfs/PALUSA%20New%20Logo%20Transparent-1.png?height=50&name=PALUSA%20New%20Logo%20Transparent-1.png)
You can access Visual Book through the main menu or the “S” side menu icon.
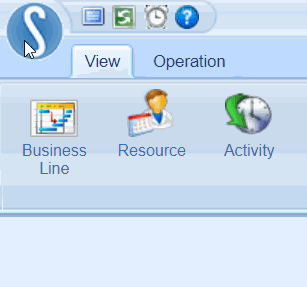
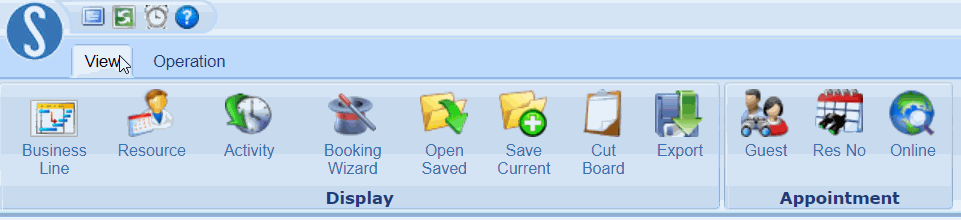
- View: Use the View tab to open a view of your Visual Book and search for appointments
- Operation: Use the Operation tab to make edits to appointments, view Guest and appointment information, and access Resource schedules
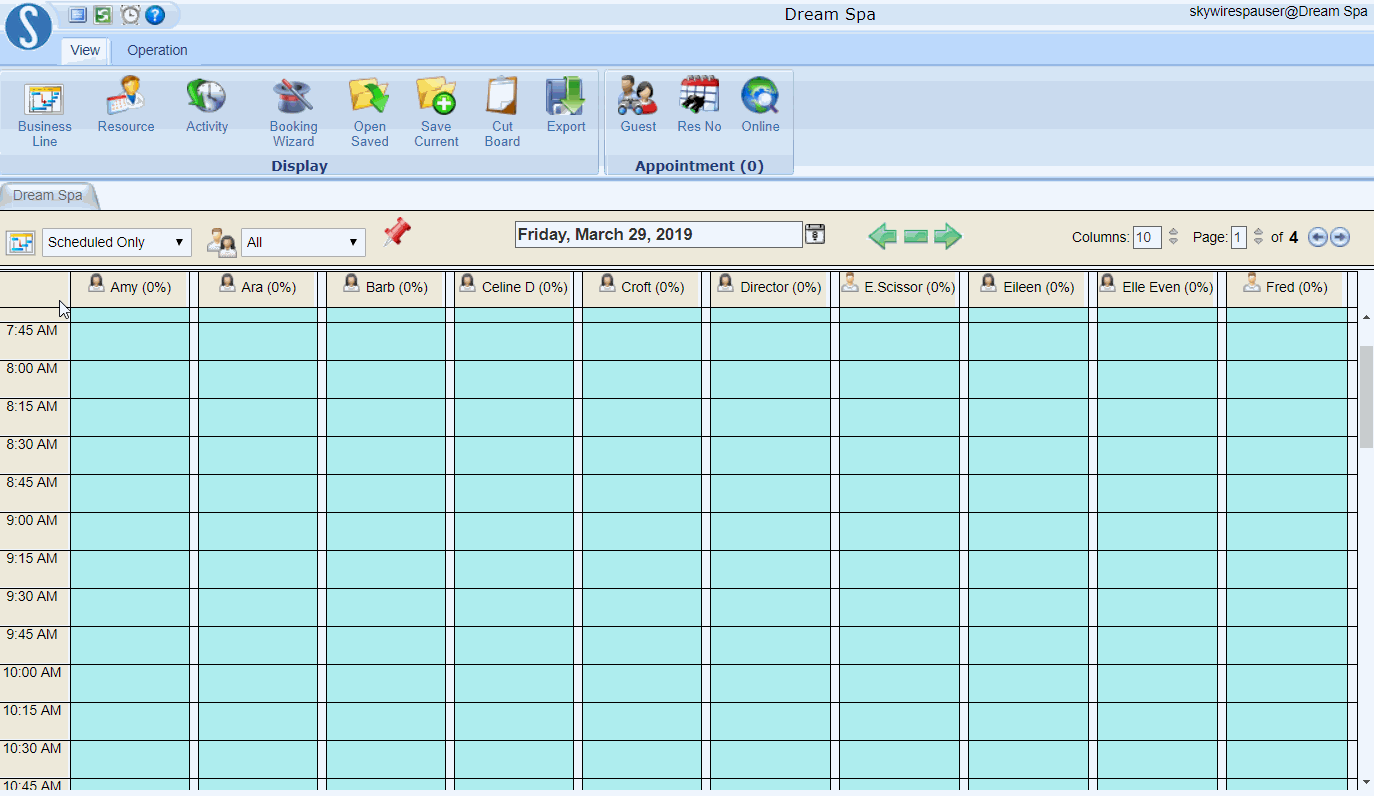
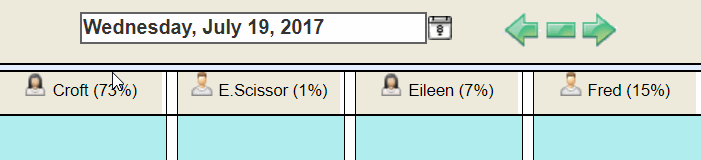
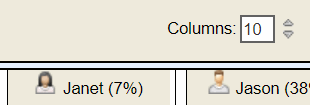
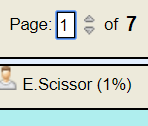
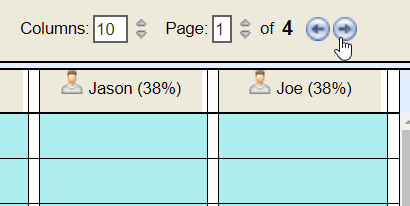
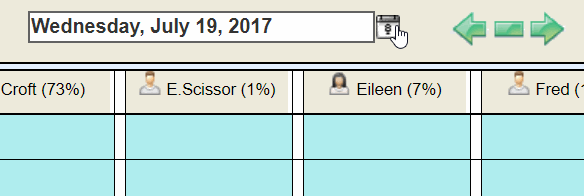
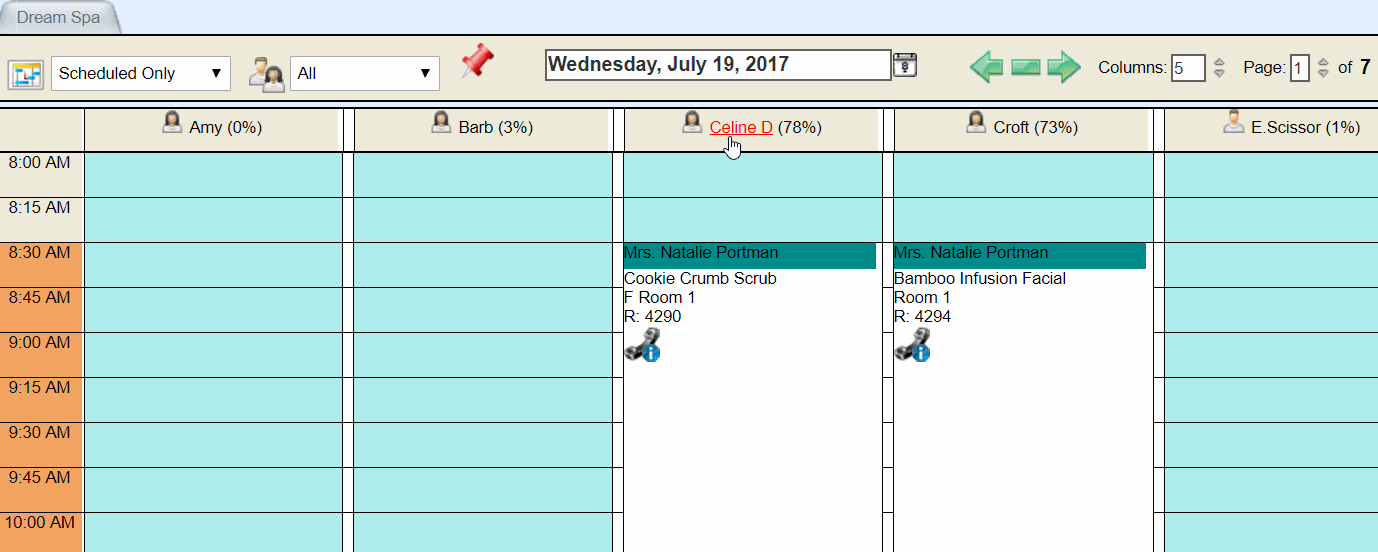
The percent (%) next to the Resource’s name represents what percentage of that Resource’s schedule is booked
Selecting an appointment slot is referred to placing it “in focus” and/or highlighting
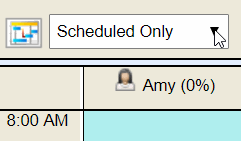
Use this drop down to filter between All, Scheduled, or Unscheduled Resources
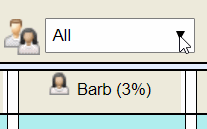
Use this drop down to filter between All, Male, or Female Resources
Use this option to enter in how many columns of Resources you would like to view per page
Use this option to enter a different page
Use this option to move left or right by one column
Change the date by selecting the calendar icon, scrolling through the left & right arrows, or use the – icon to go back to today’s date
Toggle between the Resource day/week view by selecting the Resource's name

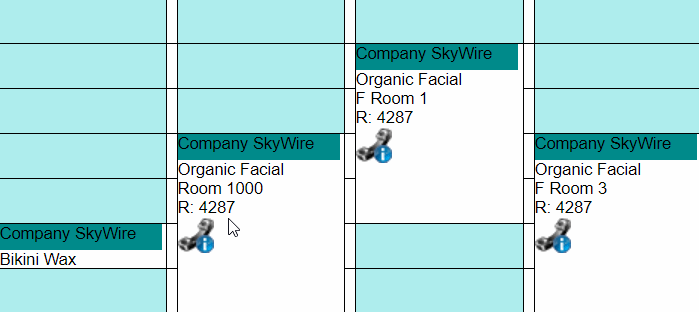
Provider Name Request: Red Heart icon


Provider Gender Request: Male/Female icon


Paid: “$” Dollar Sign

Appointment Note: Bell icon


Confirmed: Telephone Handset icon is removed

Card on File:Credit Card icon

Locked: Lock icon


Multiple appointment icons may appear if an appointment meets more than one condition
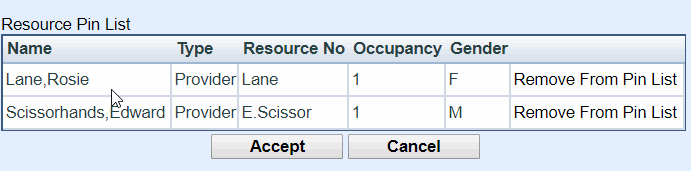
If you log out and log back in, Resources will no longer be pinned.
To add a Resource to the Pin List
Step 1:
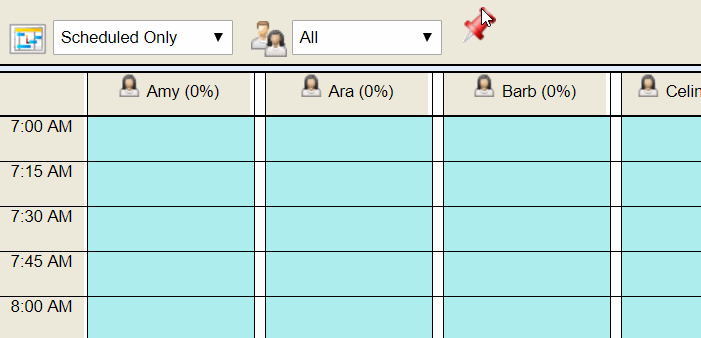
Select the Pin icon
Step 2:
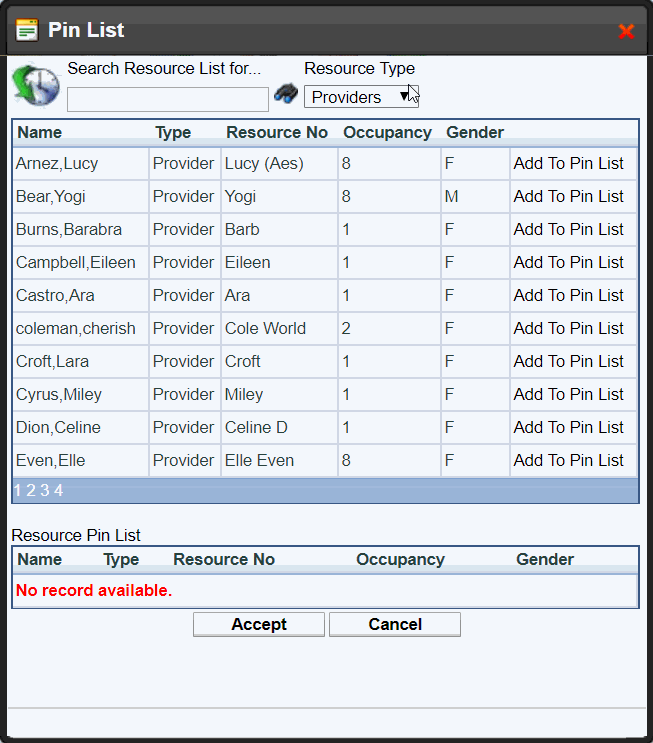
Sort through your Resources by Provider, Facility, or Equipment
Step 3:
Find the Resource you would like to add and select "Add To Pin List"
Step 4:
Resources added will be listed at the bottom of the screen
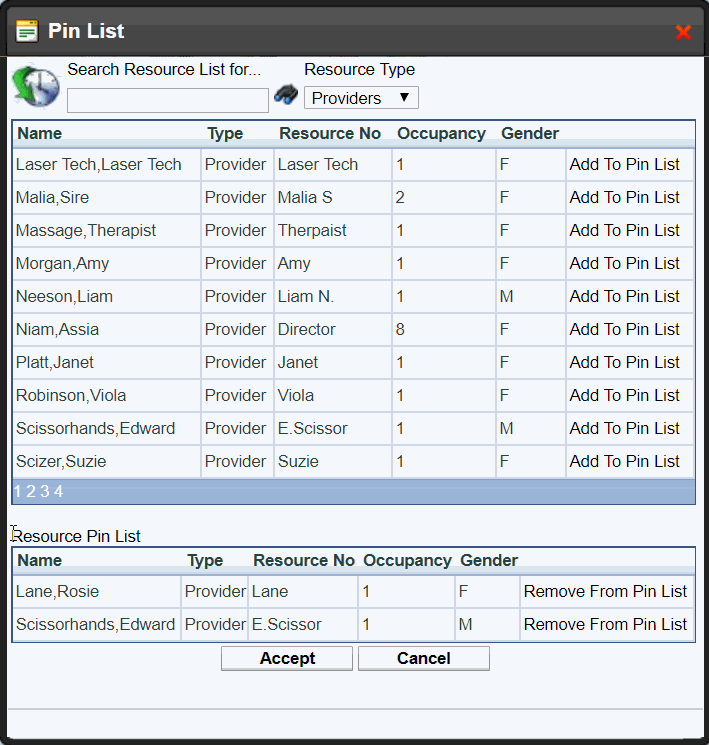
Step 5:
Select "Accept"

Step 6:
Resource(s) are now pinned to the beginning of your Visual Book!

To remove a Resource from the Pin List, select the Pin icon and select Remove From Pin List.