![PALUSA New Logo Transparent-1.png]](https://helpcenter.skywire.com/hs-fs/hubfs/PALUSA%20New%20Logo%20Transparent-1.png?height=50&name=PALUSA%20New%20Logo%20Transparent-1.png)

Checking-in will send an SMS Text to the associated Provider.
NOTE: Provider’s SMS phone number must be configured into their Employee Profile.
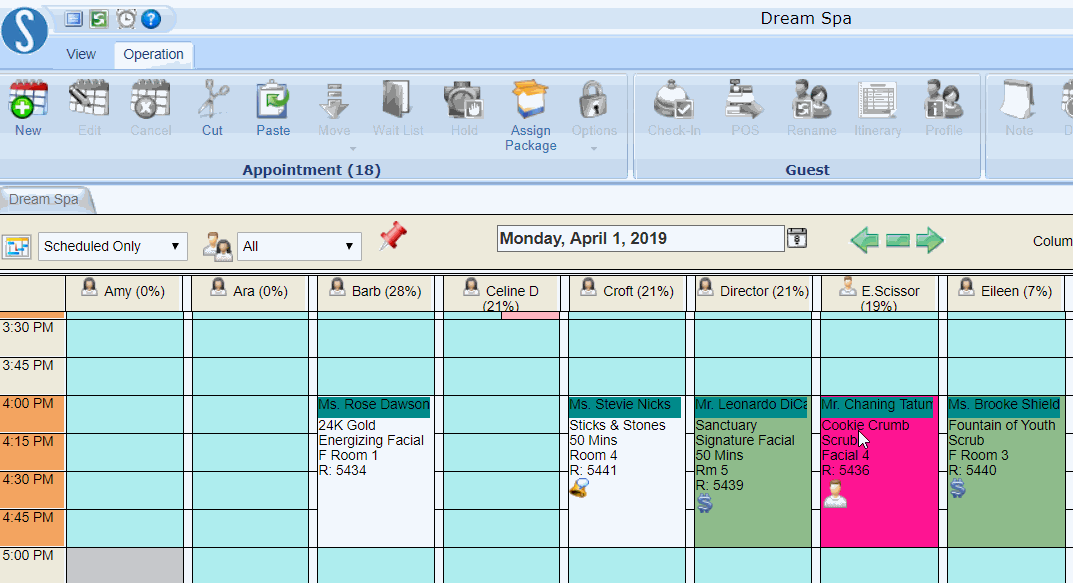
To check in
Step 1:
Access the Check-In function by double-clicking an appointment or
highlighting the appointment and then selecting "Check-in"
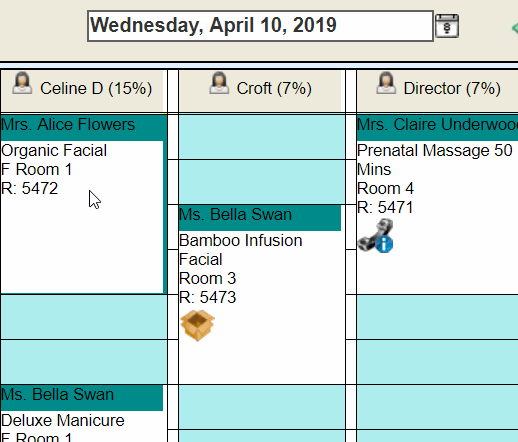
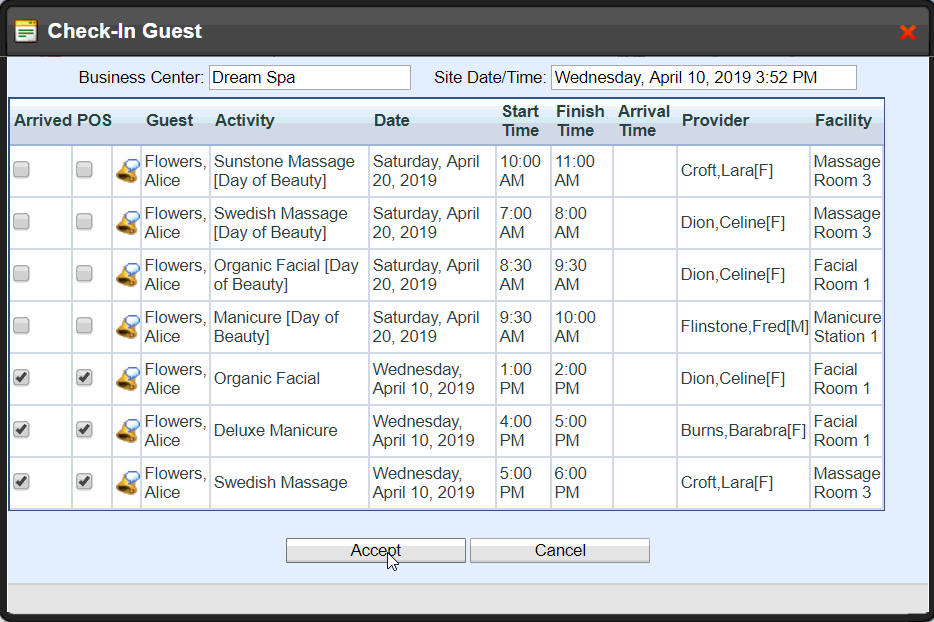
Step 2:
The Check-In screen will list all appointments under this Guest

Step 3:
Select the appointments you would like to check-in
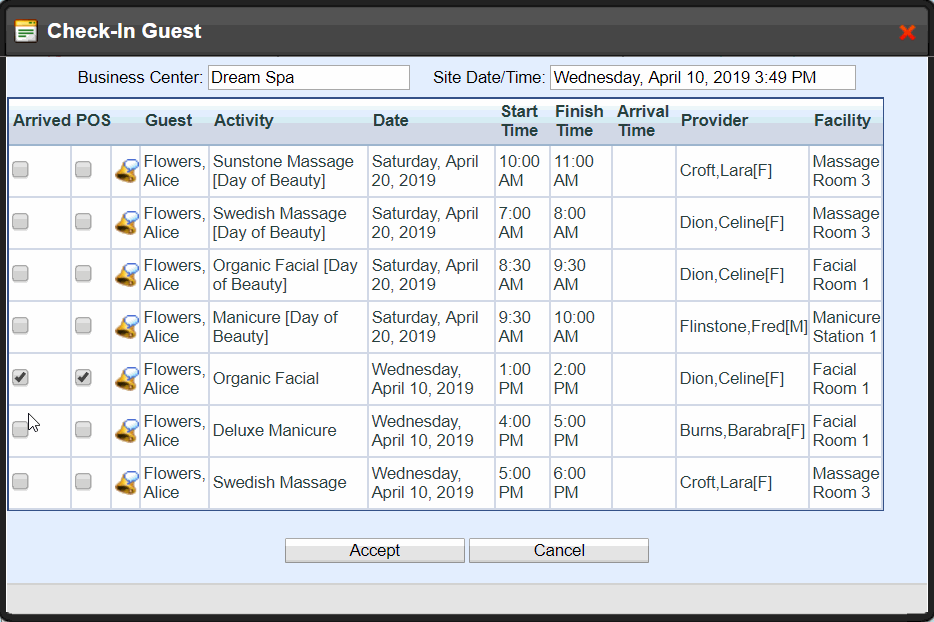
Step 4:
It is recommended that you select both the "Check-In" & "POS" checkboxes
Check-In: Establishes the arrival time
POS: Establishes that this appointment can be tendered for payment - if not selected, sale will not post to POS

Step 5:
Select "Accept" - you checked-in an appointment!
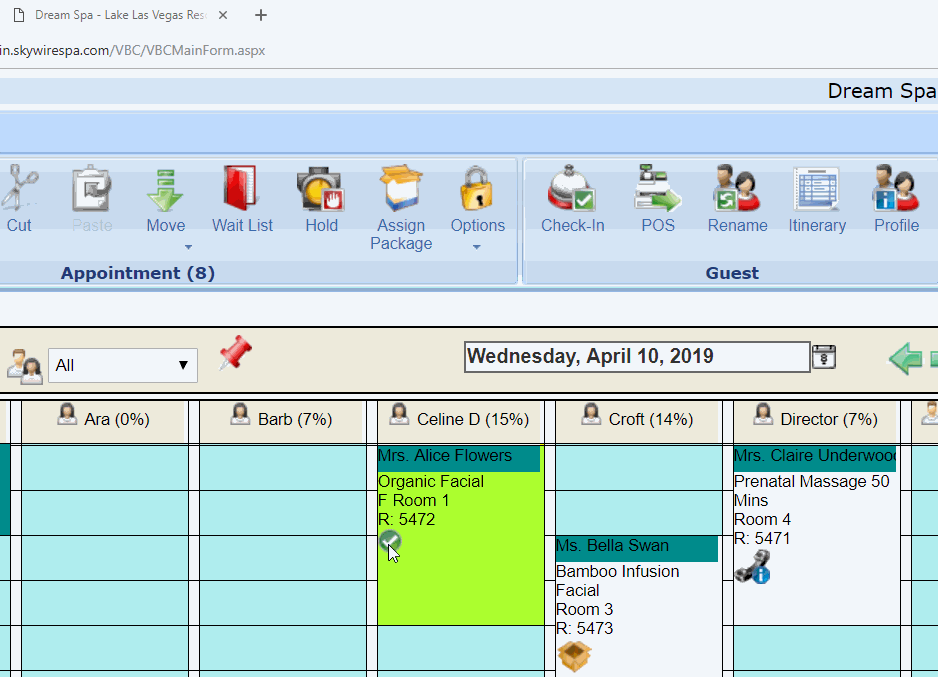
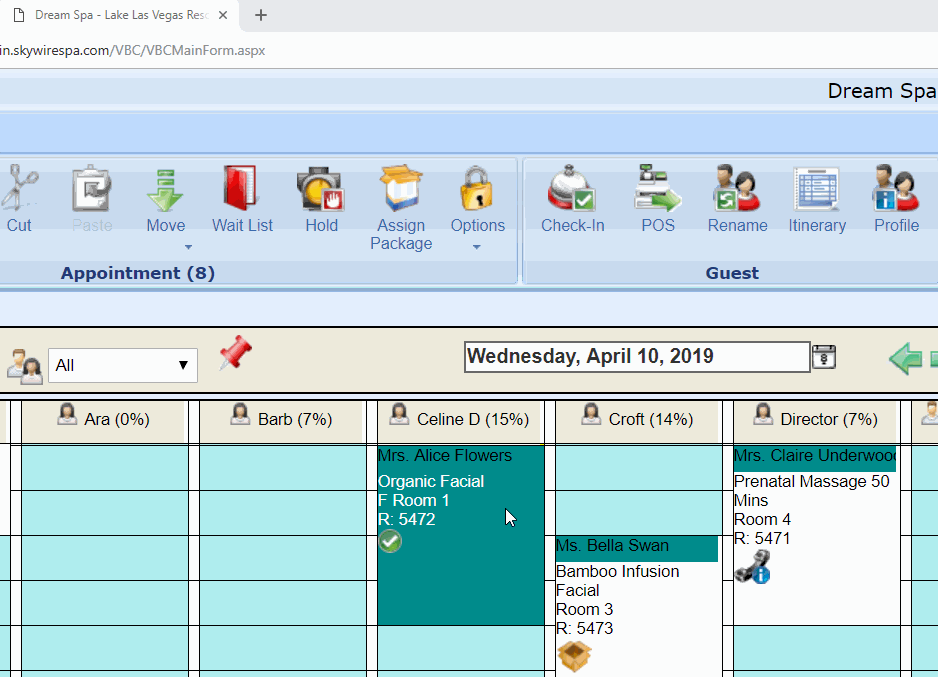
NOTE: The Green checkmark indicates that this Guest is now checked-in
The POS option is used to tender payment for an appointment or a set of appointments under the same Guest.

Getting Ready to Tender Payment
Step 1:
Highlight appointment that you would like to Tender Payment for
NOTE: Appointment MUST be checked-in, if appointment is not checked-in, the sale will not display on POS
Step 2:
Select "POS"
Step 3:
This will open a new tab and redirect you to the POS Module - please follow the POS course for complete instructions on how to tender payment

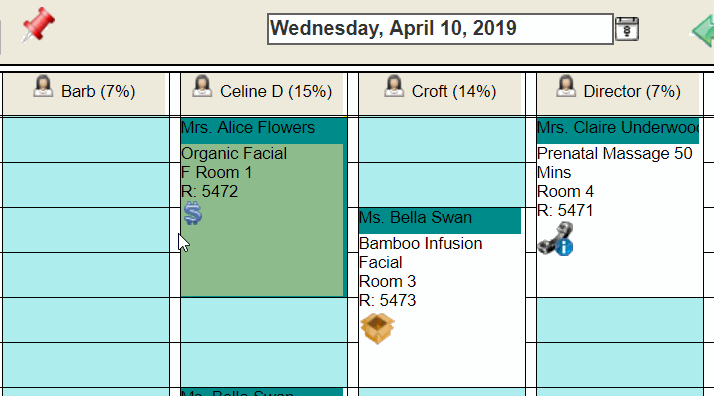
Checked-Out Appointments
Once an appointment has been Checked-Out you will see a dollar sign icon on the appointment. At this point, the appointment CANNOT be edited, cut, paste, or canceled – It can be refunded.
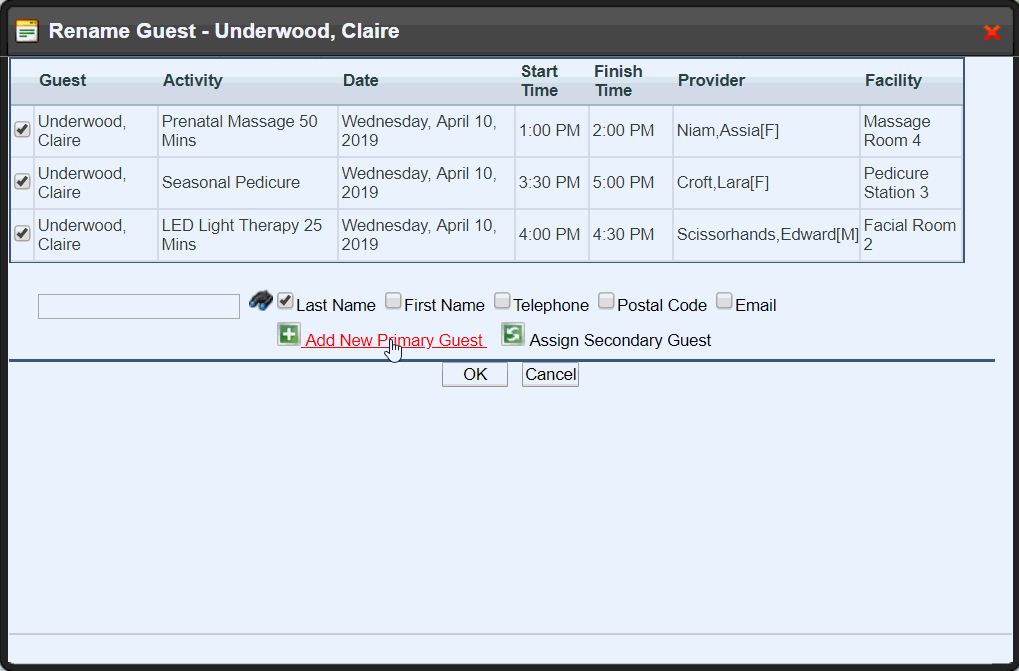
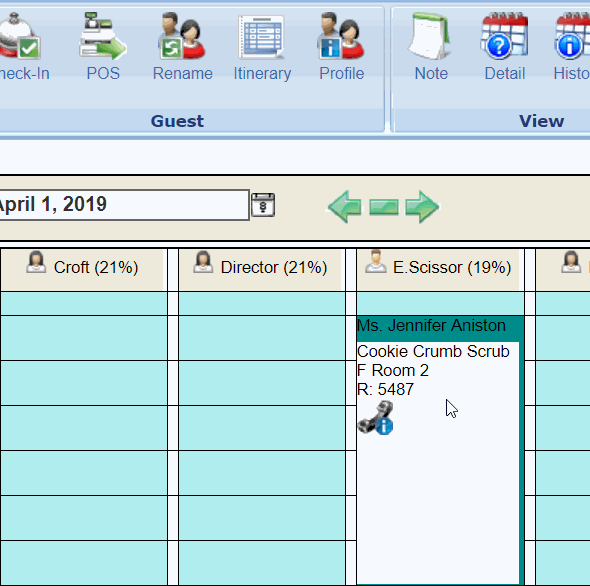
To Rename an Appointment
Step 1:
Access the Rename function by double-clicking an appointment or
highlighting the appointment and then selecting "Rename"
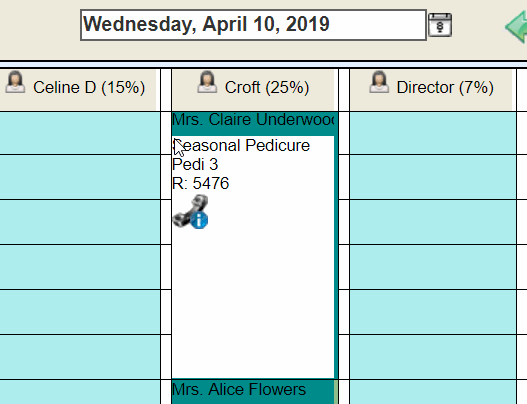
Step 2:
The Rename screen will list all appointments under this Guest
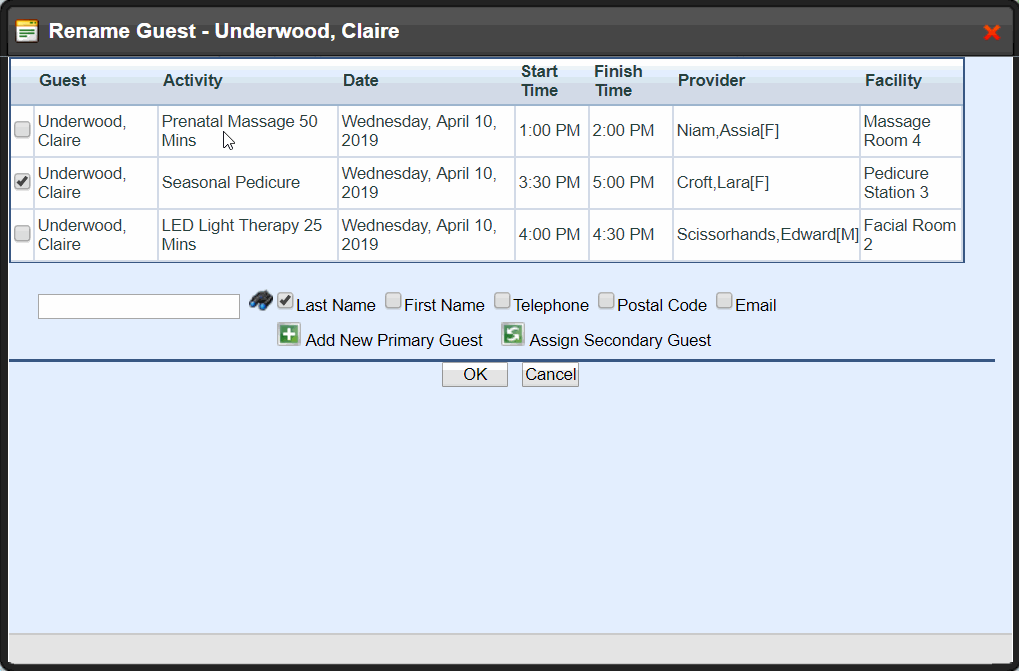
Step 3:
Select which appointments you would like to Rename

Step 4:
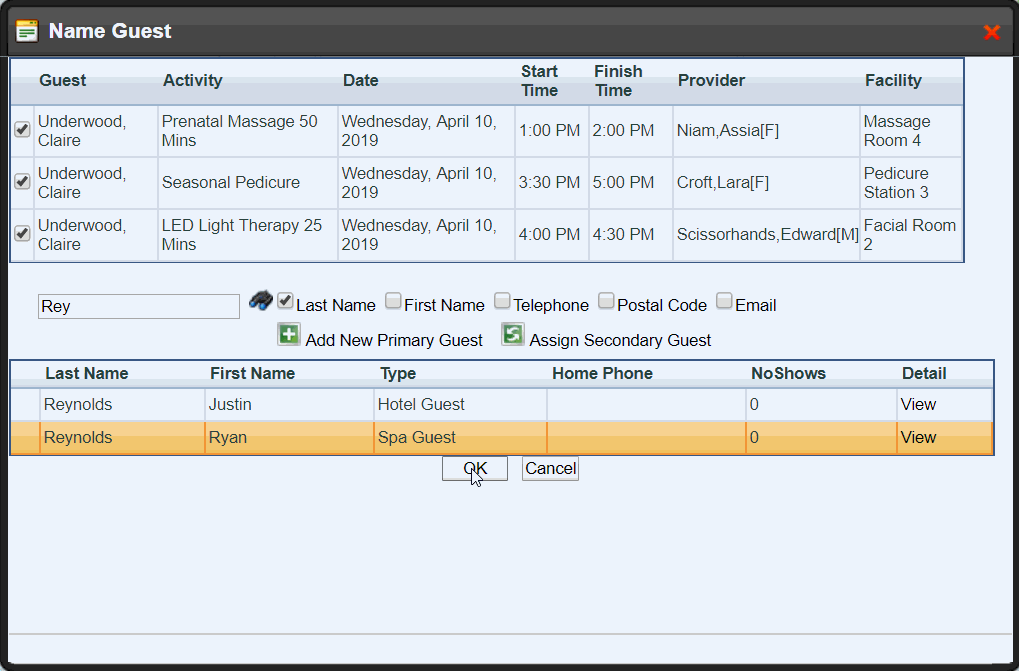
Search the Guest Name or "Add a New Primary Guest" if they don’t already exist
Step 5:
Select "OK" - you renamed an appointment!
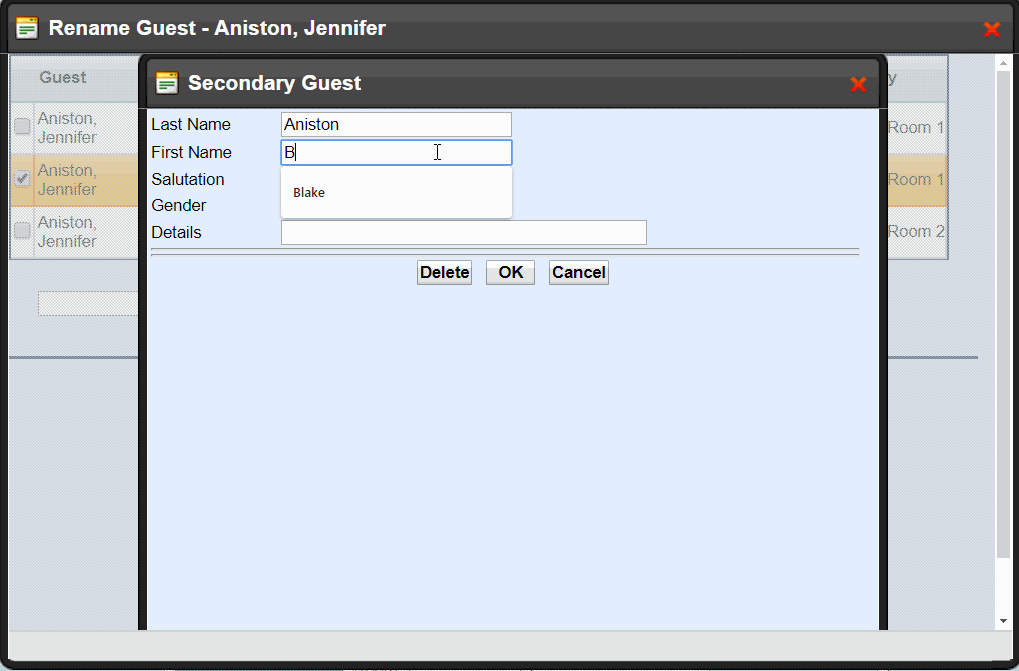
Secondary Guest
Secondary Guest will simply change the name on the physical appointment slot but keep the appointment record under the Primary Guest.

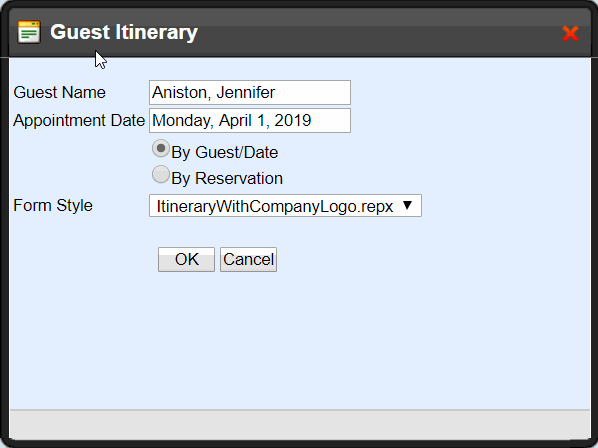
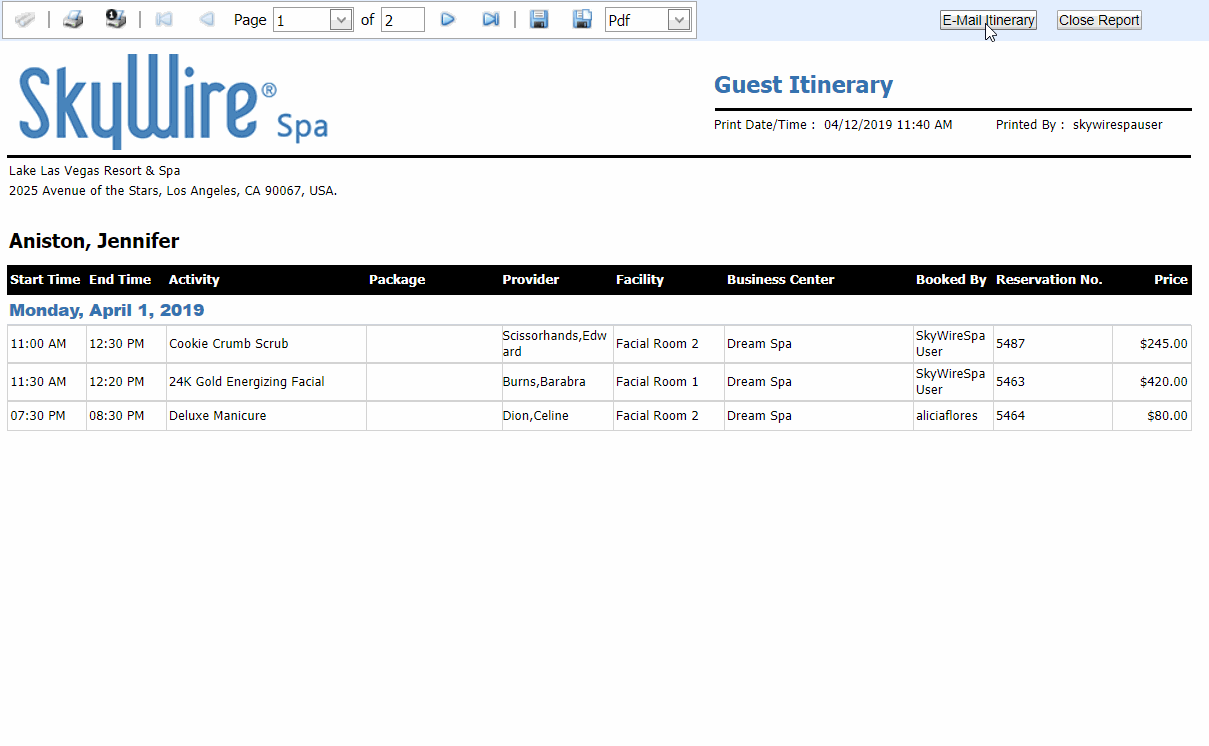
To Email/Print an Itinerary
Step 1:
Highlight the appointment you would like to email/print & select "Itinerary"
Step 2:
The Itinerary will open on a new Tab - select if you would like to view the Itinerary by Guest/Date or Reservation & select "OK"
Step 3:
Print the page to physically hand the Itinerary to your Guest - you printed an itinerary!
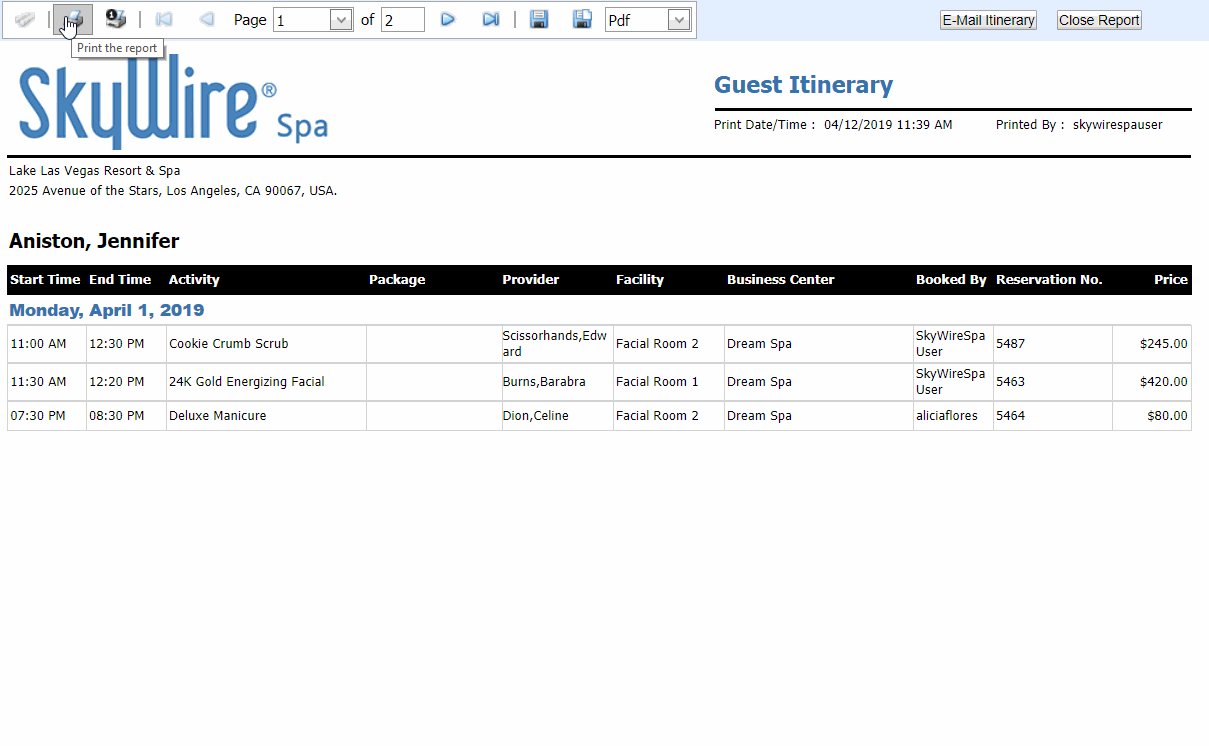
Step 4:
Select "E-Mail Itinerary" to send out an email copy - you emailed an itinerary!

This will open a new Tab and redirect you to the Guest Management Module with the associated Guest’s profile.