![PALUSA New Logo Transparent-1.png]](https://helpcenter.skywire.com/hs-fs/hubfs/PALUSA%20New%20Logo%20Transparent-1.png?height=50&name=PALUSA%20New%20Logo%20Transparent-1.png)
- Introduction
- Price Level Assignments
Introduction
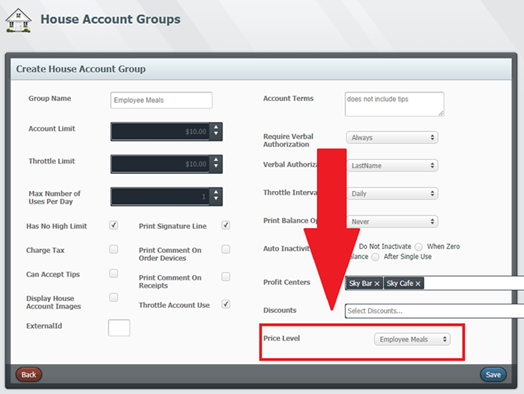
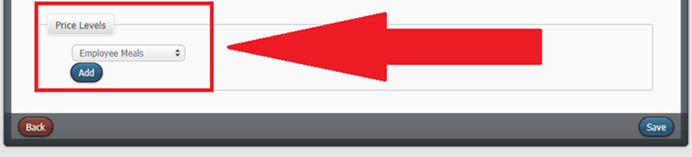
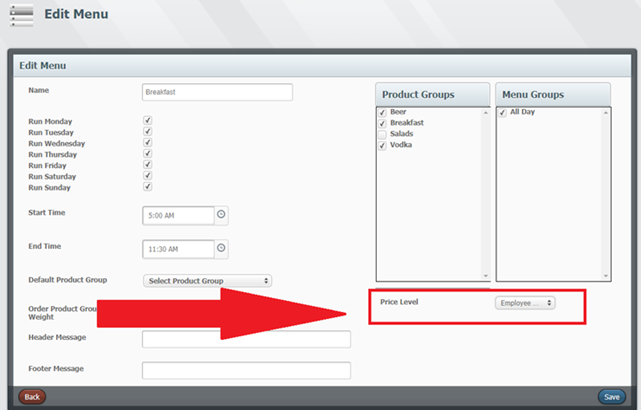
Price Levels allow for a product's selling price to change under certain circumstances. To change the product price based on day and time, assign the desired Price Level to the menu applicable. Price levels can also be assigned to house account groups. Price Levels assigned to menus and house account groups will take effect once the products assigned Price Levels are applied.
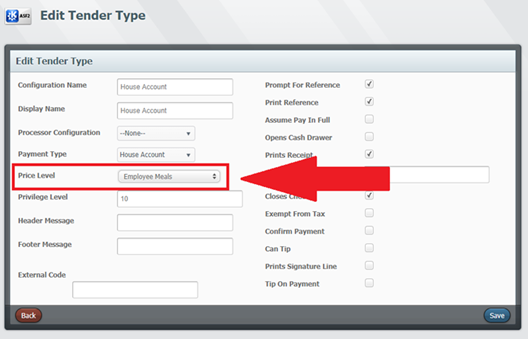
Price Levels can also be assigned to tenders. When the form of payment is used to dictate the selling price of a product, assign the Price Level to the tender applicable. Price Levels assigned to tenders will take effect once they are applied.
Note: Price Levels assigned to tenders will be the final Price Level used.
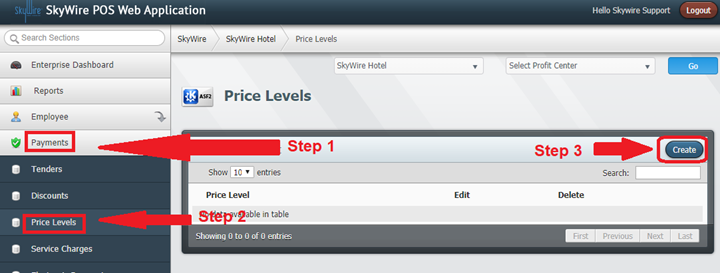
How to Create a Price Level
- Select a Property.
- Select “Payments”.
- Select “Price Levels”.
- Select “Create”.
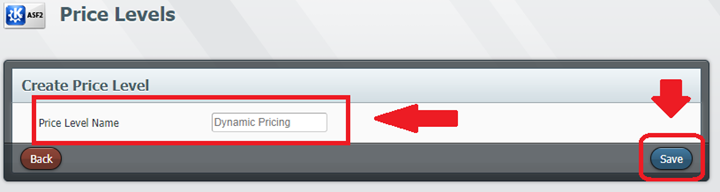
- Enter the name of the Price Level.
- Select “Save”.
Price Level Assignments
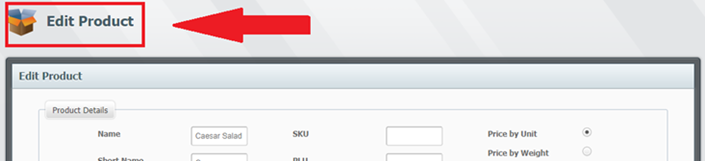
- Confirm the Price Level is assigned at the bottom of the product form.
- If using menus to dictate Price Level, confirm the Price Level is assigned to the menu applicable.
If using a tender to apply the Price Level after the payment is applied, confirm the Price Level is assigned to the tender.
- If using house account groups to apply the Price Level after the account is selected, confirm the Price Level is assigned to the house account group