-
Single Appointments
-
Overlapped Appointments
-
Add-On Activities
-
Additional Booking Options
-
Pre-Authing an Appointment
-
Enhanced Error Messaging
Single Appointments
Let's Book an Appointment!
Step 1:
DOUBLE-CLICK an available timeslot and select “New”
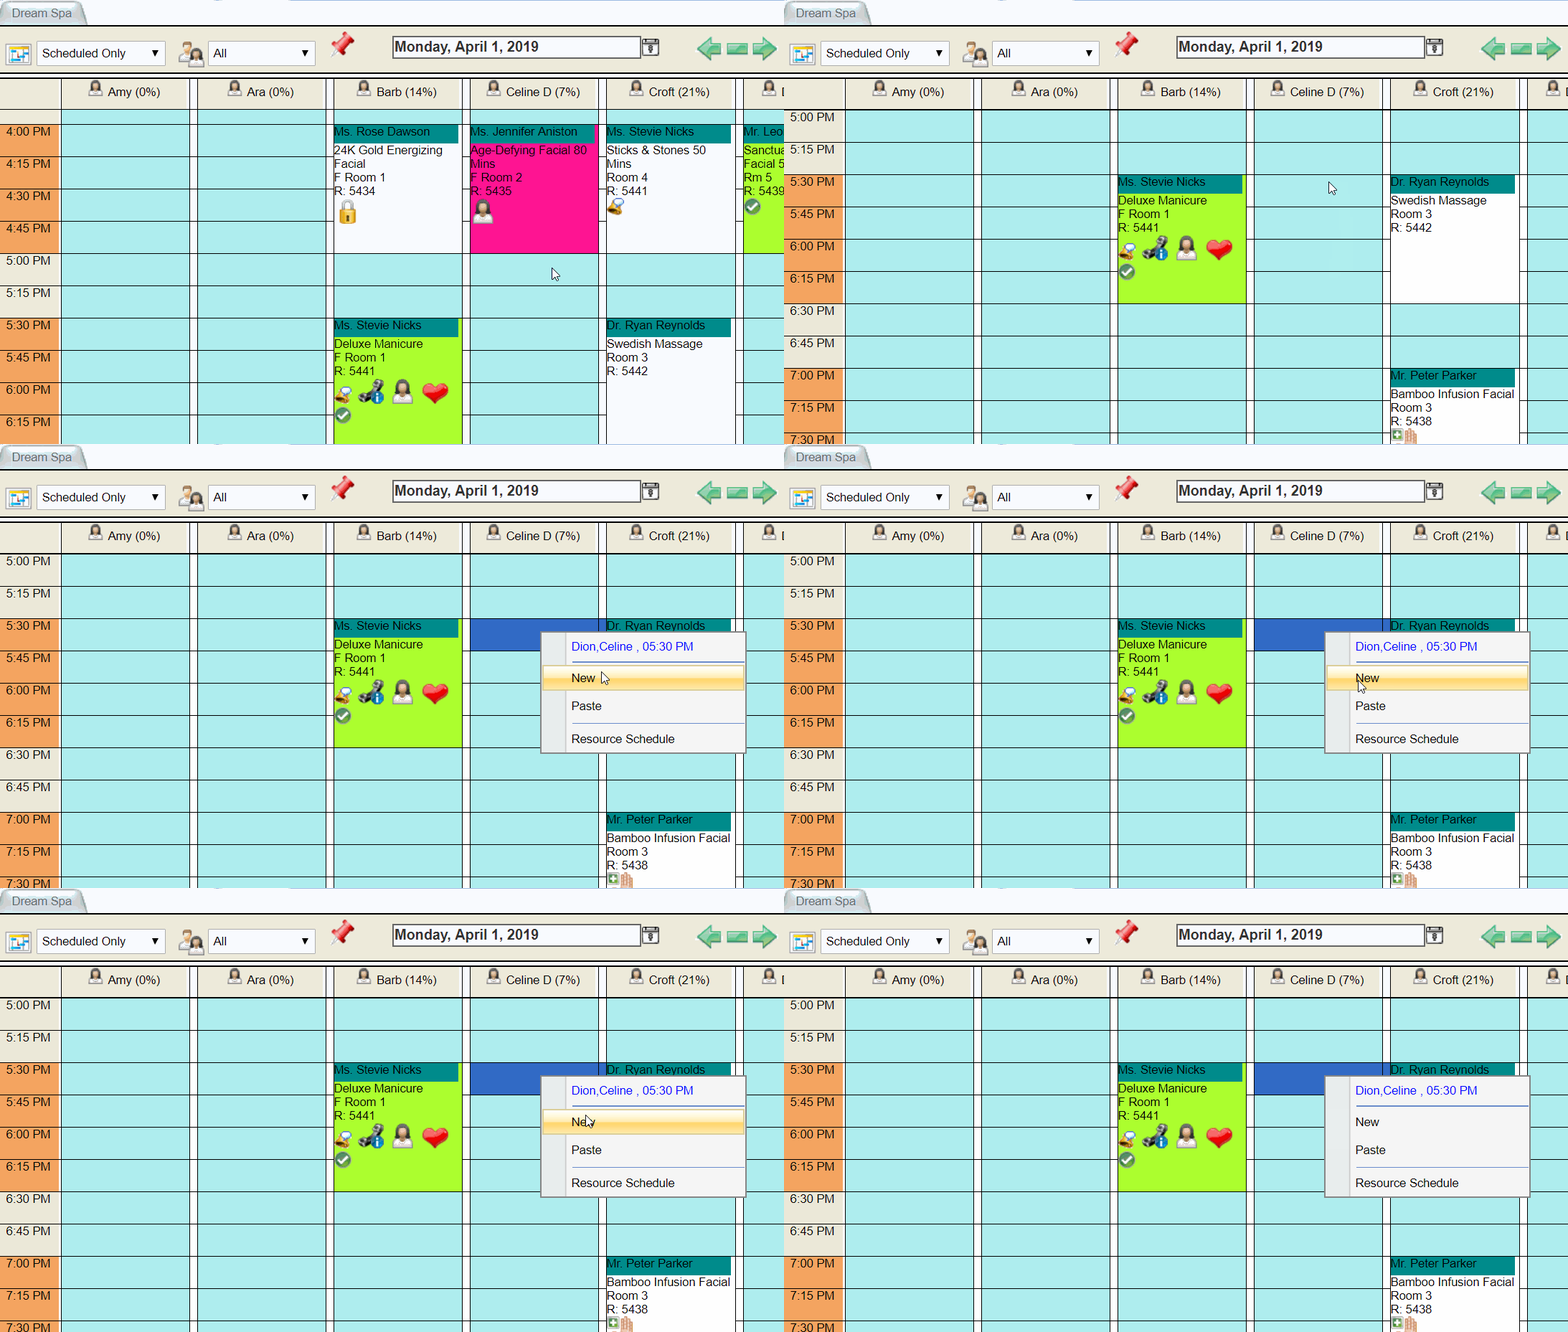
Step 2:
Sort through the list of Qualified Activities & select the Activity you would like to book
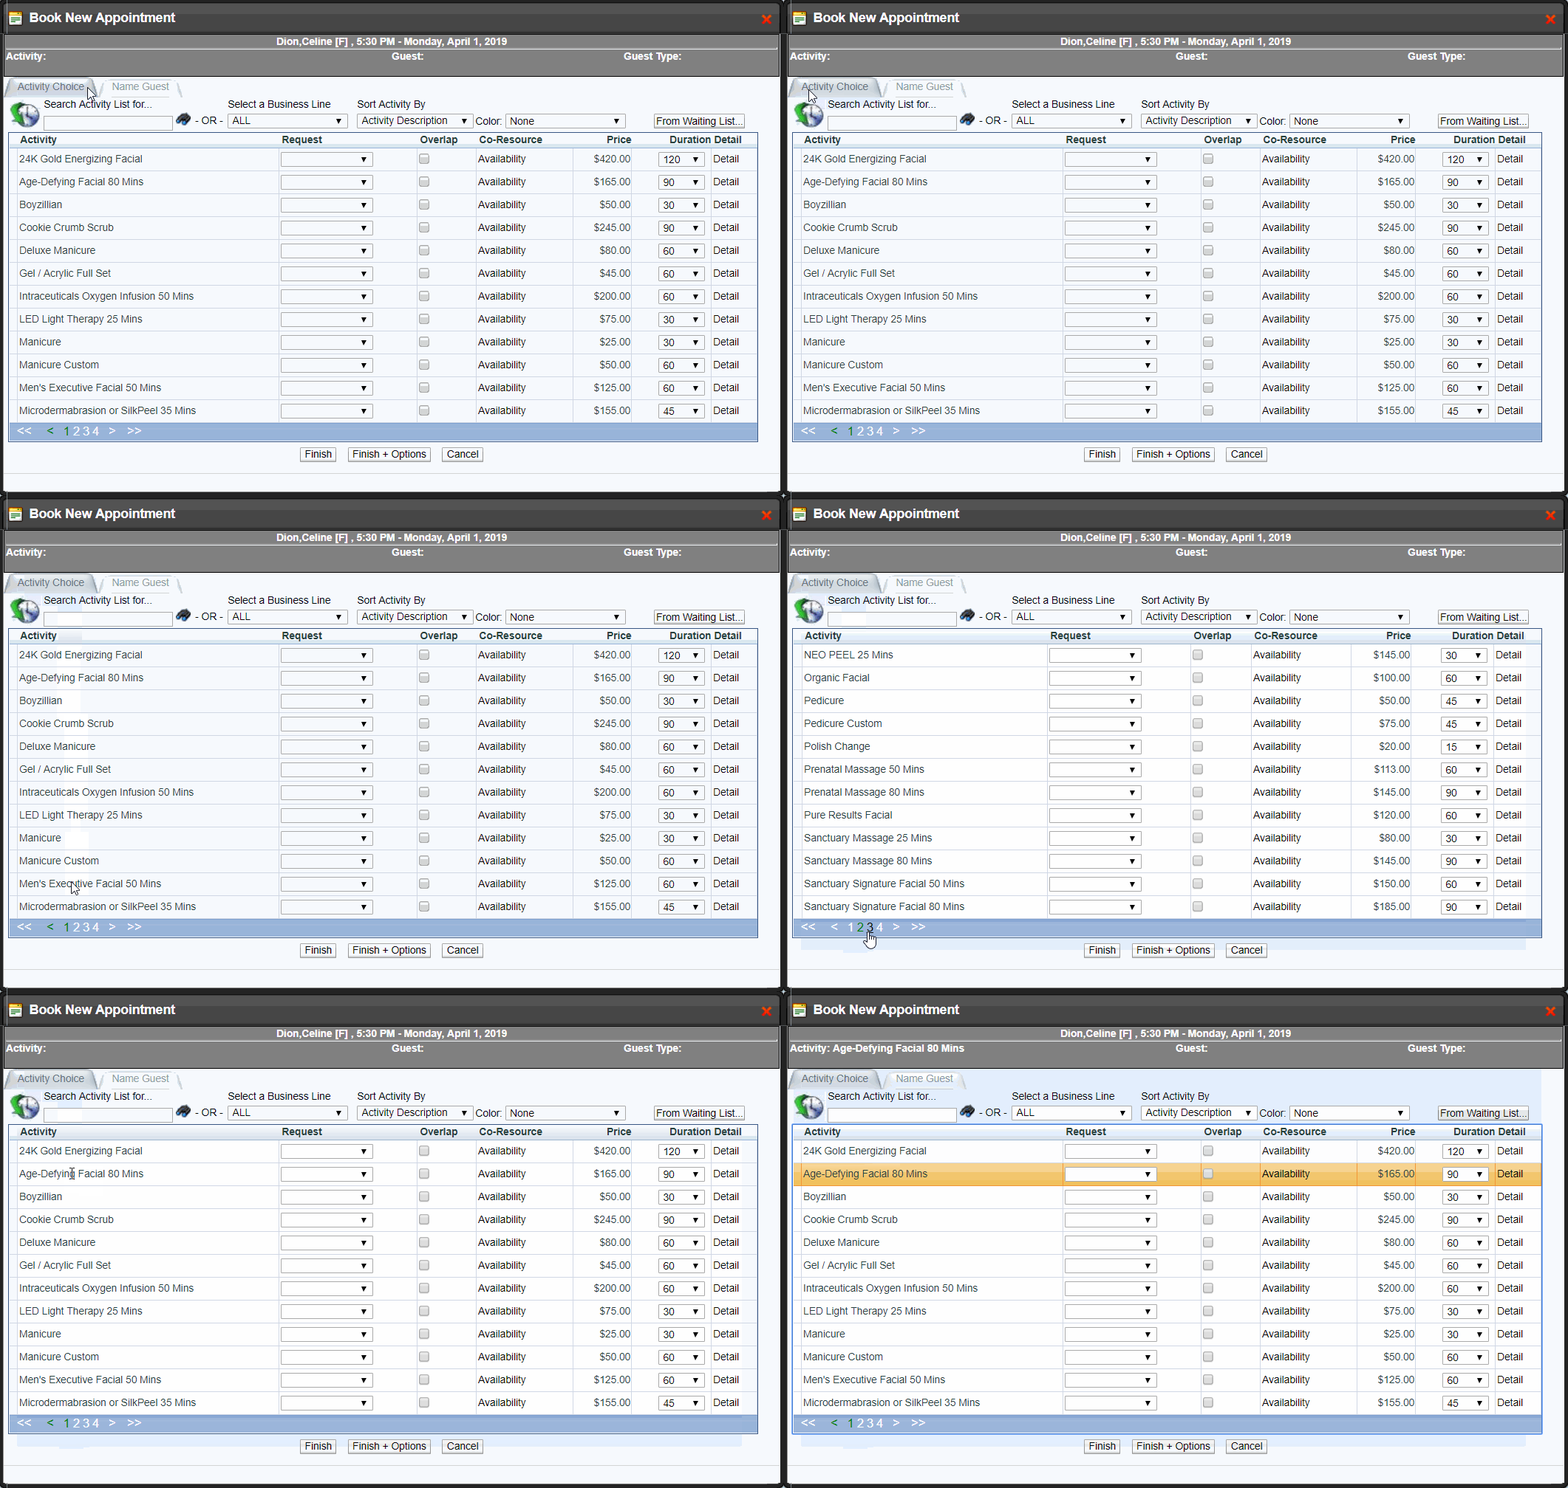
Step 3:
Specify the type of Resource Request
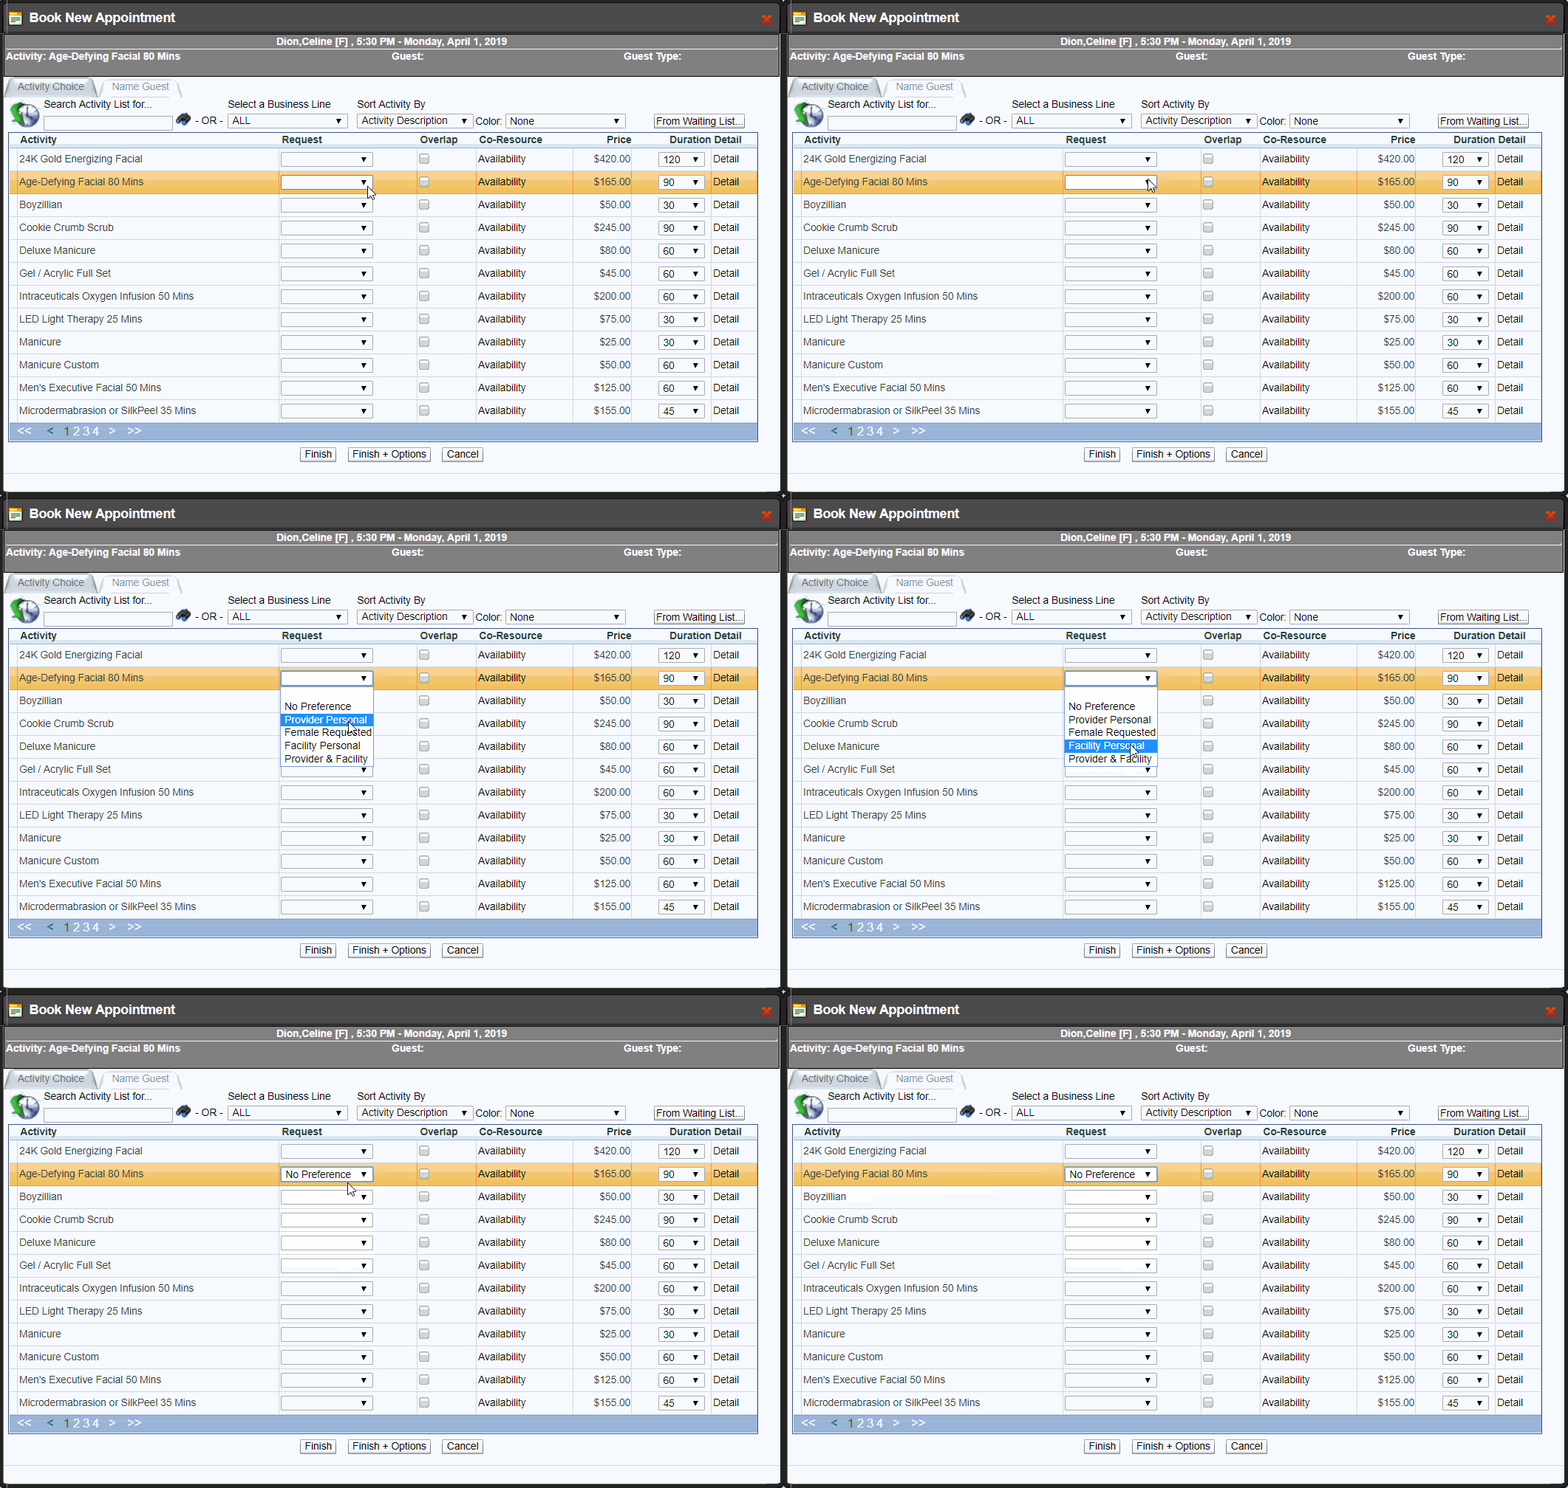
Step 4:
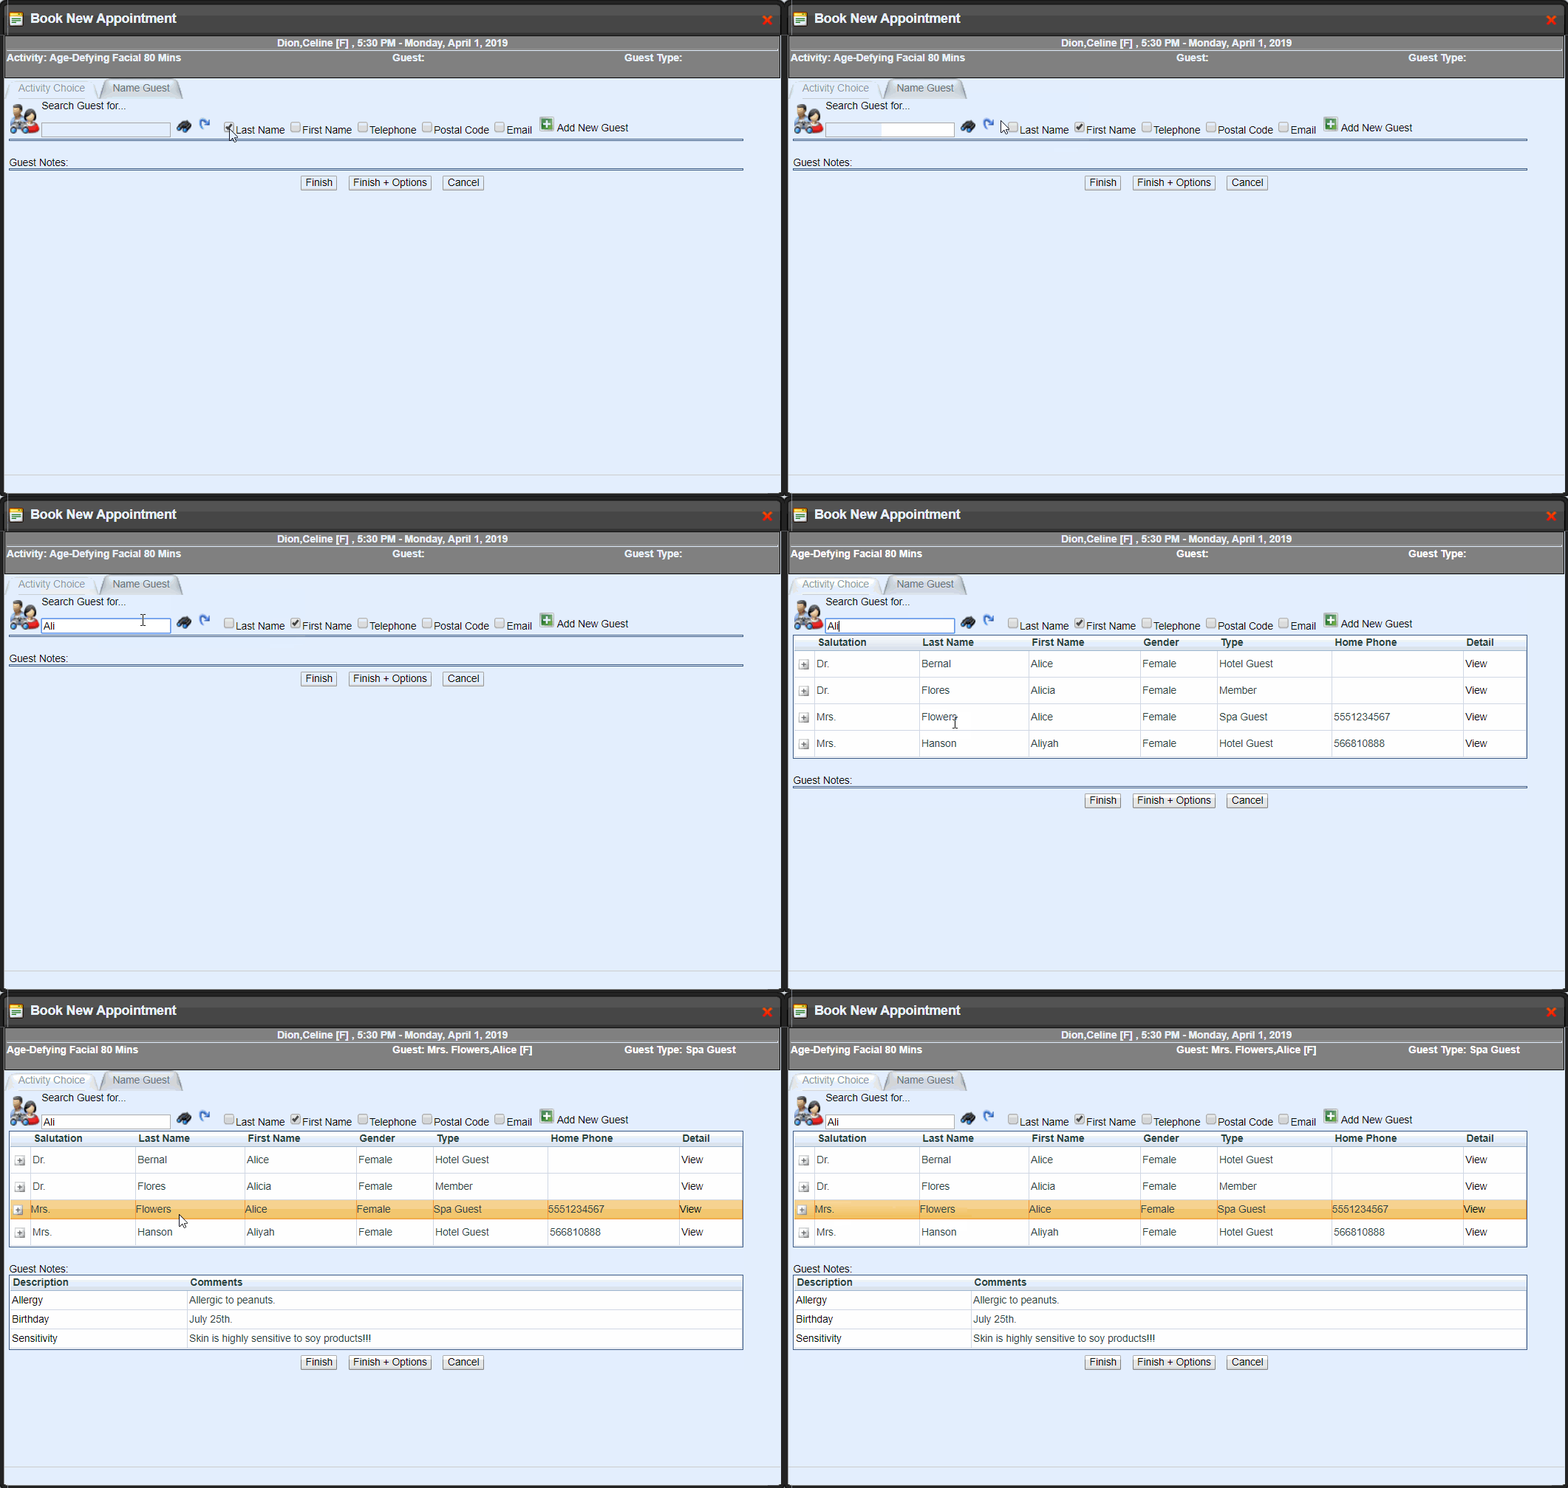
Select the Name Guest tab - you can always toggle between the Activity Choice & Name Guest tabs
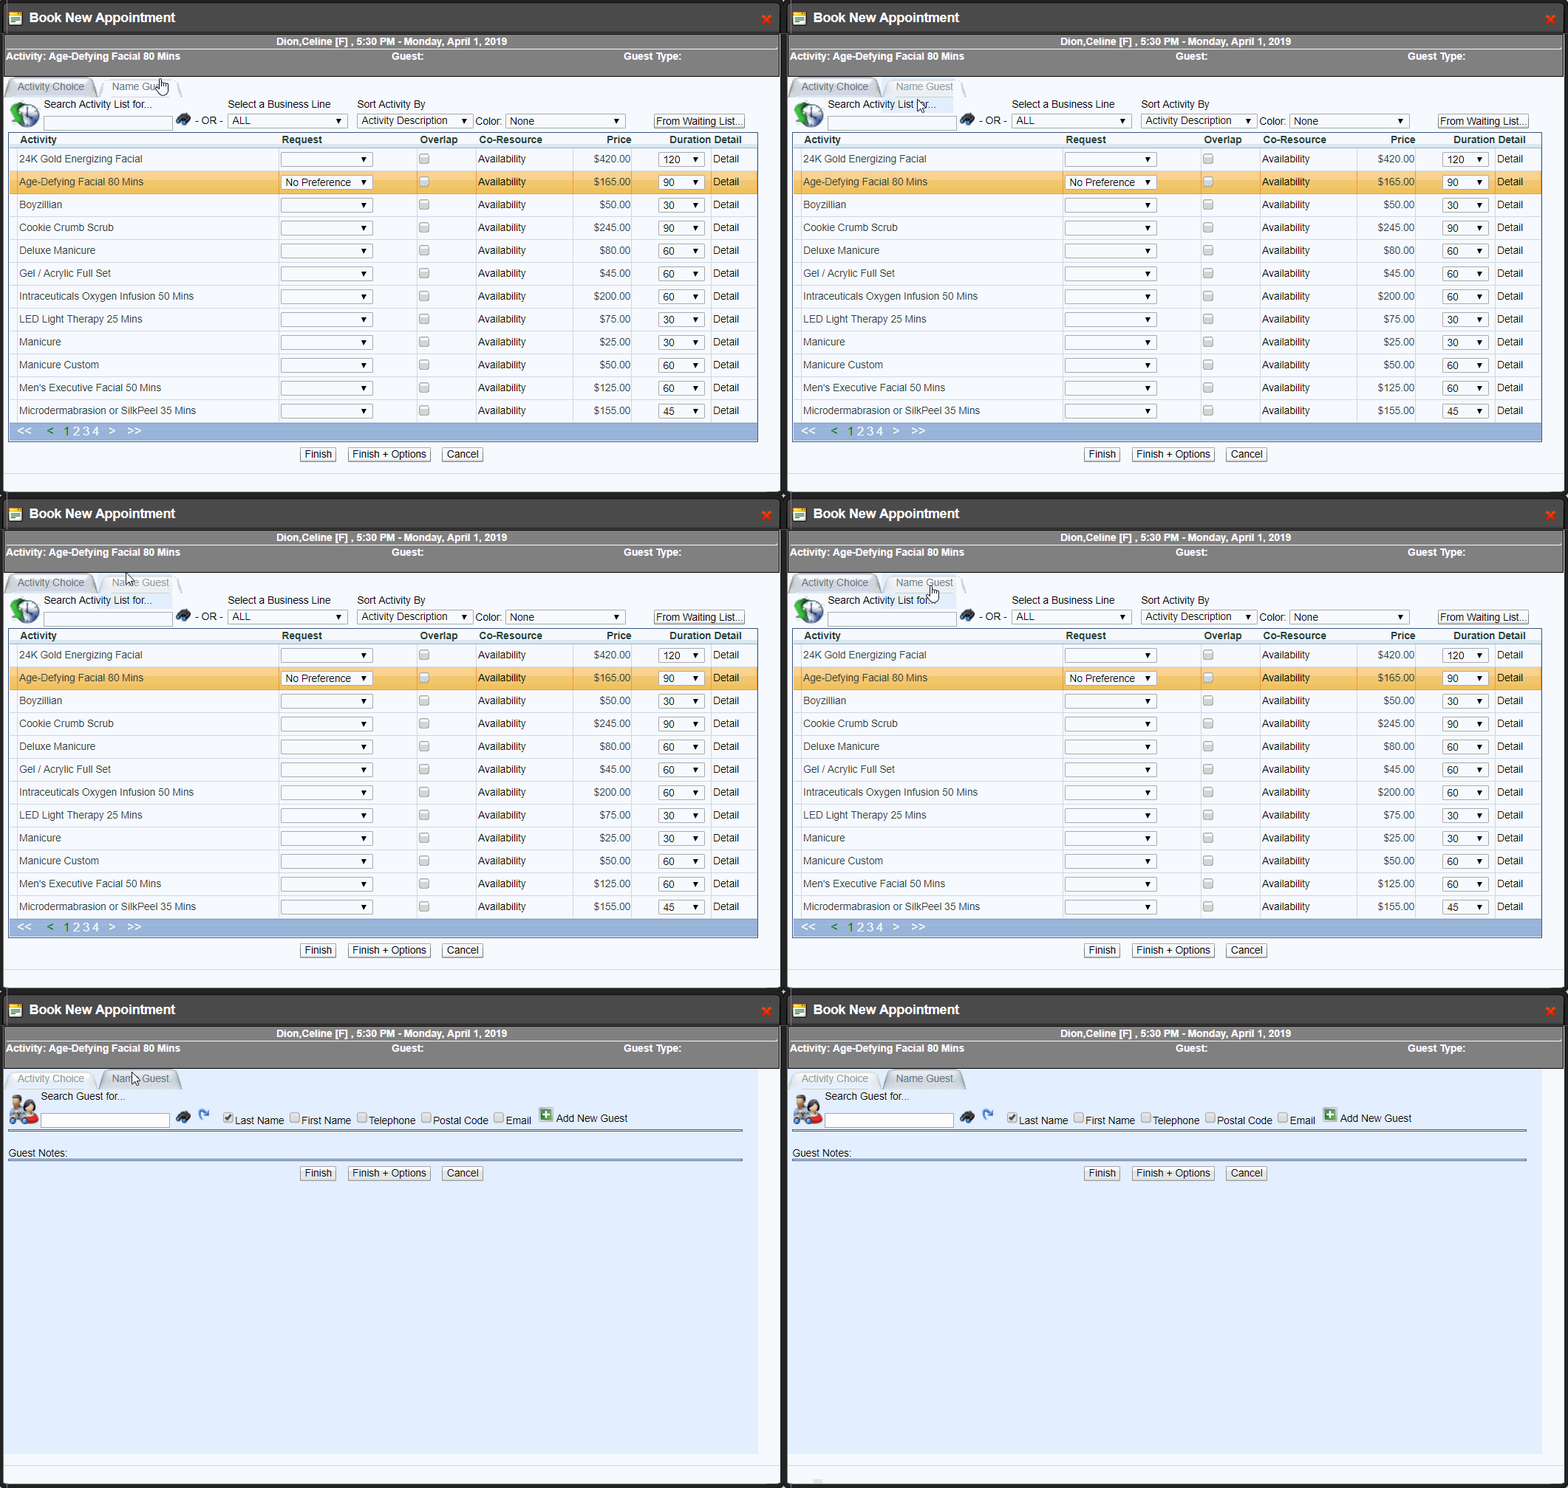
Step 5:
Search the Guest and select the Guest Name
Step 6:
Select Finish - you have booked an appointment!
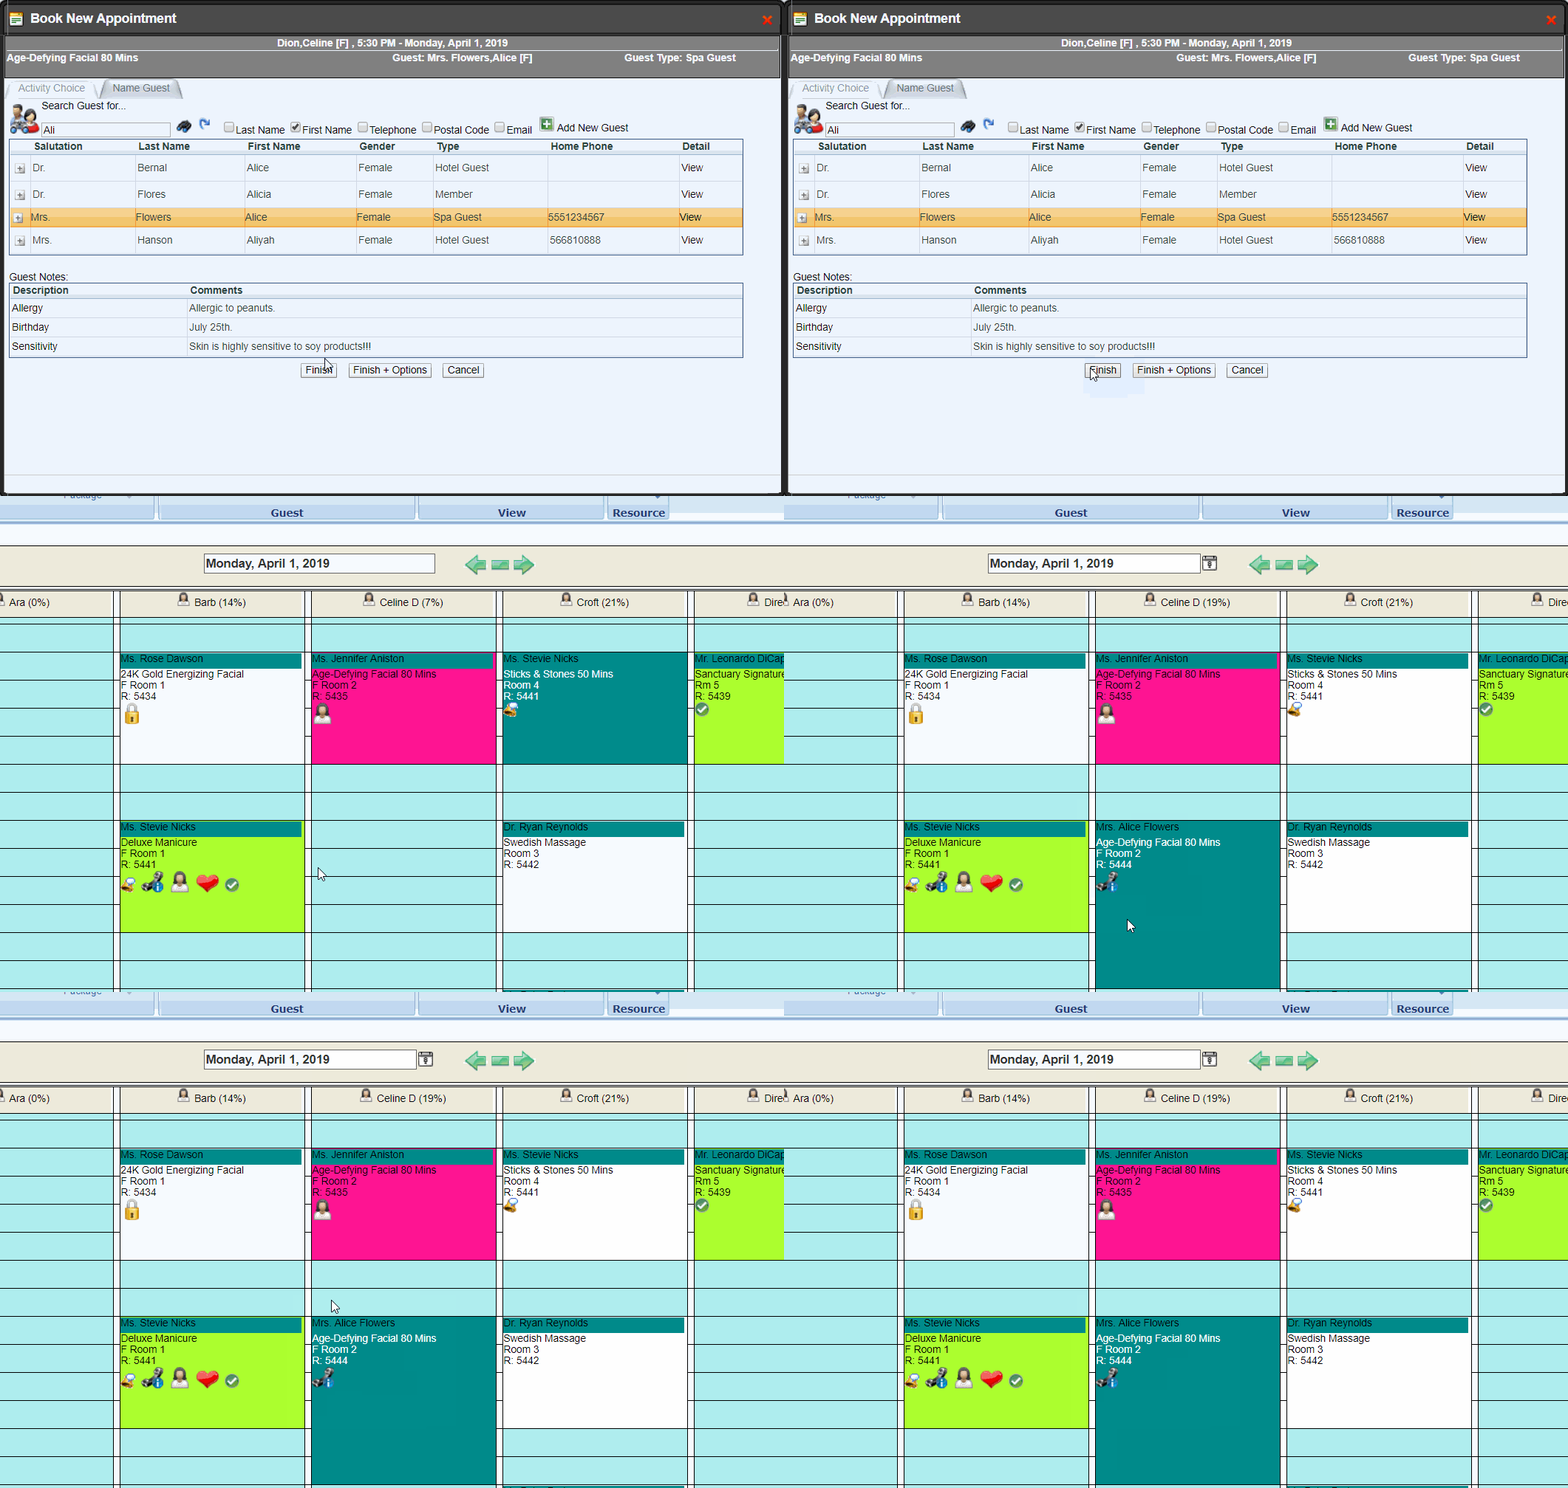
I.E. When booking a couples massage the Facility will be overlapped, so you will book under the Facility instead of Provider.
Part 1 - Book the first appointment under the Resource that will be overlapped
Step 1:
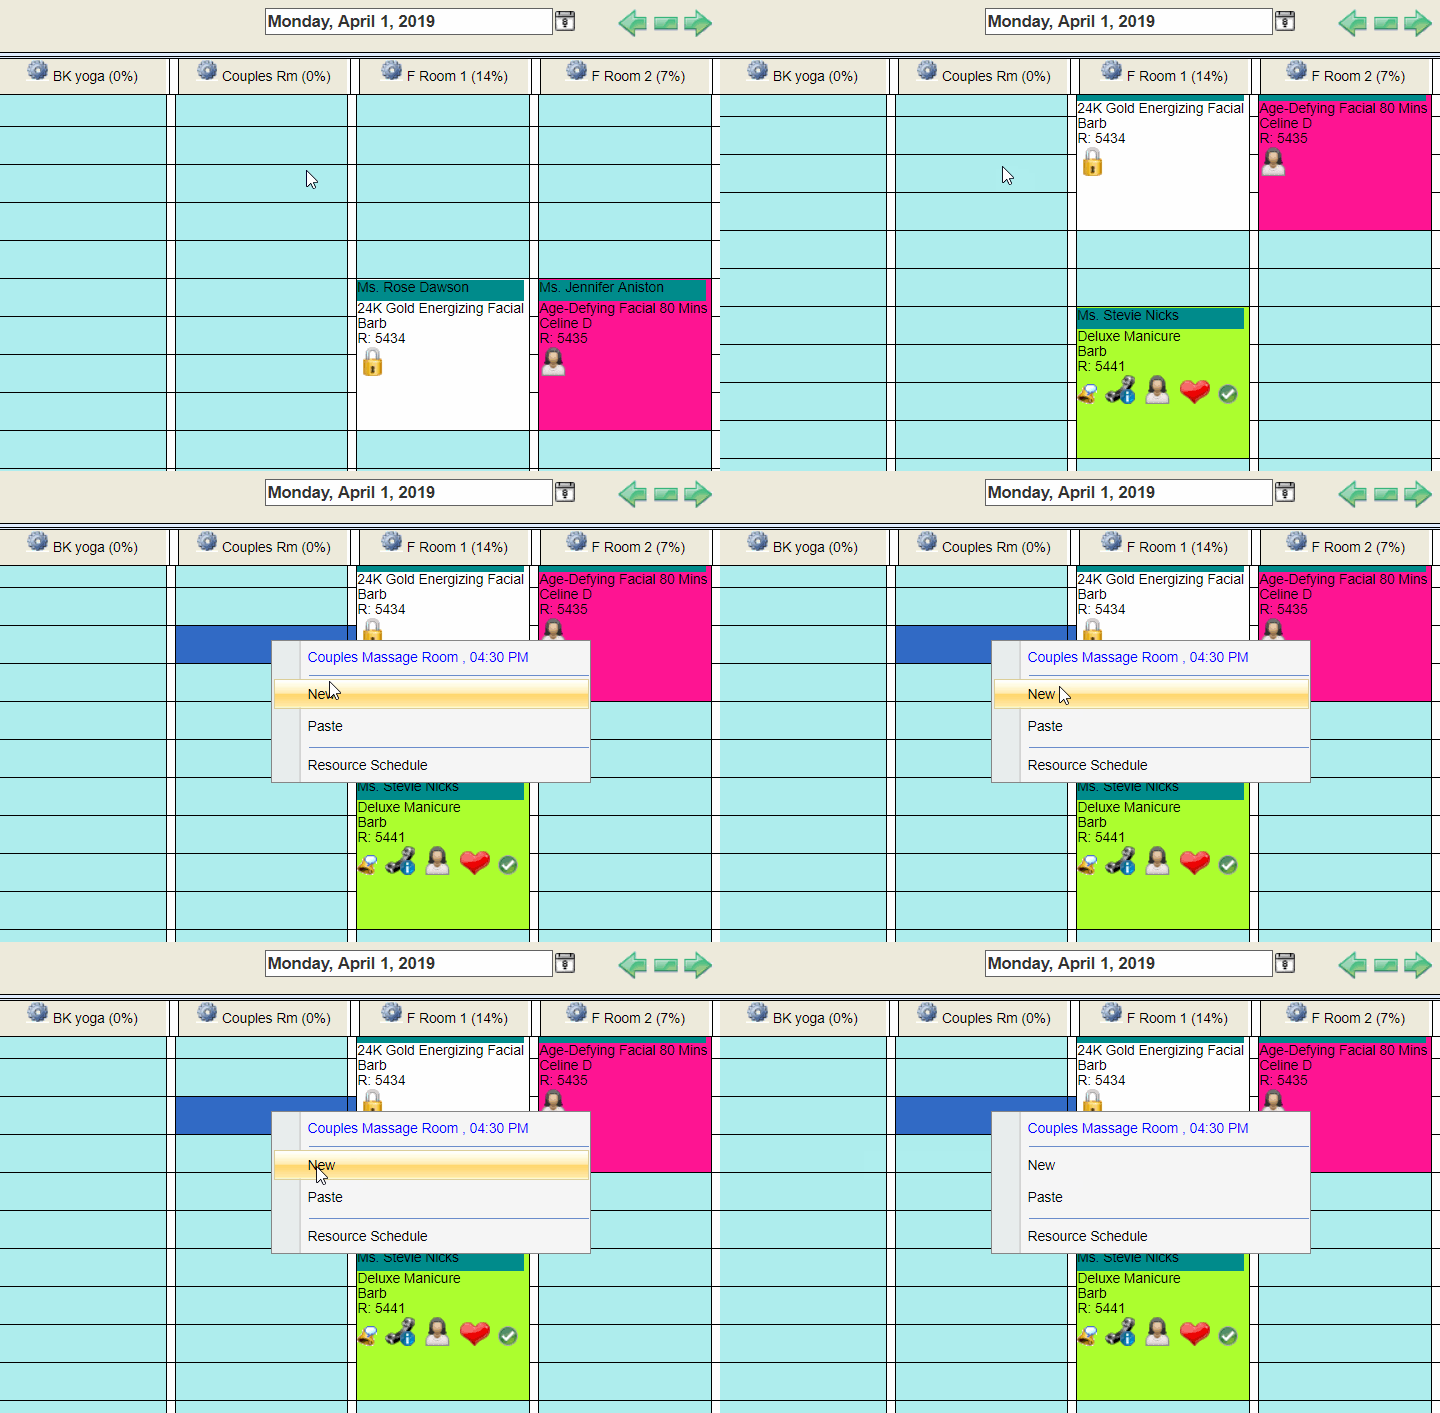
DOUBLE-CLICK an available timeslot and select “New”
Step 2:
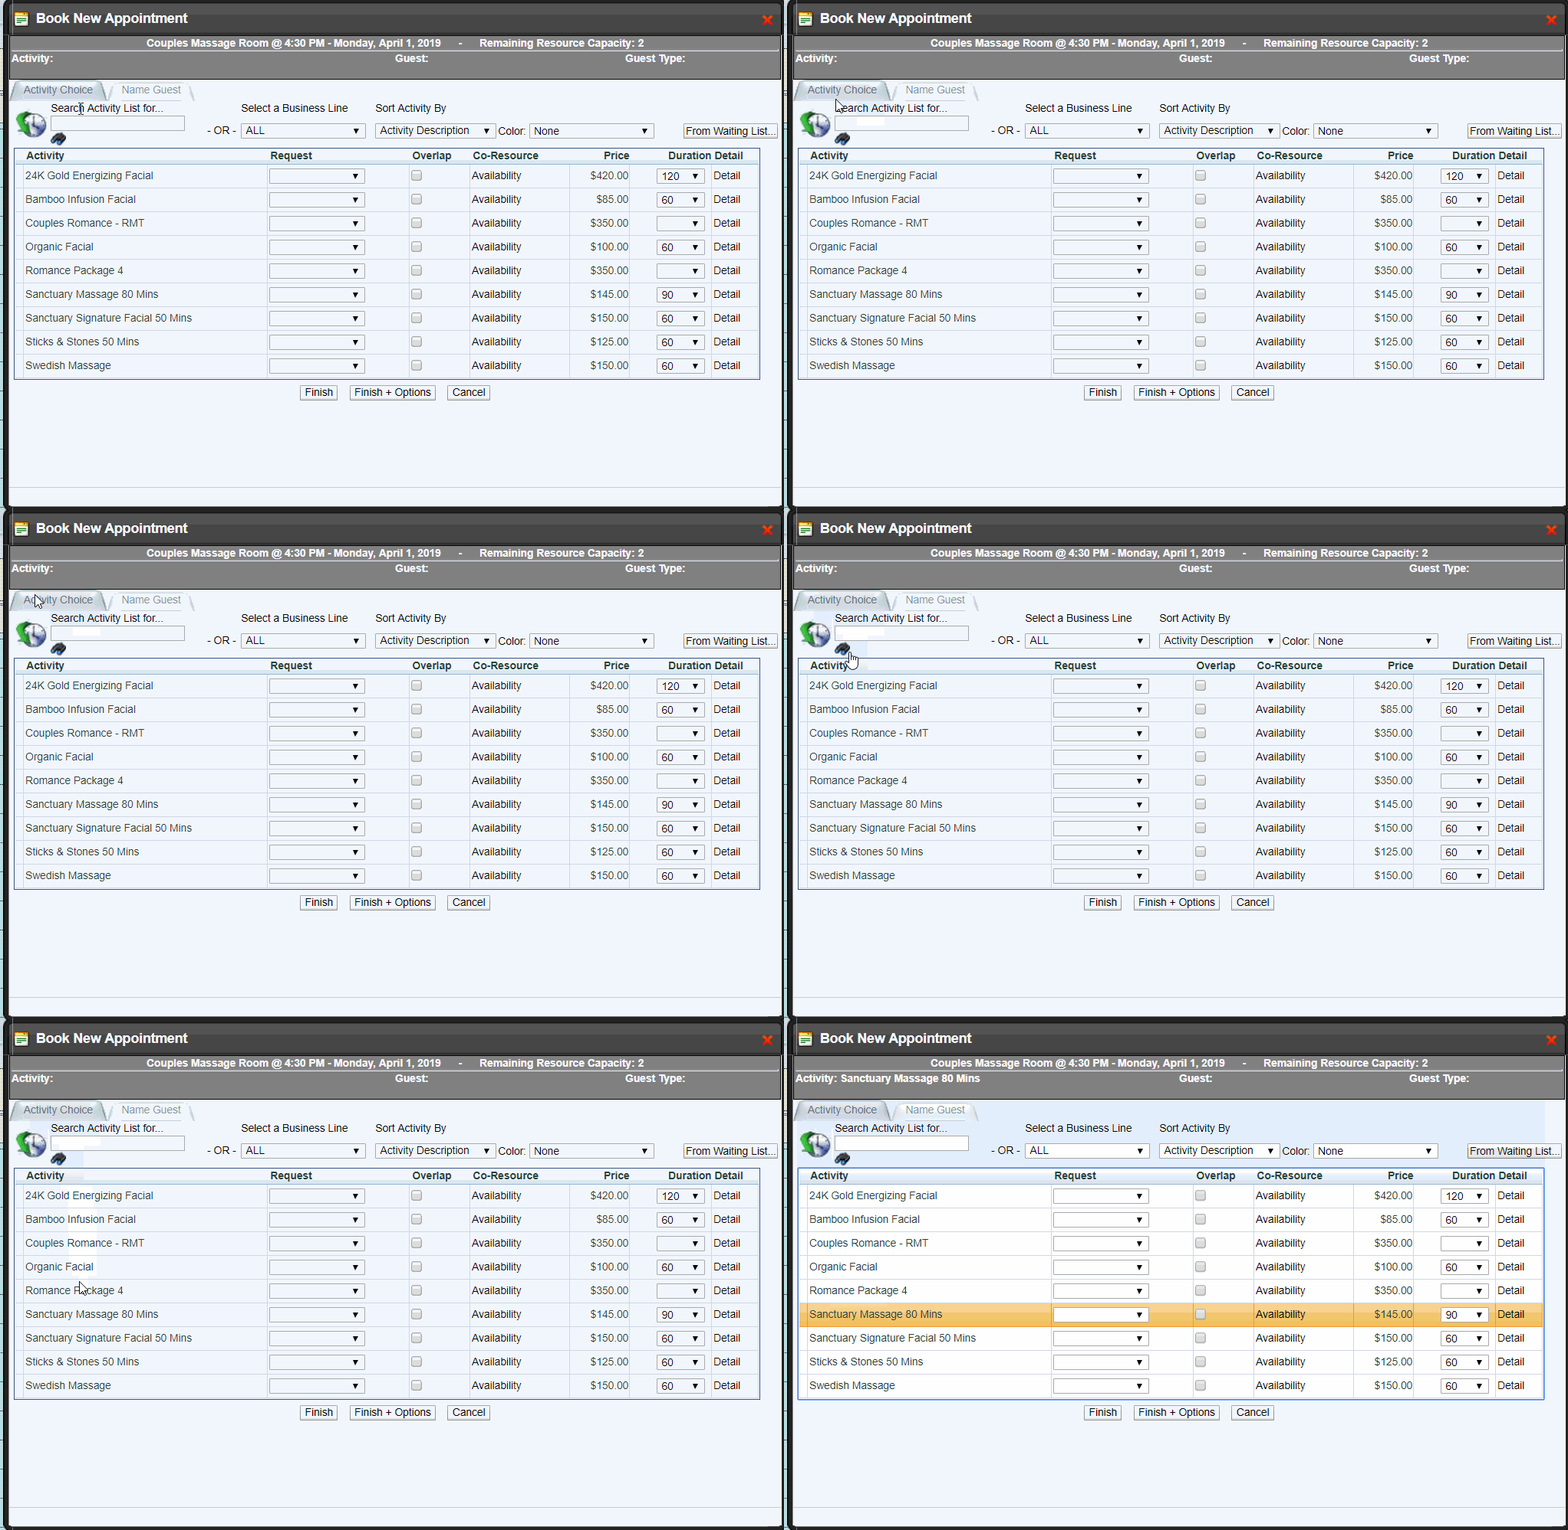
Sort through the list of Qualified Activities & select the Activity you would like to book
Step 3:
Specify the type of Resource Request
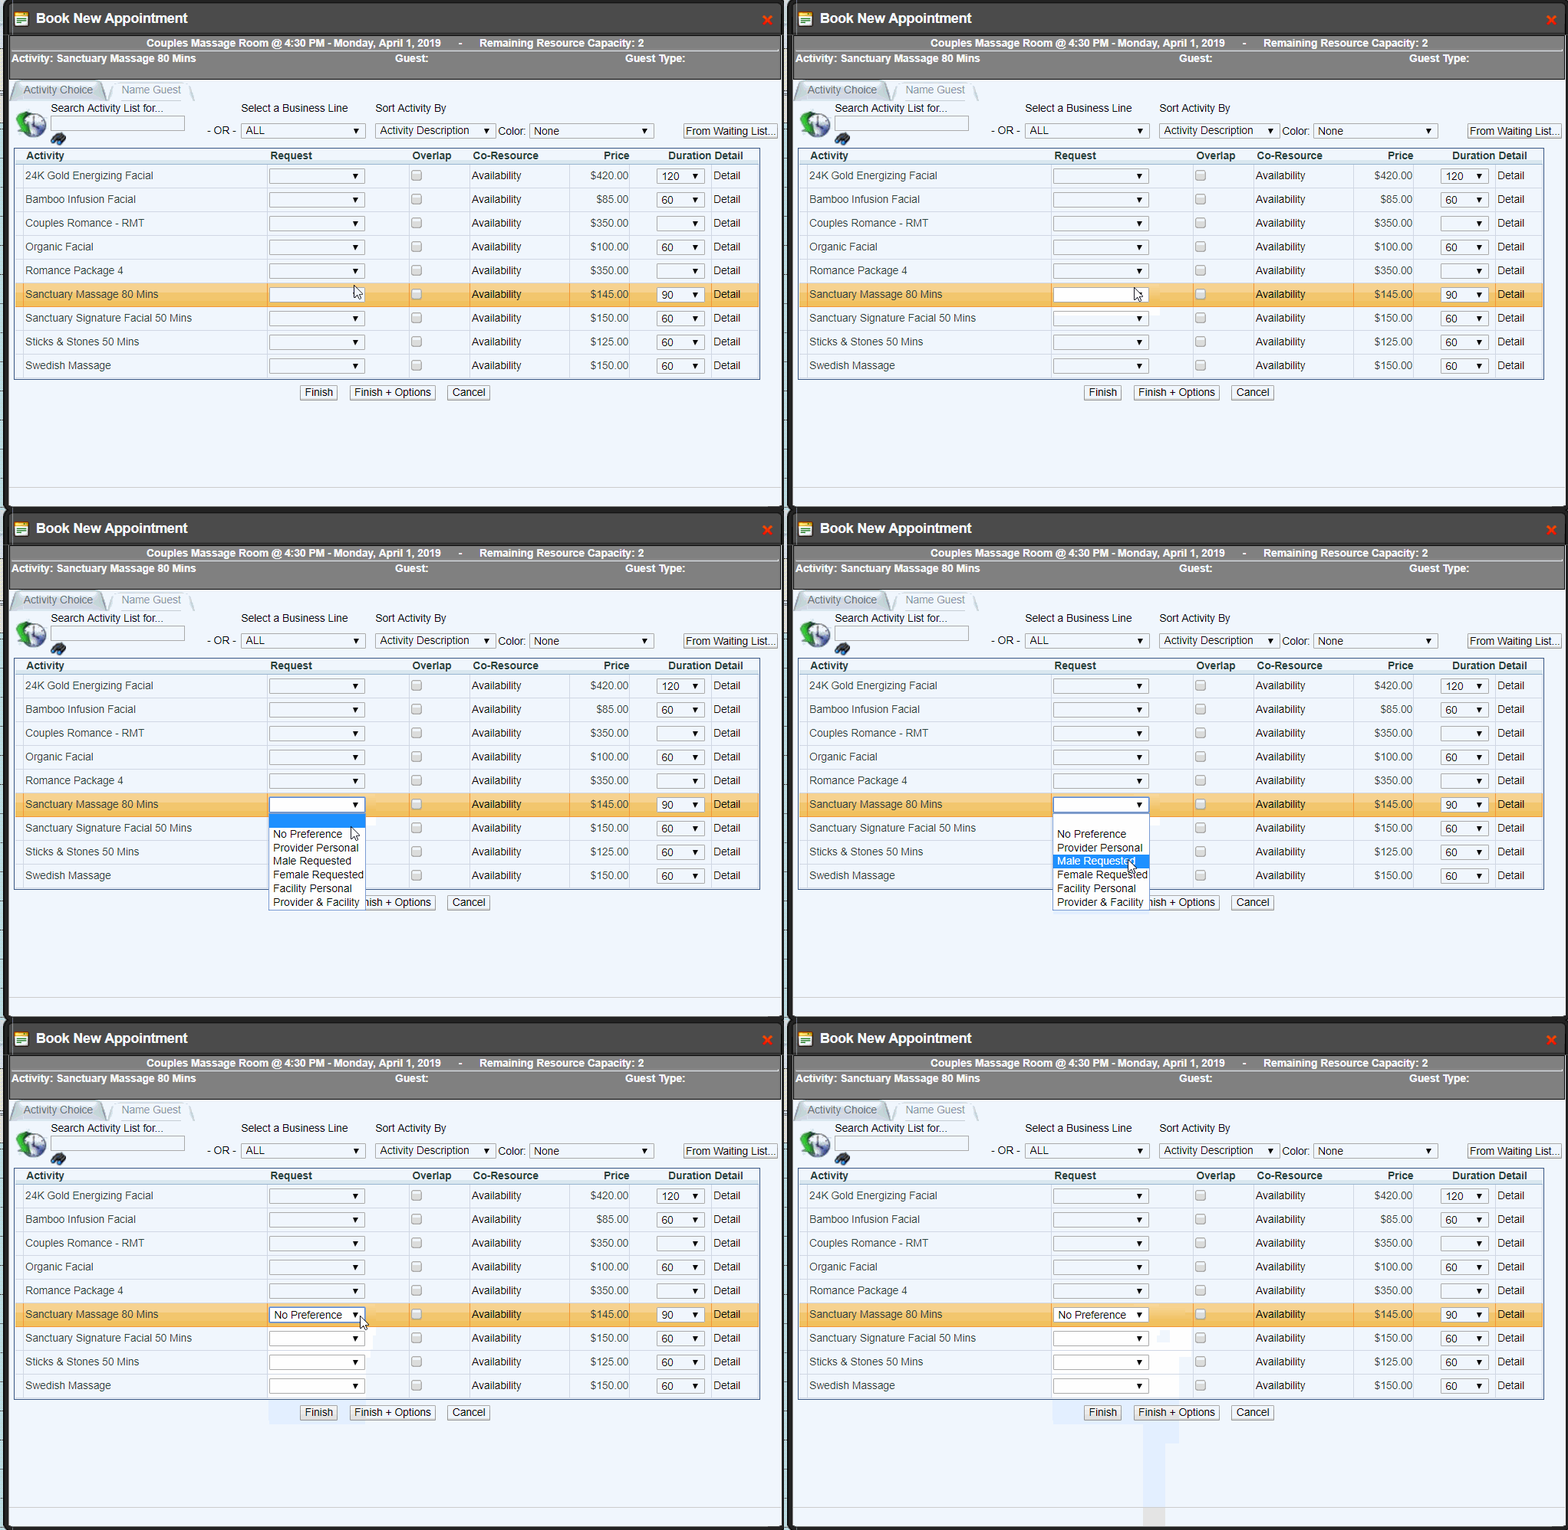
Step 4:
Select the “Overlap” checkbox
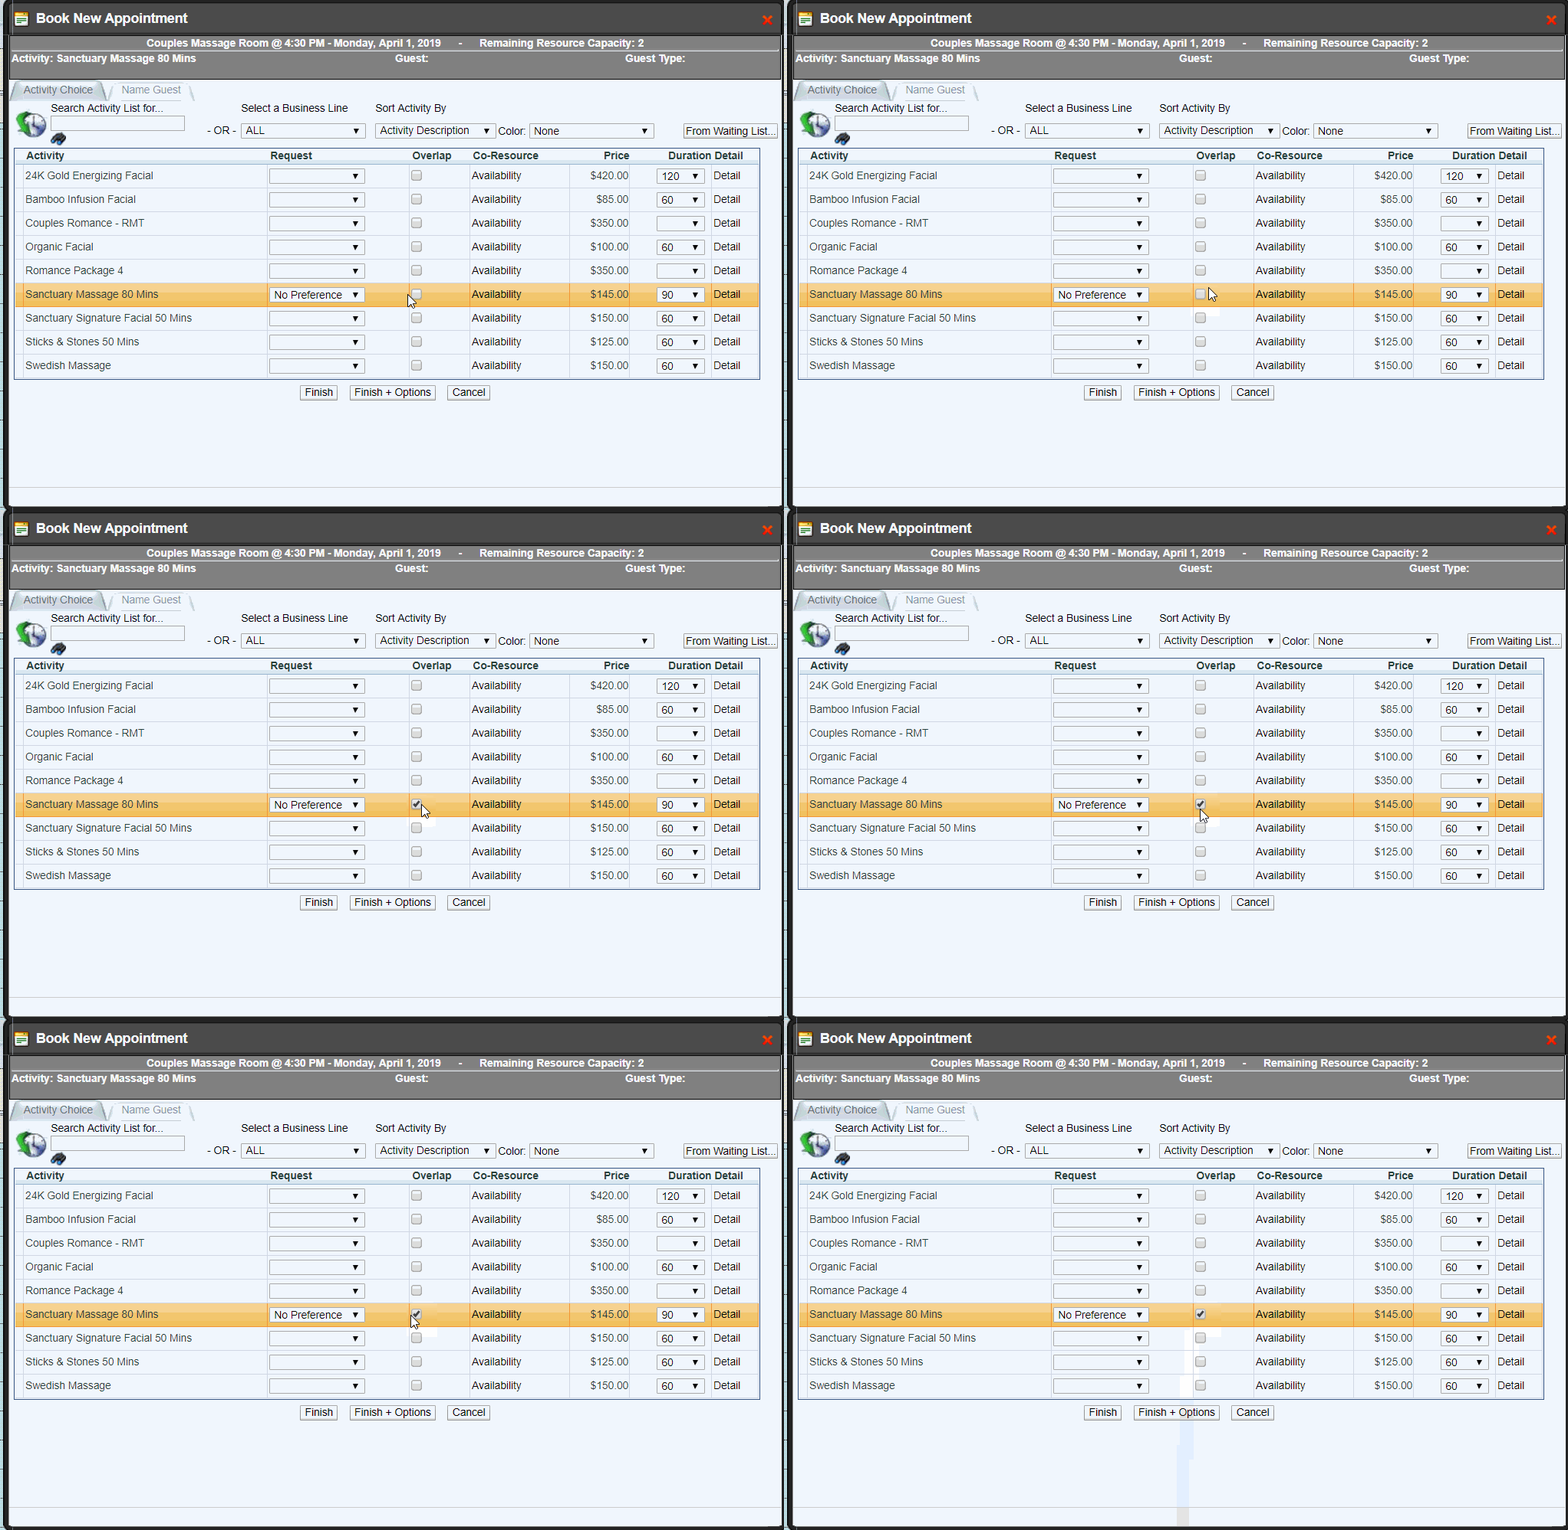
Step 5:
Select the Name Guest tab - search the Guest for the first appointment and select the Guest Name
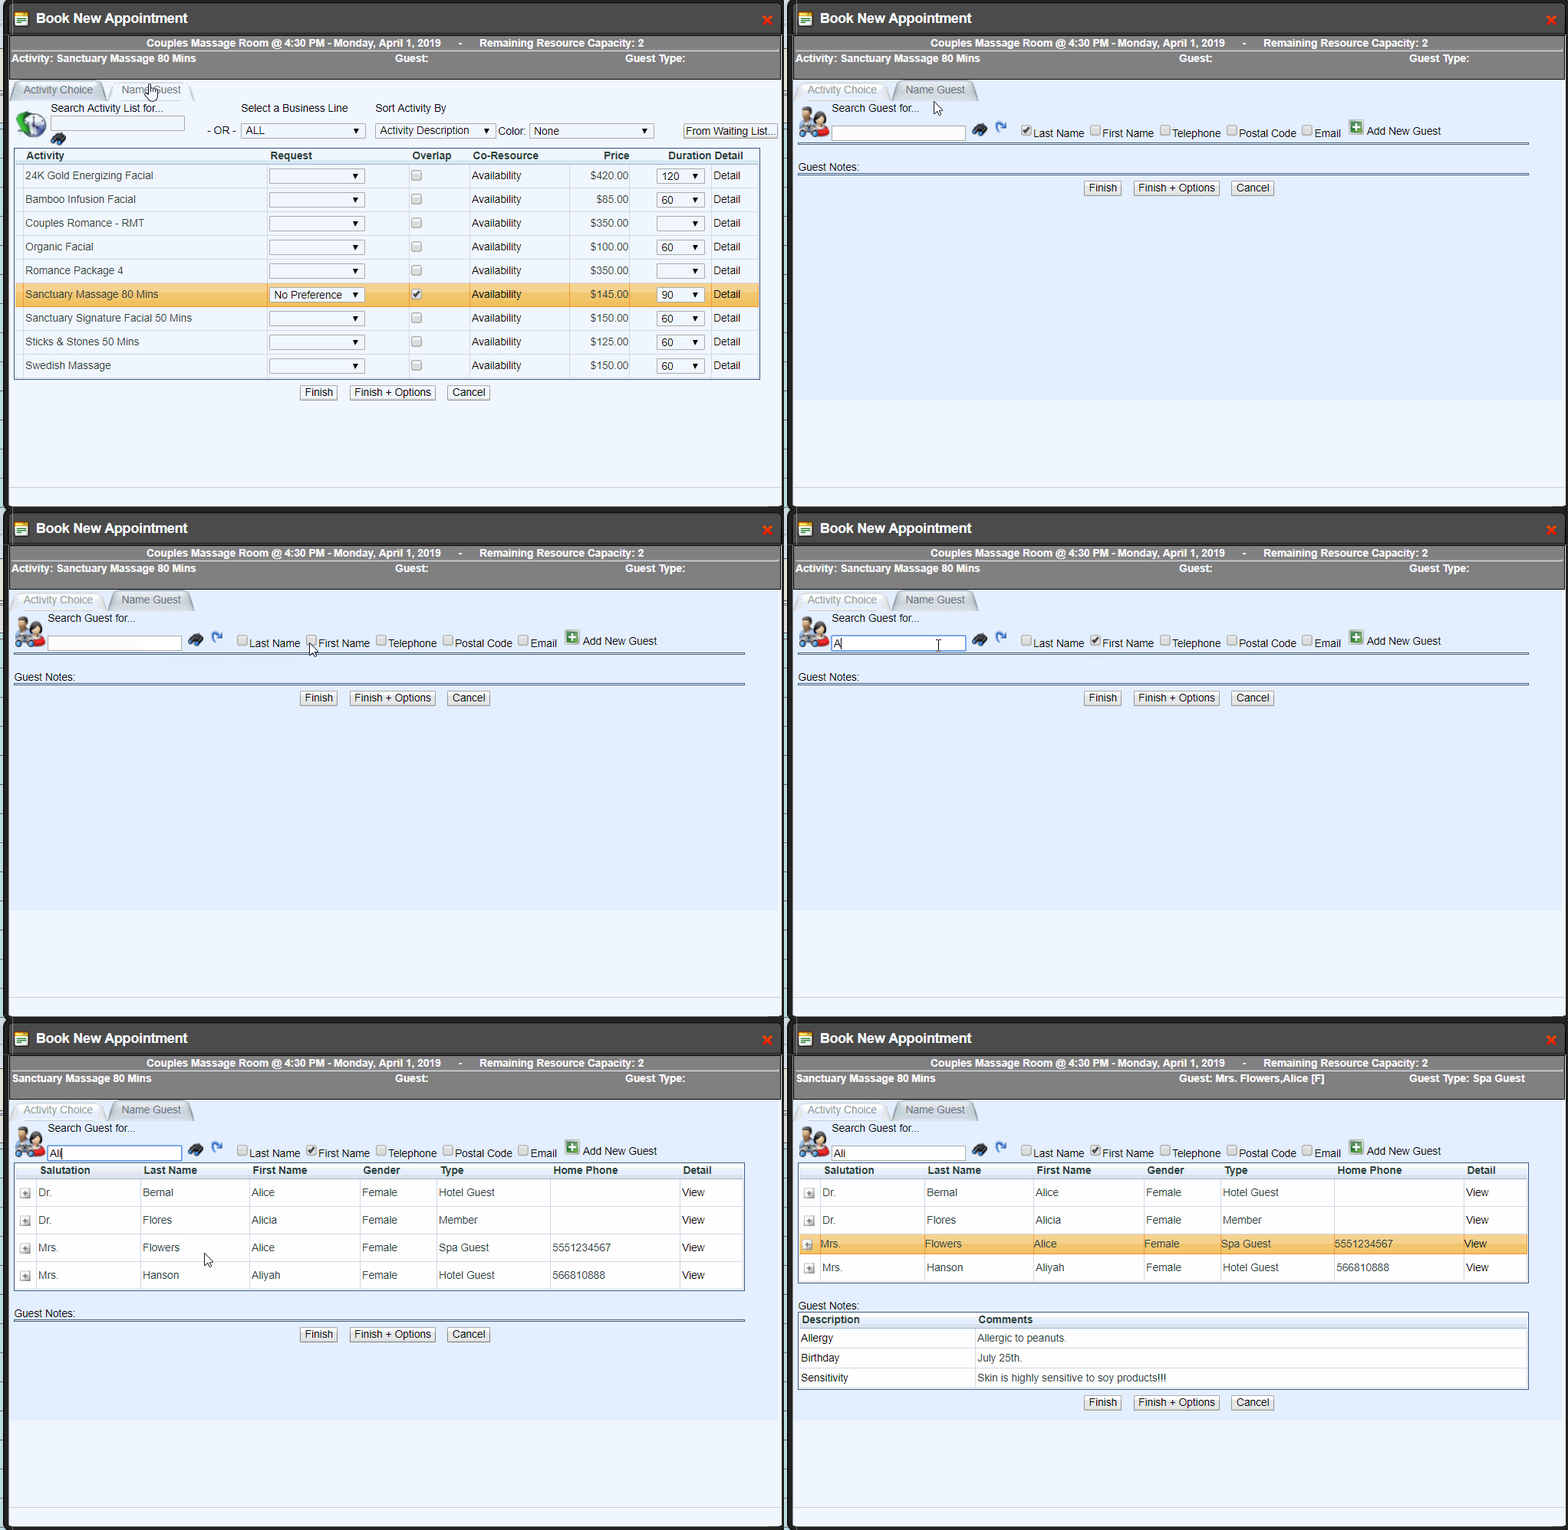
Step 6:
Select Finish - you have booked the first overlapped appointment!
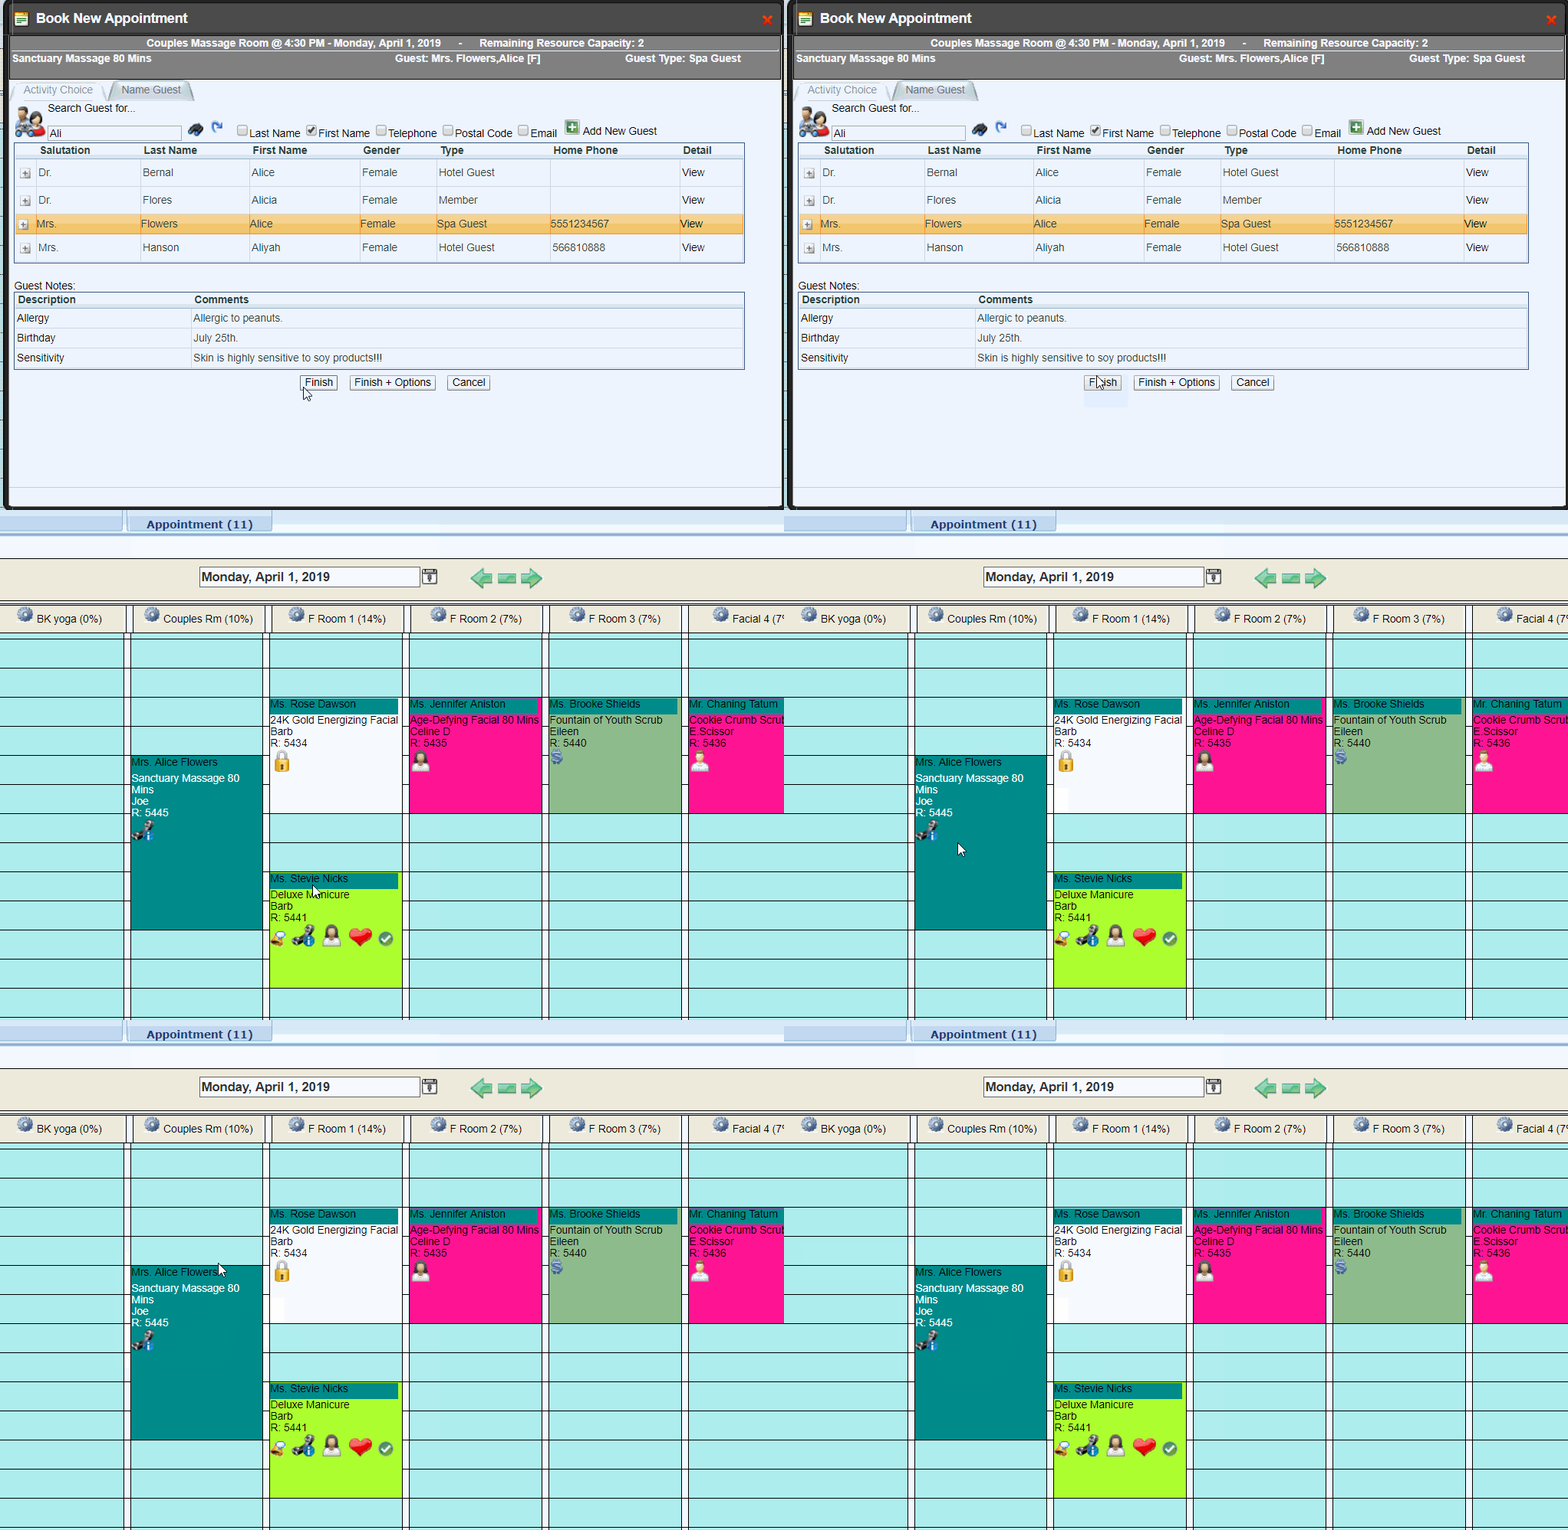
Part 2 - Book the second appointment under the Resource that will be overlapped
Step 1:
DOUBLE CLICK on the WHITE slot next to the first booked appointment & select “New”
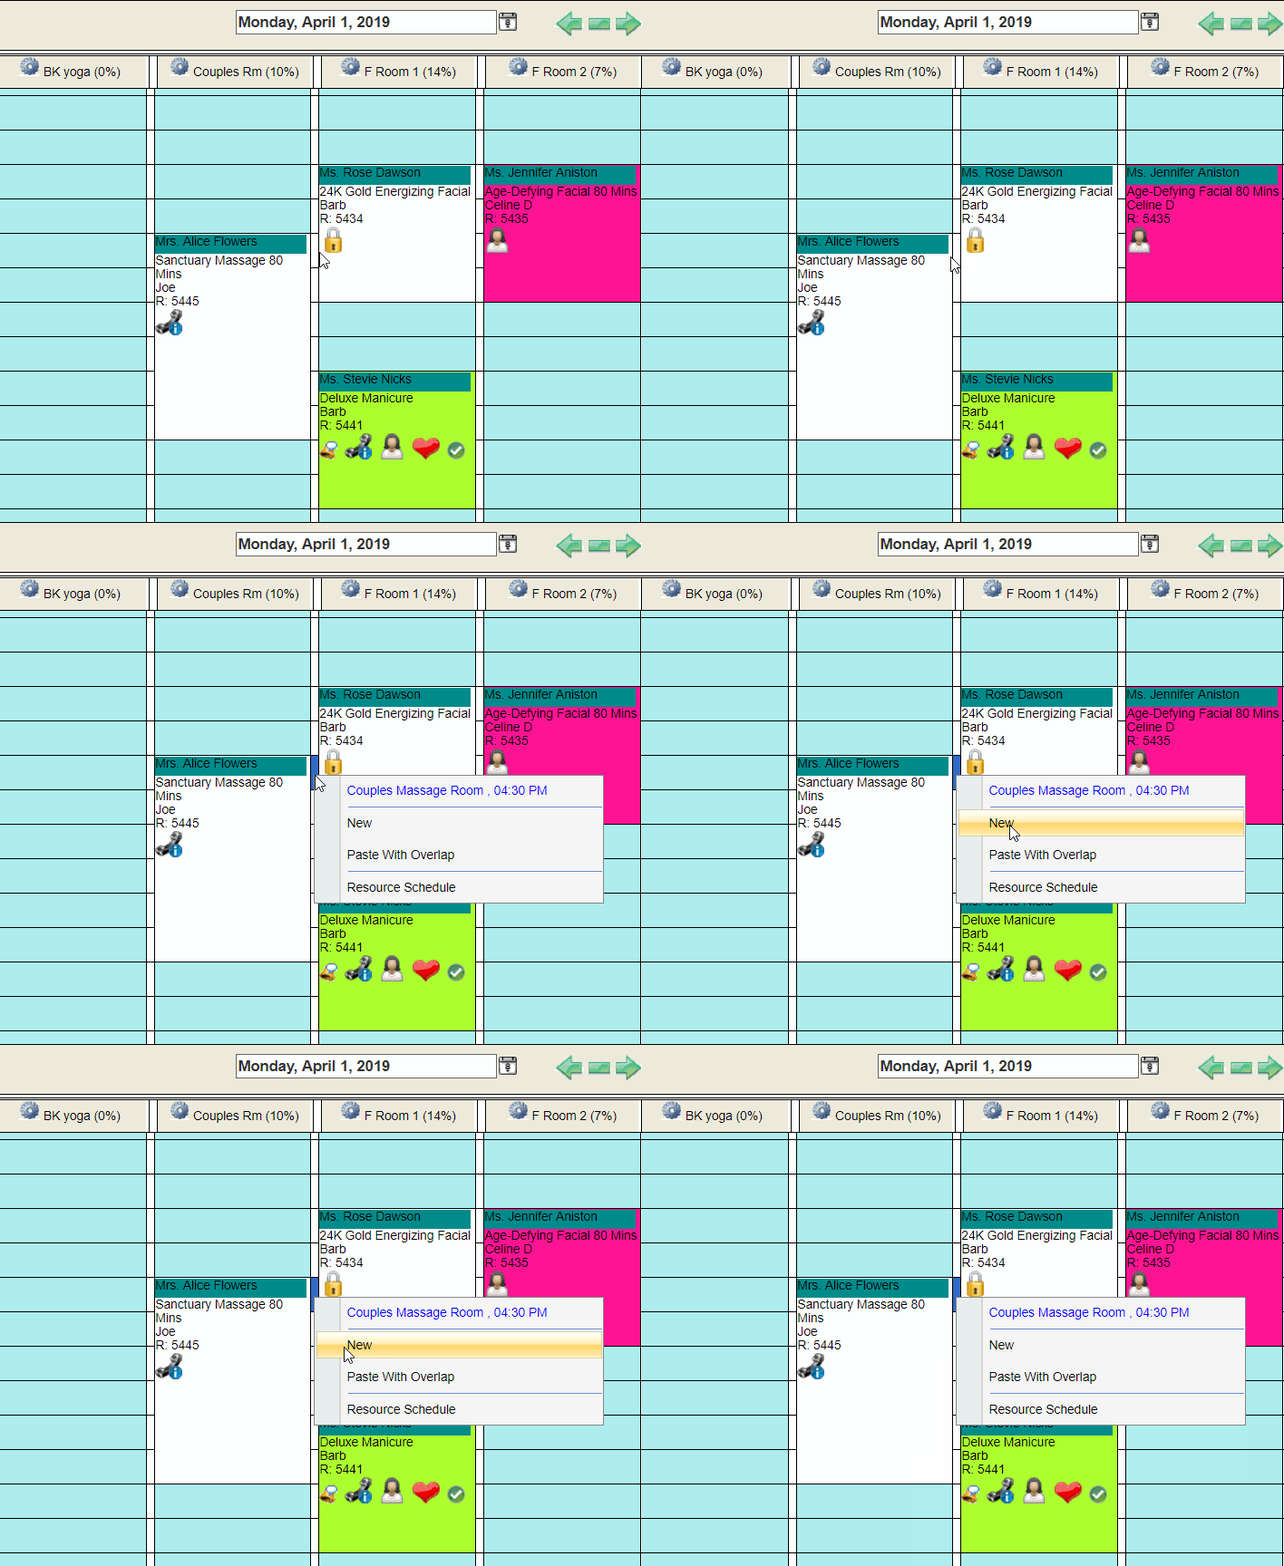
Step 2:
Sort through the list of Qualified Activities & select the Activity you would like to book
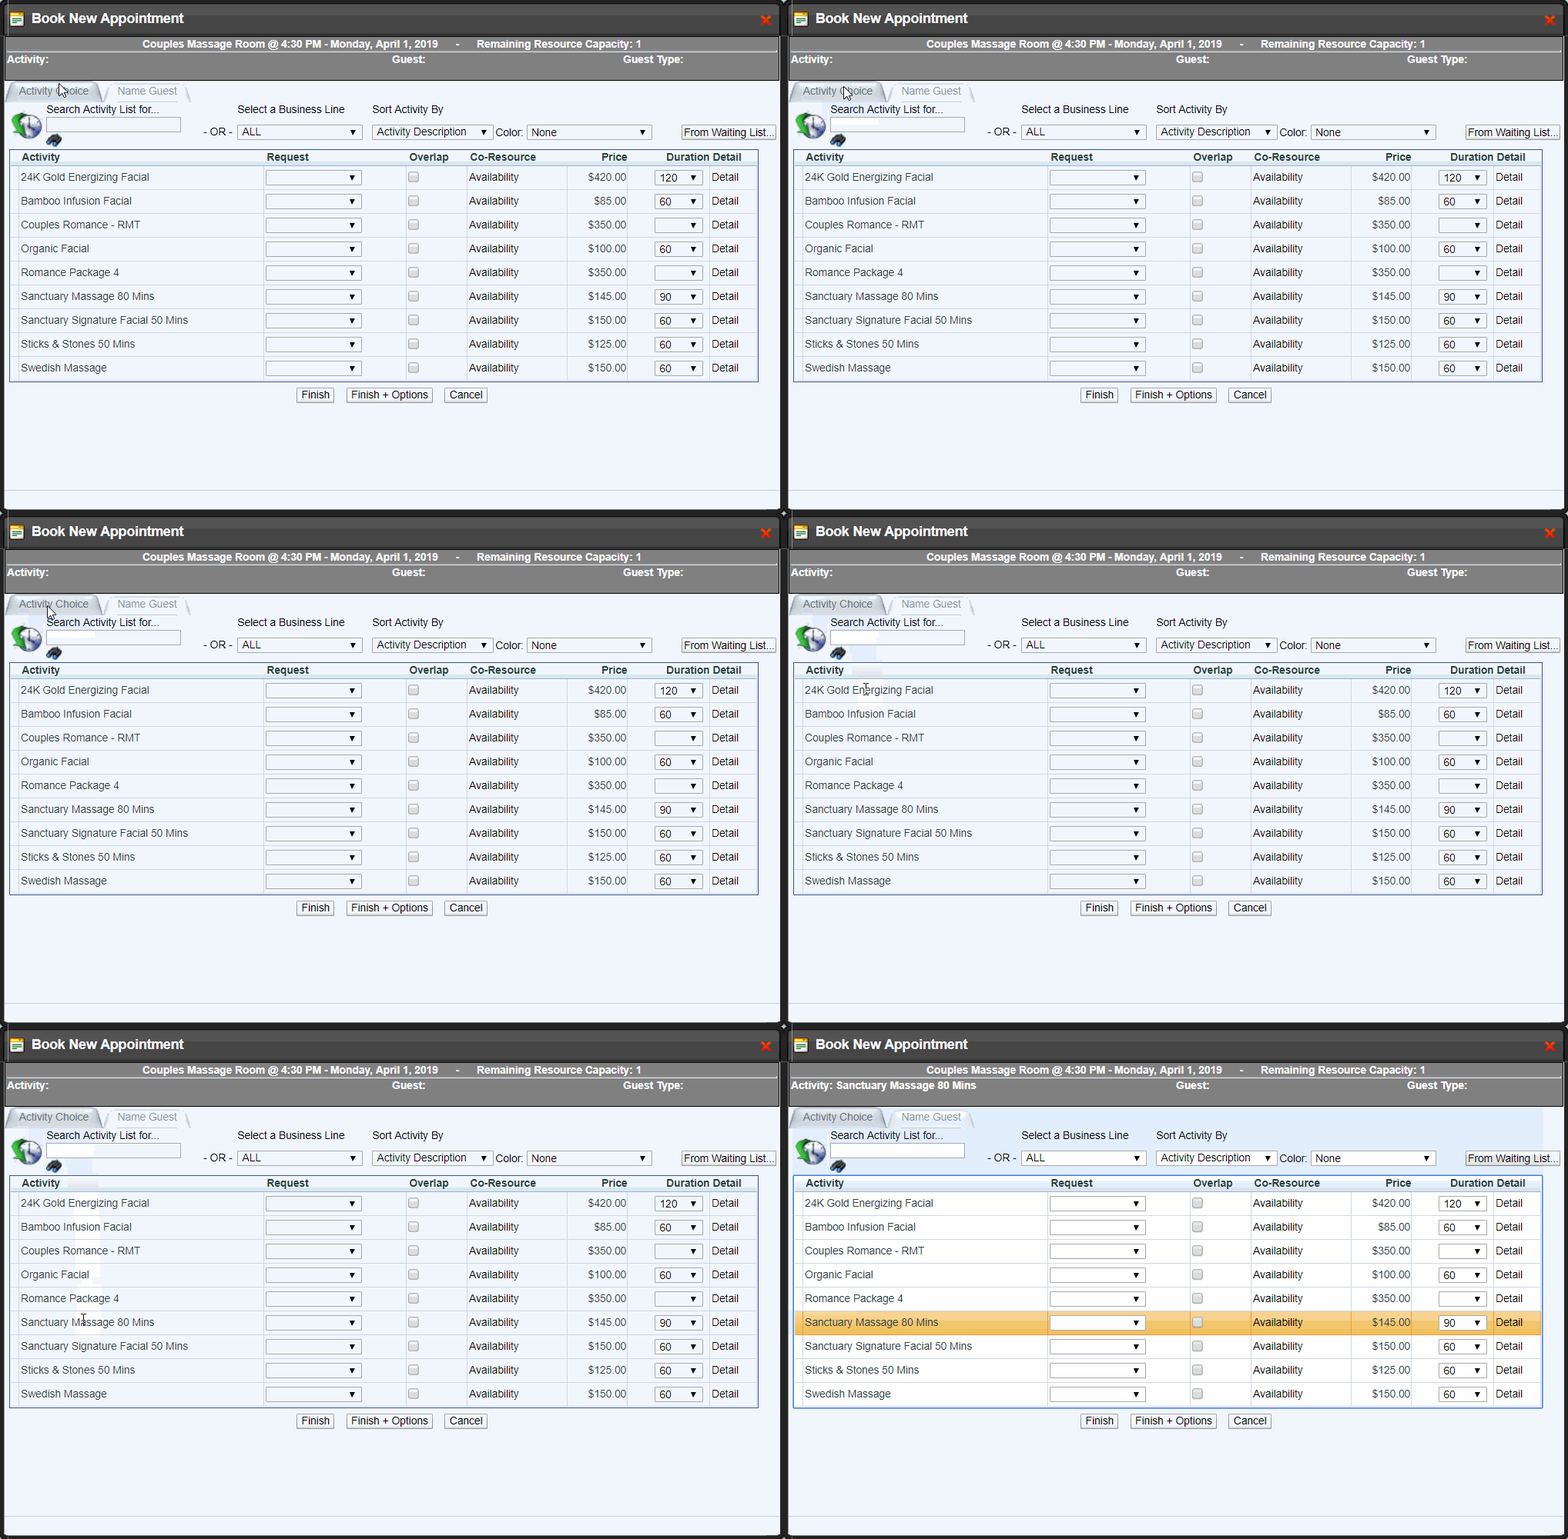
Step 3:
Specify the type of Resource Request
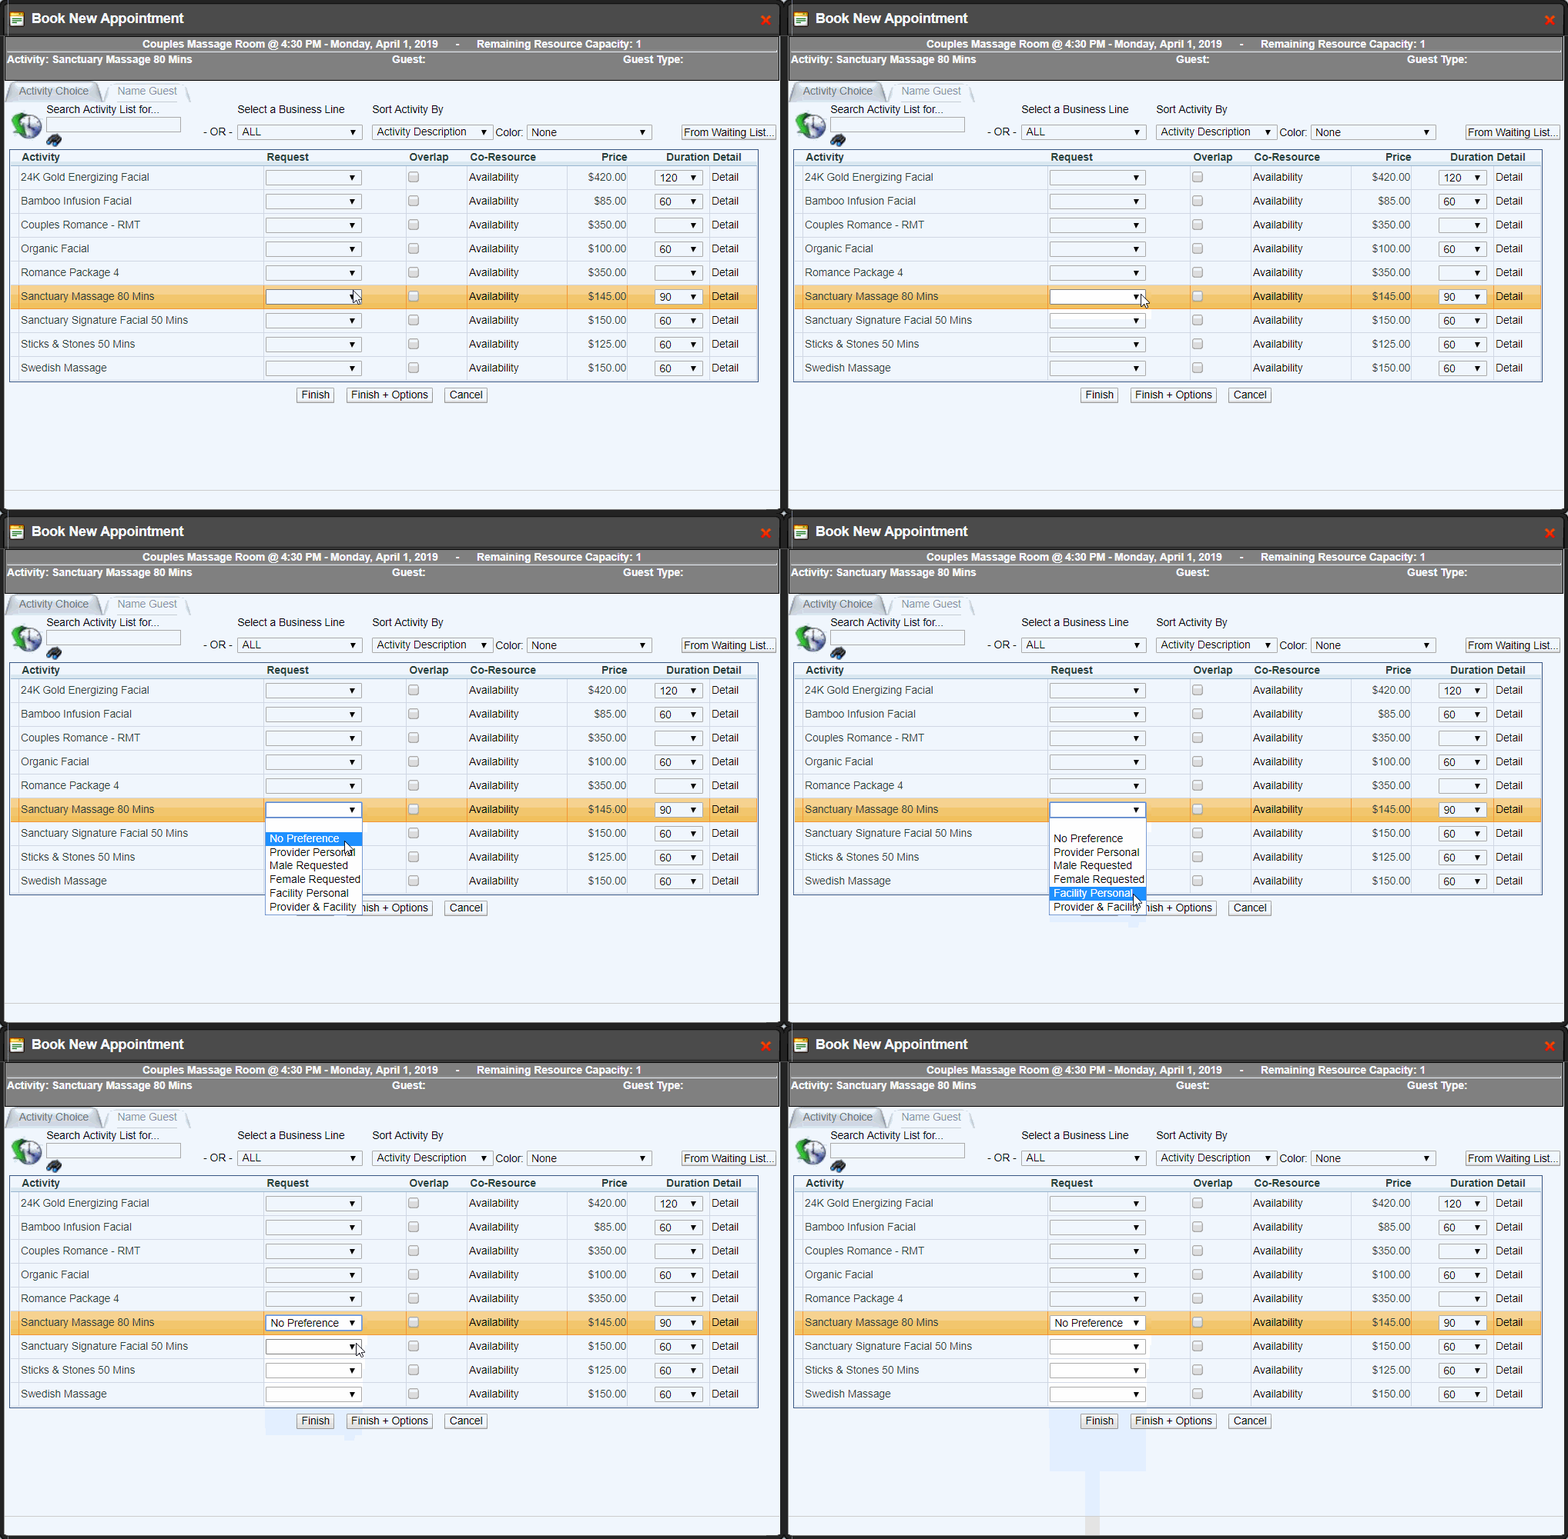
Step 4:
Select the “Overlap” checkbox
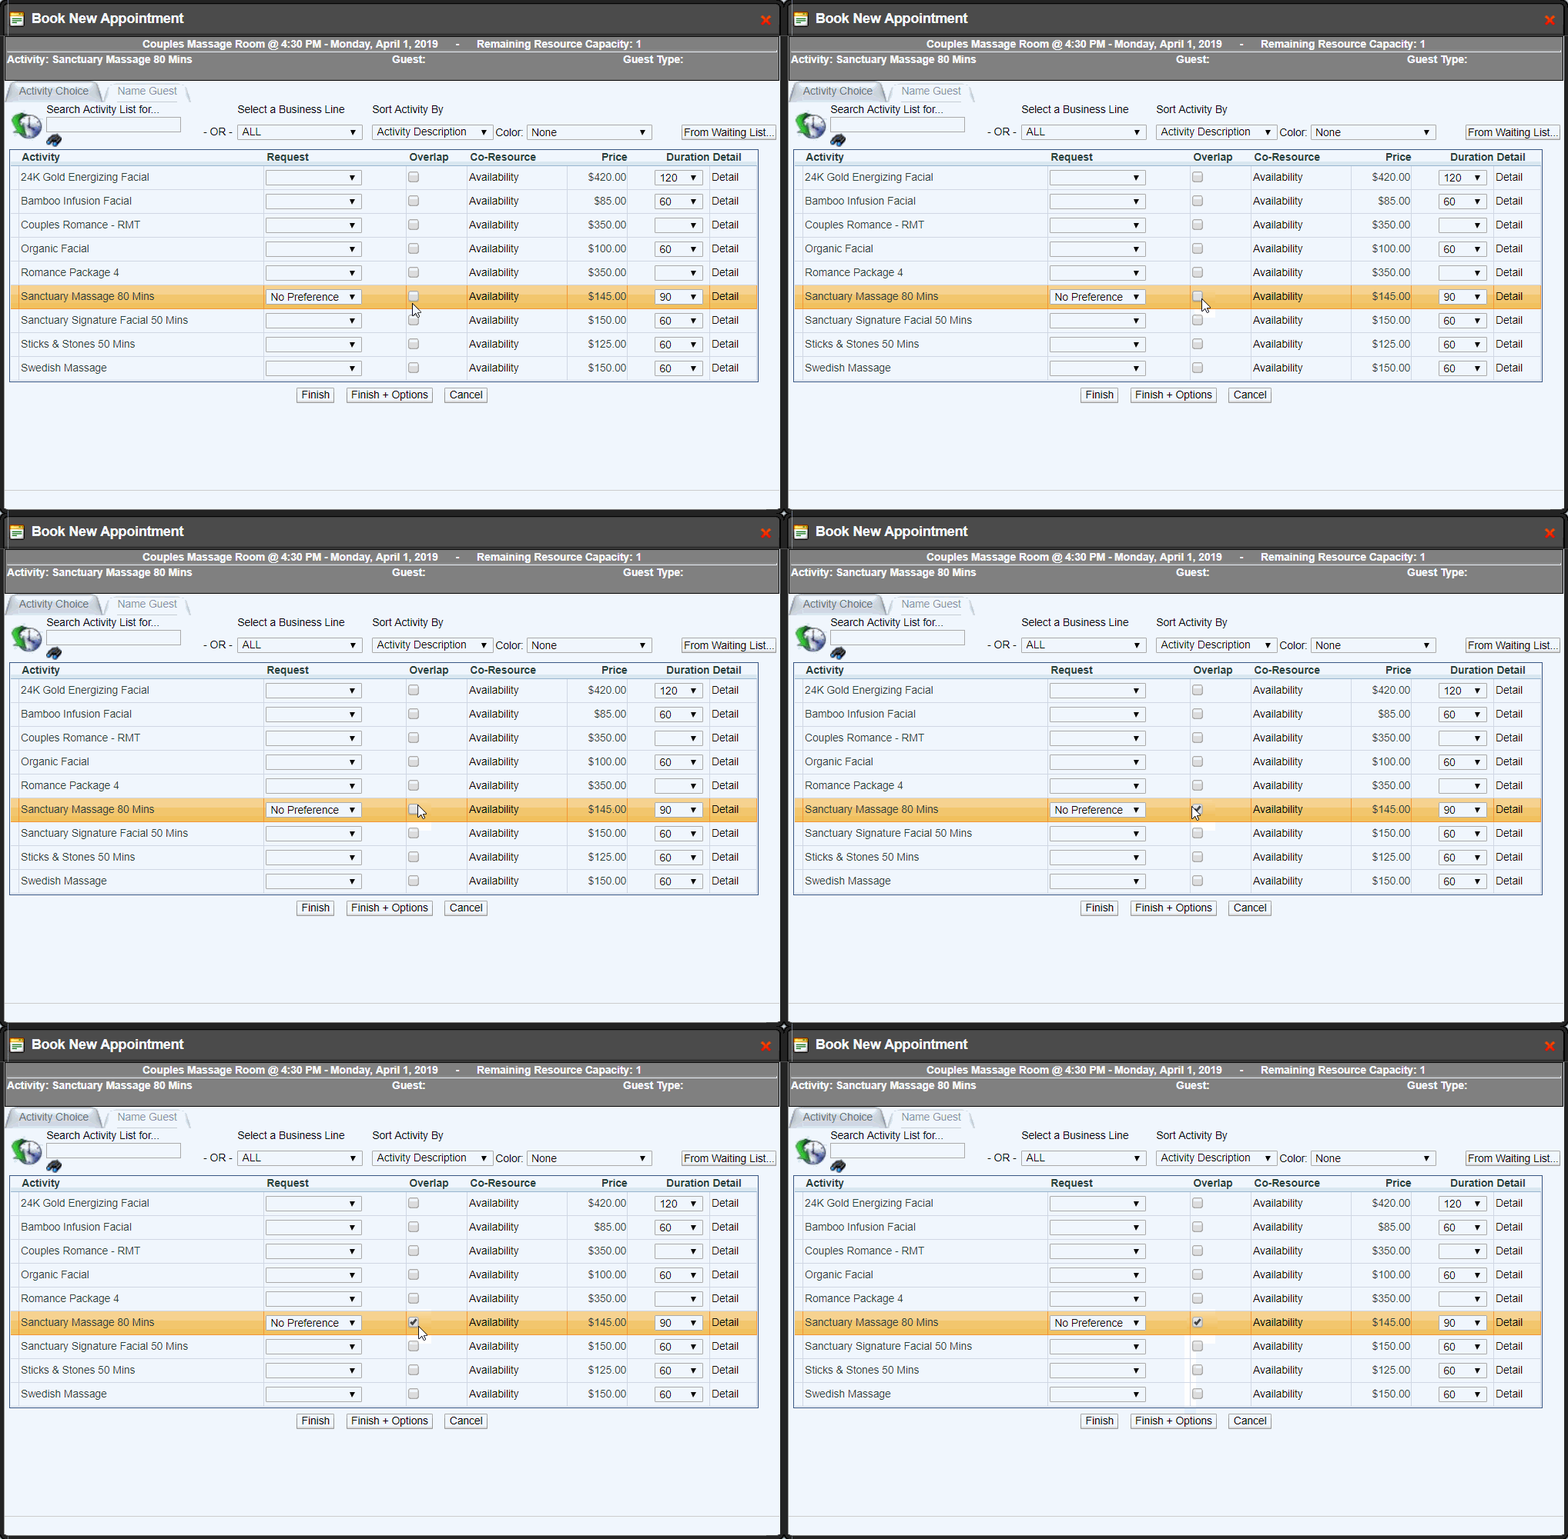
Step 5:
Select the Name Guest tab - Search the Guest for the second appointment and select the Guest Name
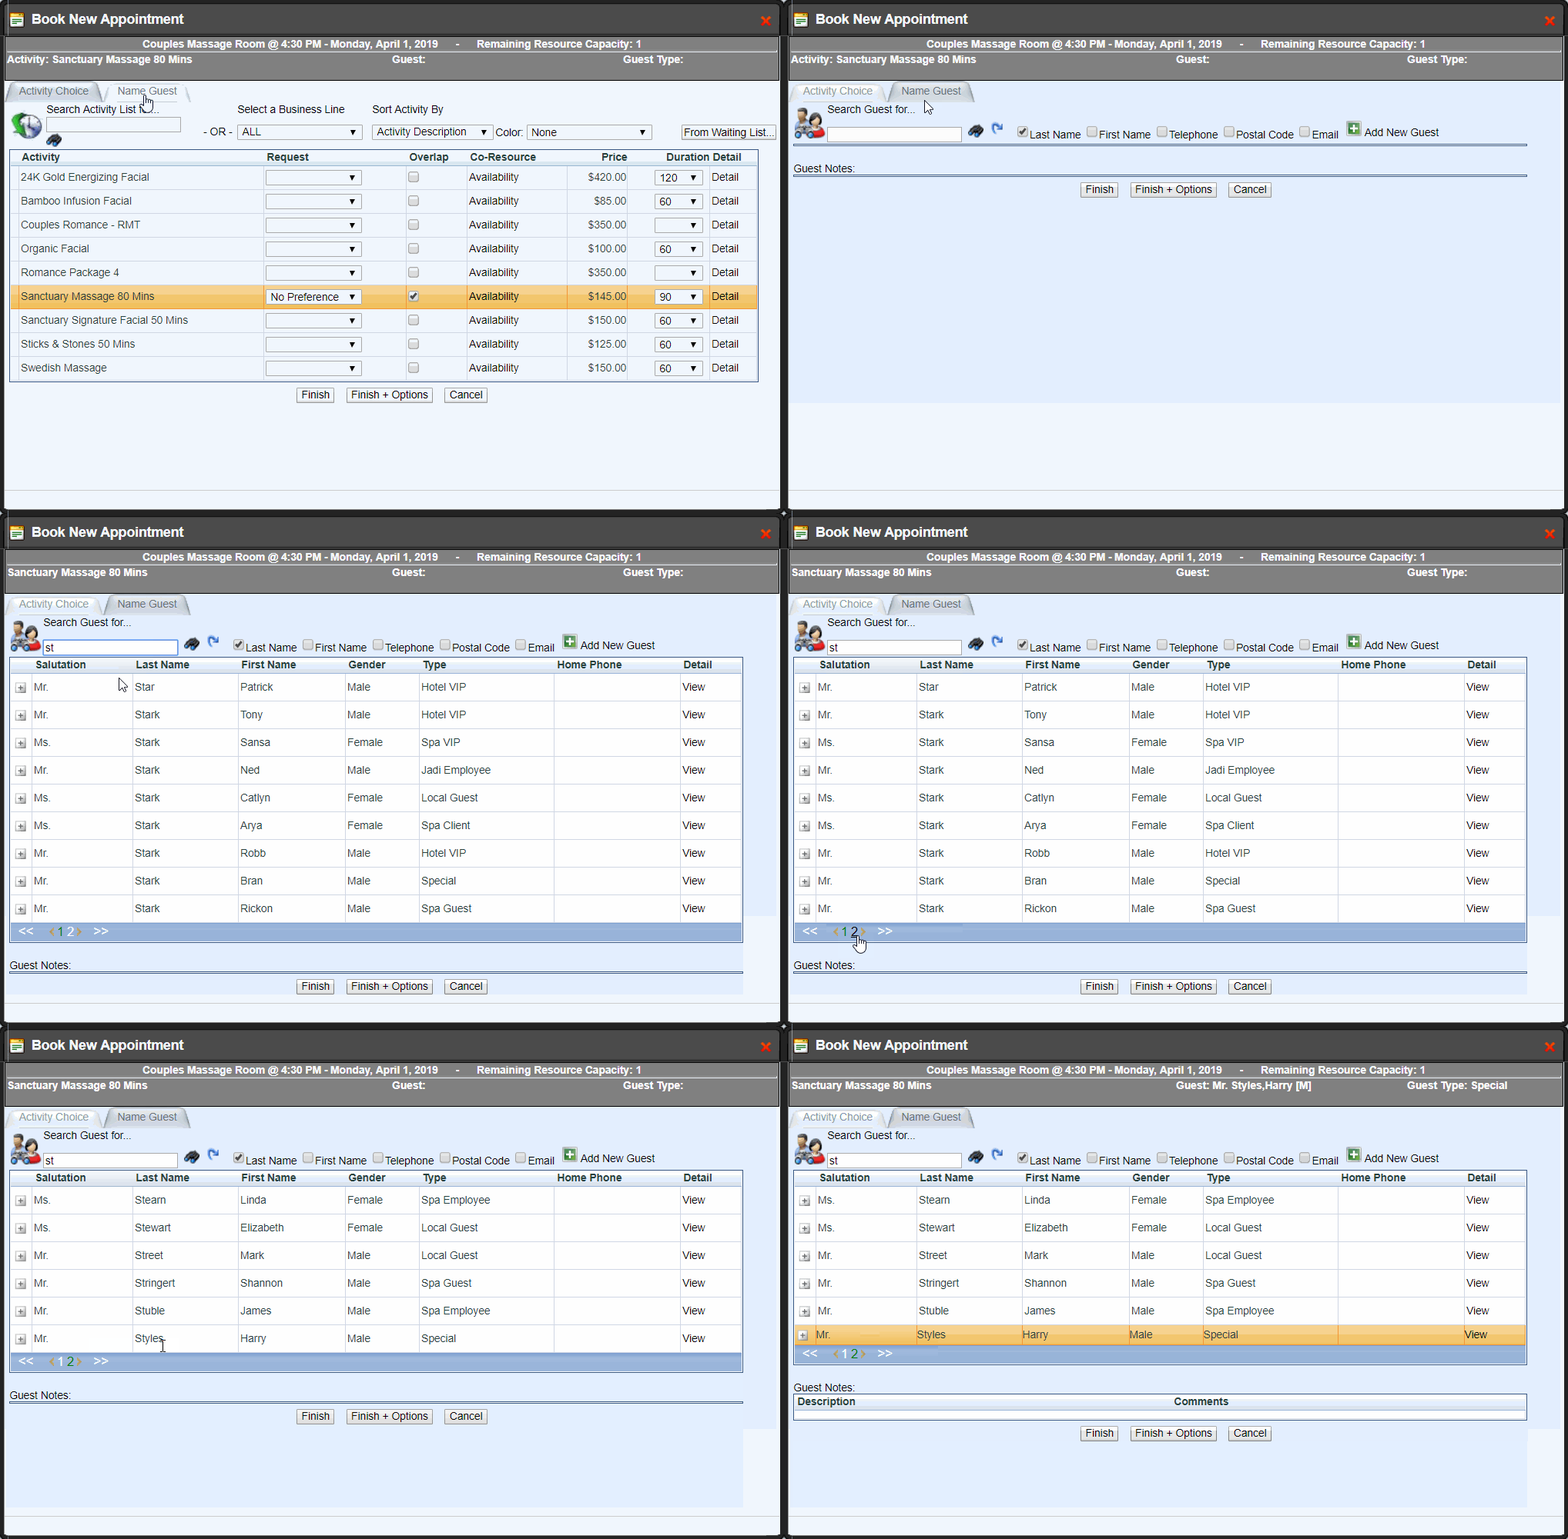
Step 6:
Select Finish - you have booked the second overlapped appointment!
You can see that the appointments are overlapped in Couples Rm
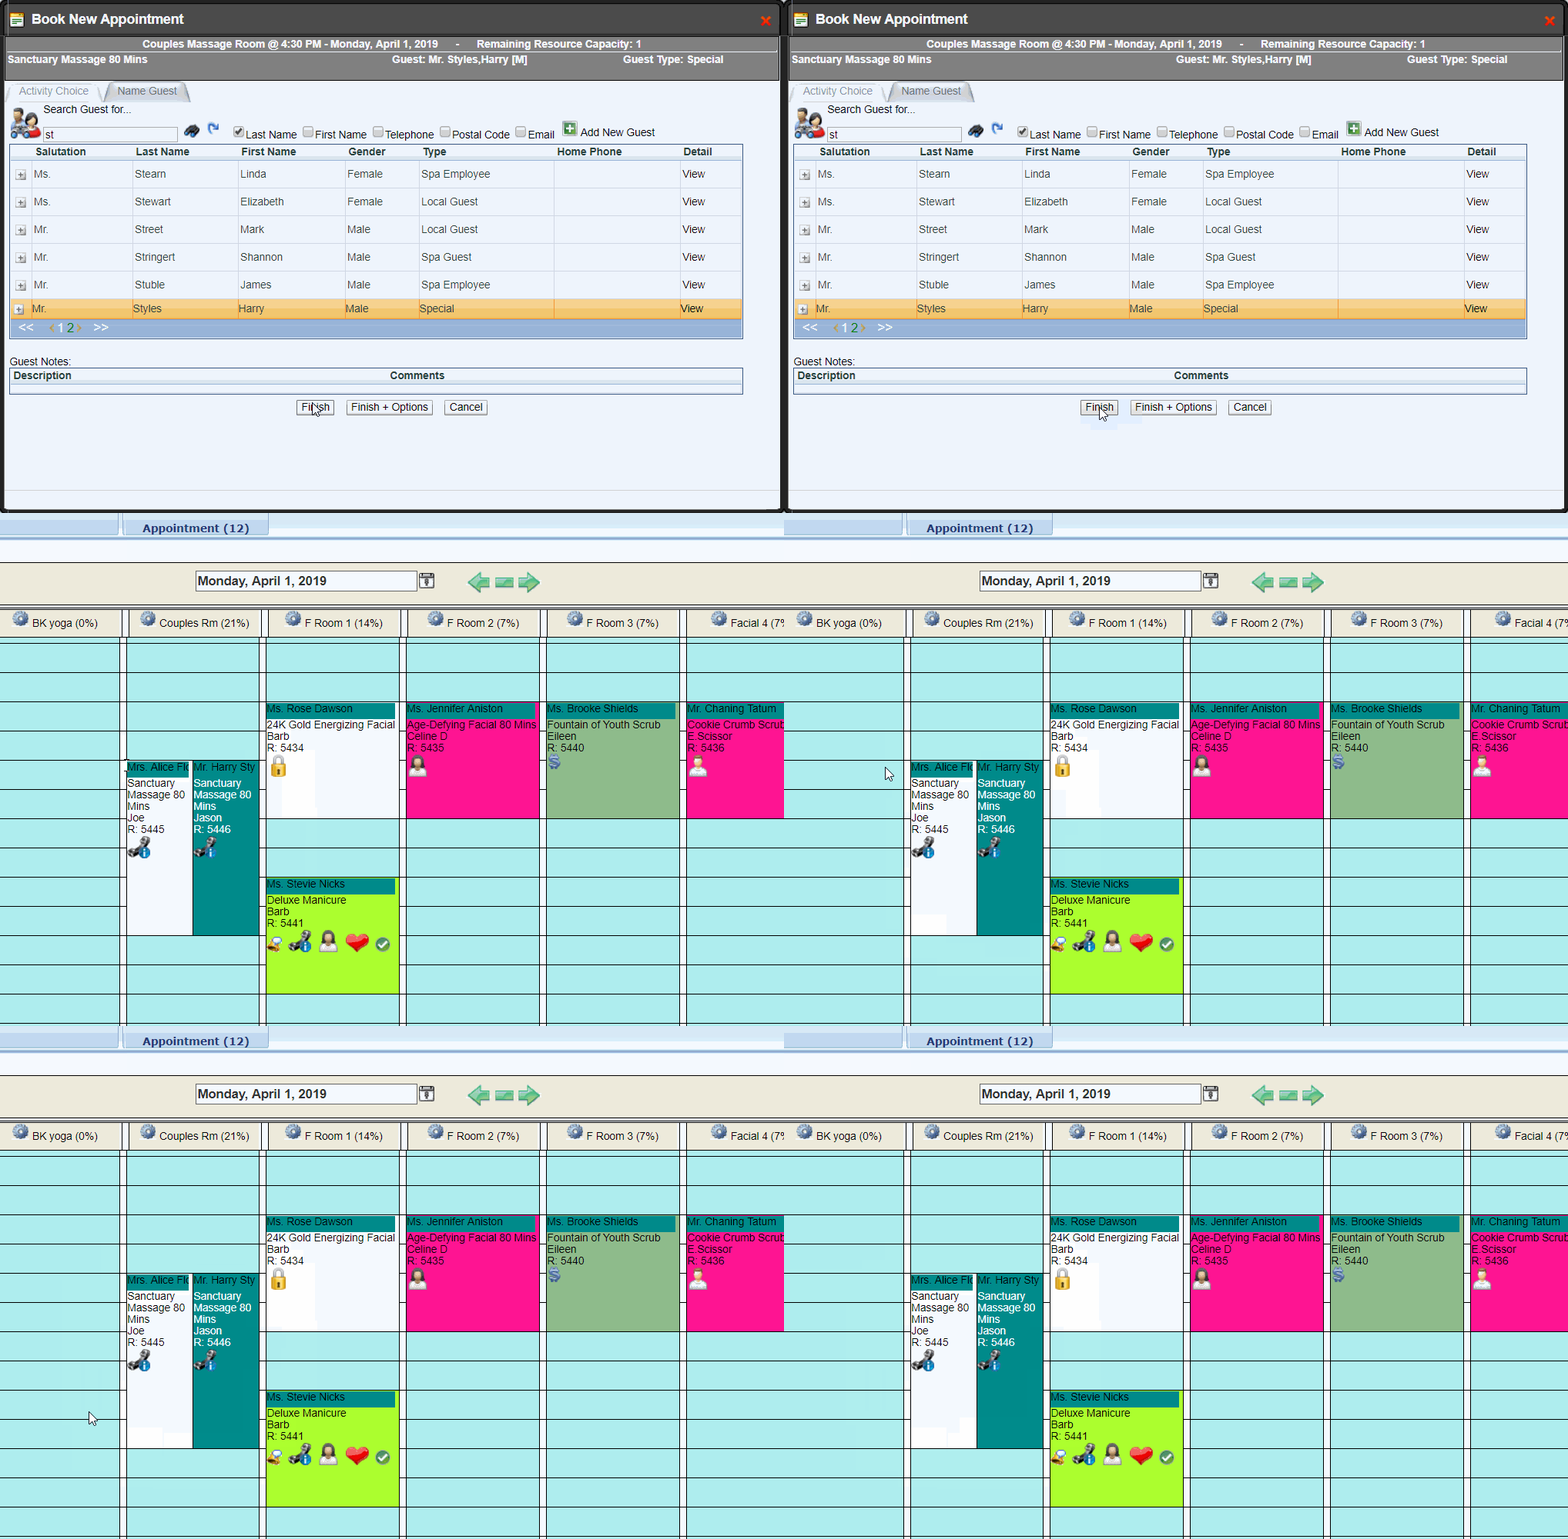
Overlapping Onto an Already Existing Appointment
You don't always book overlaps consecutively. So, the first appointment booked DOES NOT need to be overlapped. Any future appointment(s) you book onto a timeslot MUST be overlapped.
Keep Capacity in Mind
If a Facility has a capacity of 10, you do not have to select "overlap" for each booking. You can successfully book 10 appointments from the WHITE timeslot without selecting "overlap" until you reach the max capacity.
If you wish to then overlap the max capacity, you can continue to book with the "overlap" checkbox.
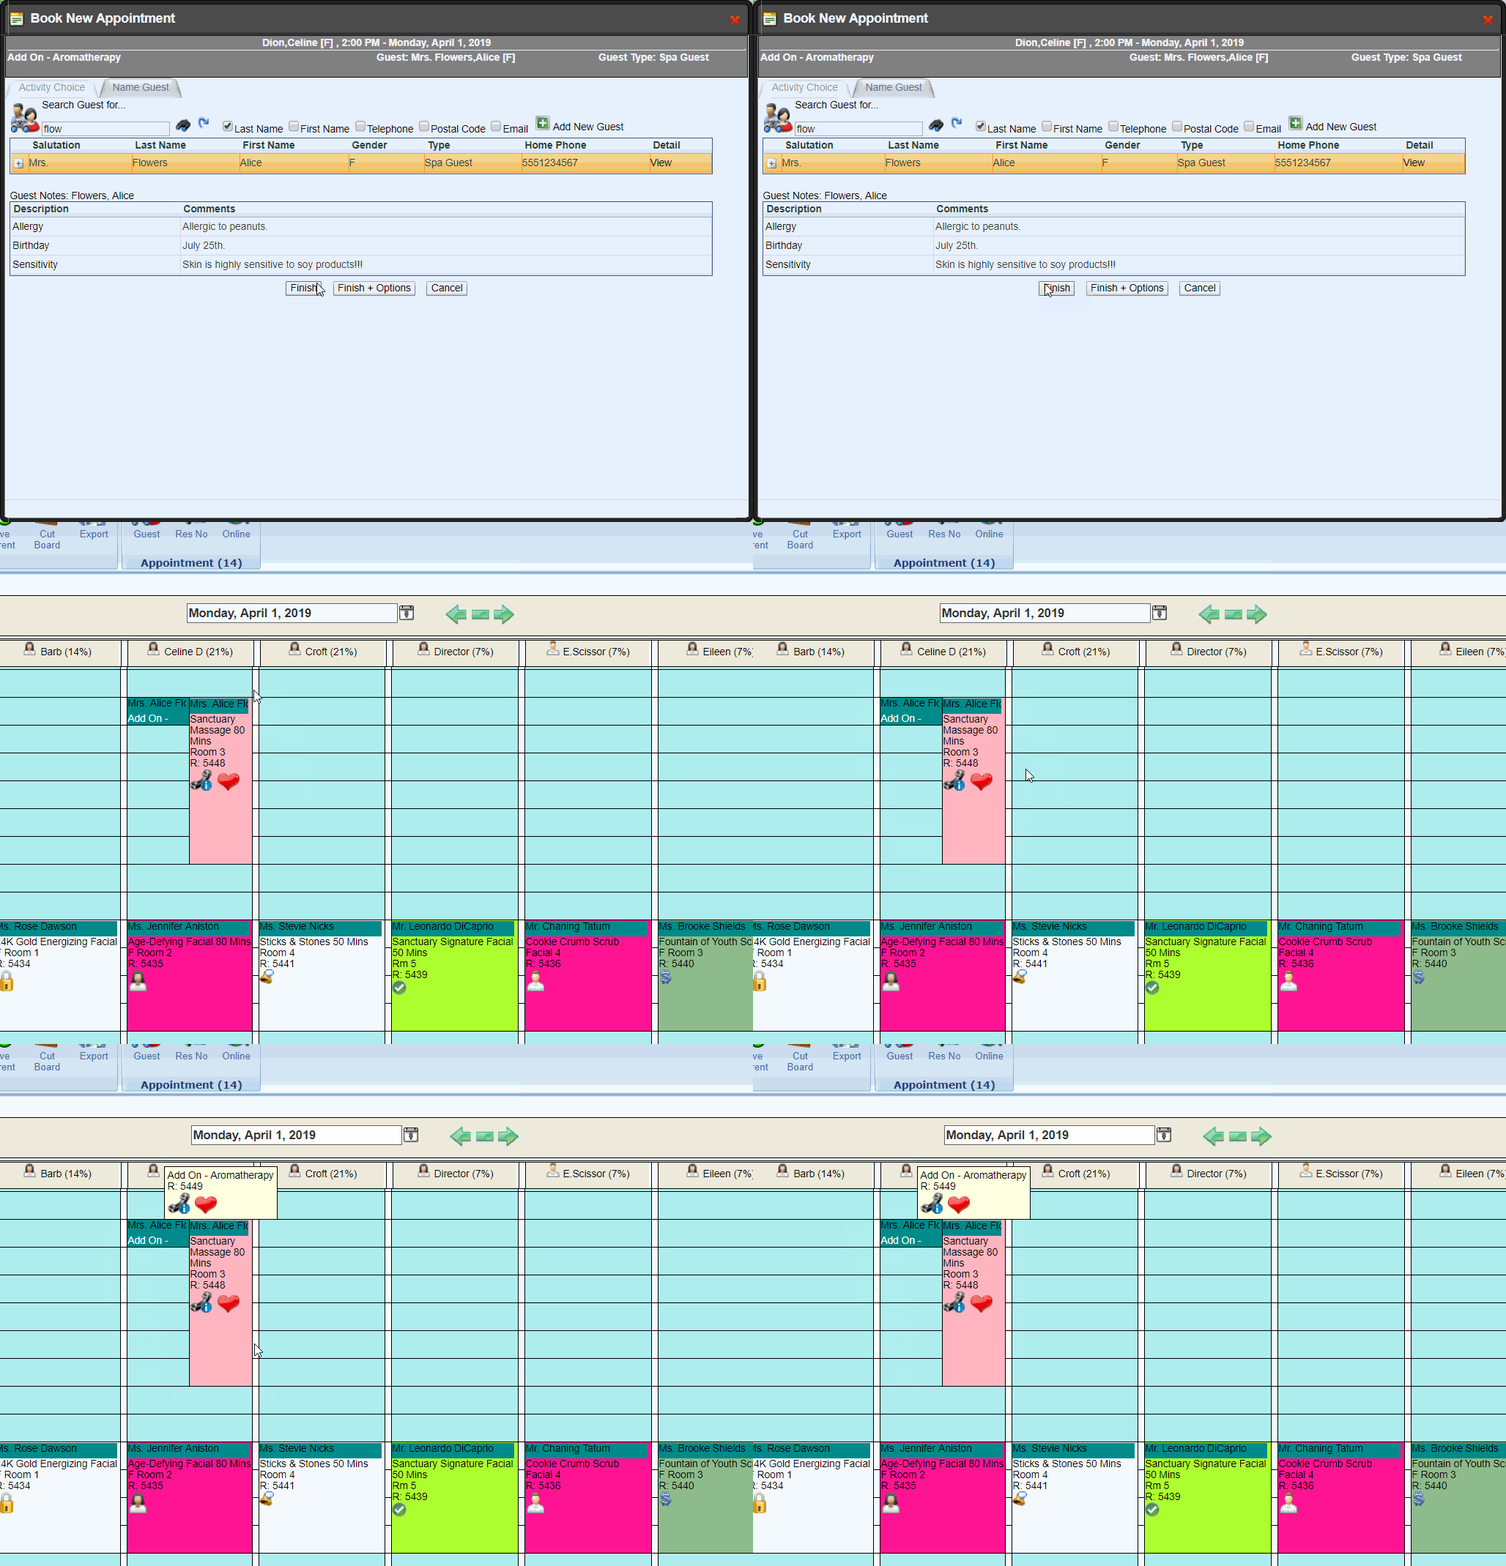
This way you can physically see an add-on on your Visual Book.
Step 1:
Follow the steps to book the main appointment under the Provider
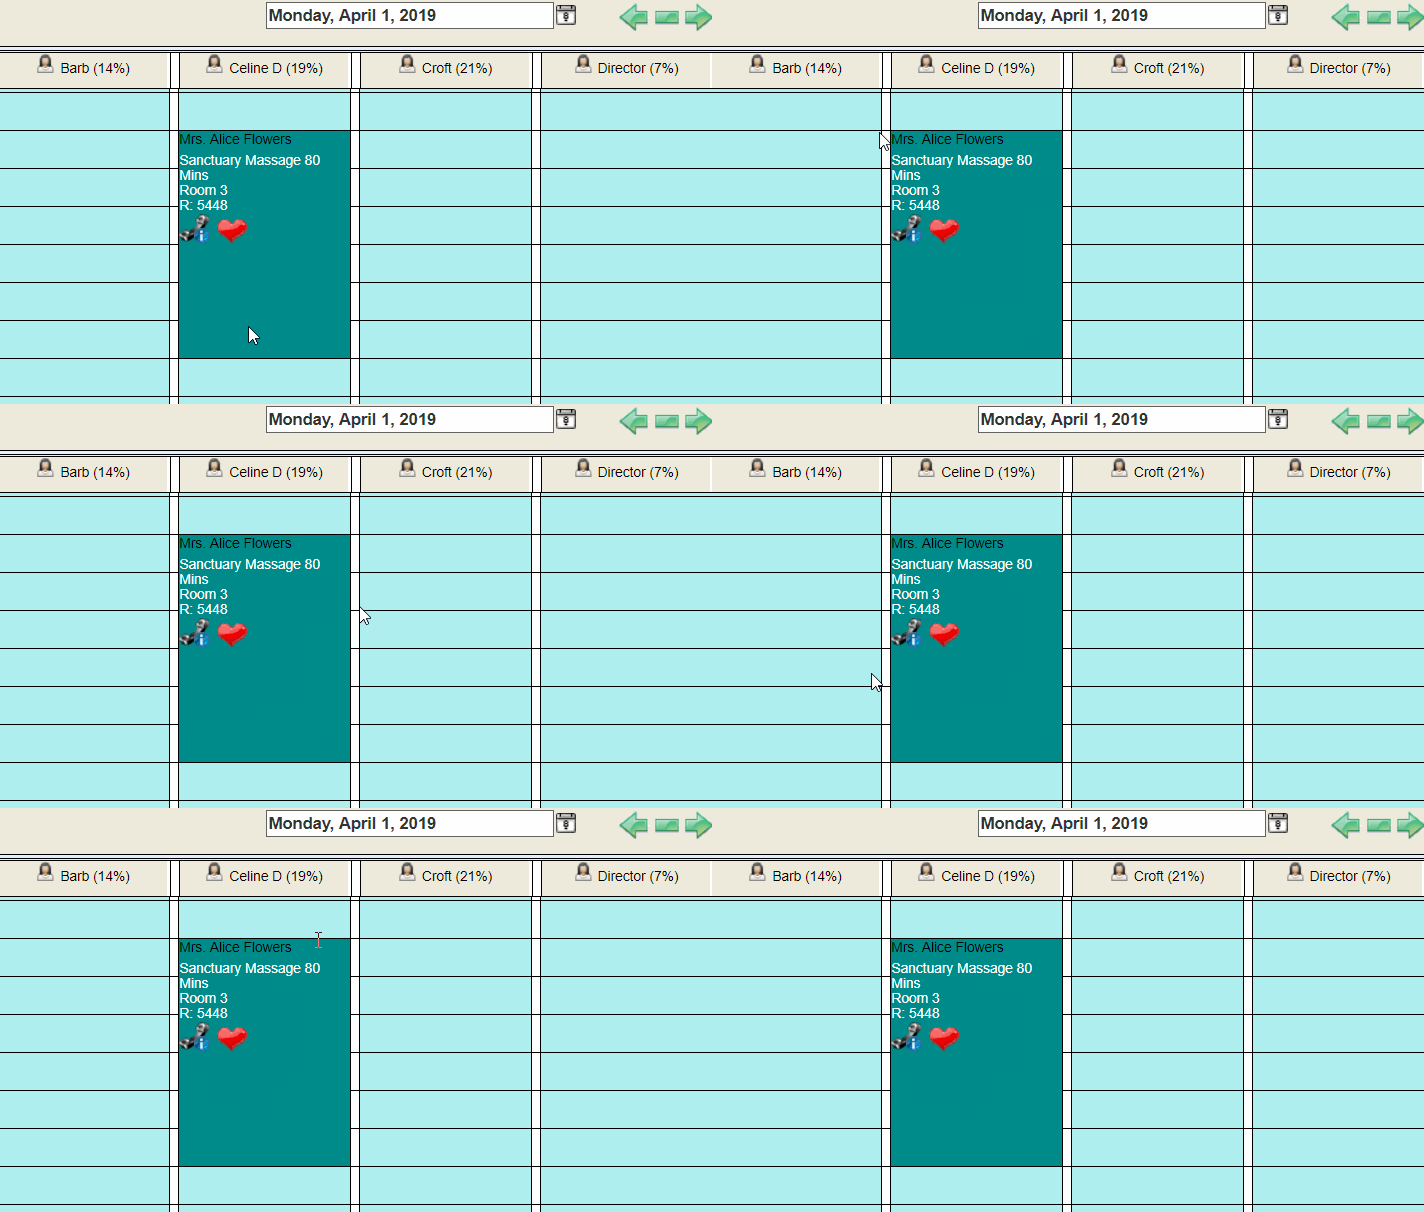
Step 2:
Double click on the white slot next to the main booked appointment & select “New”
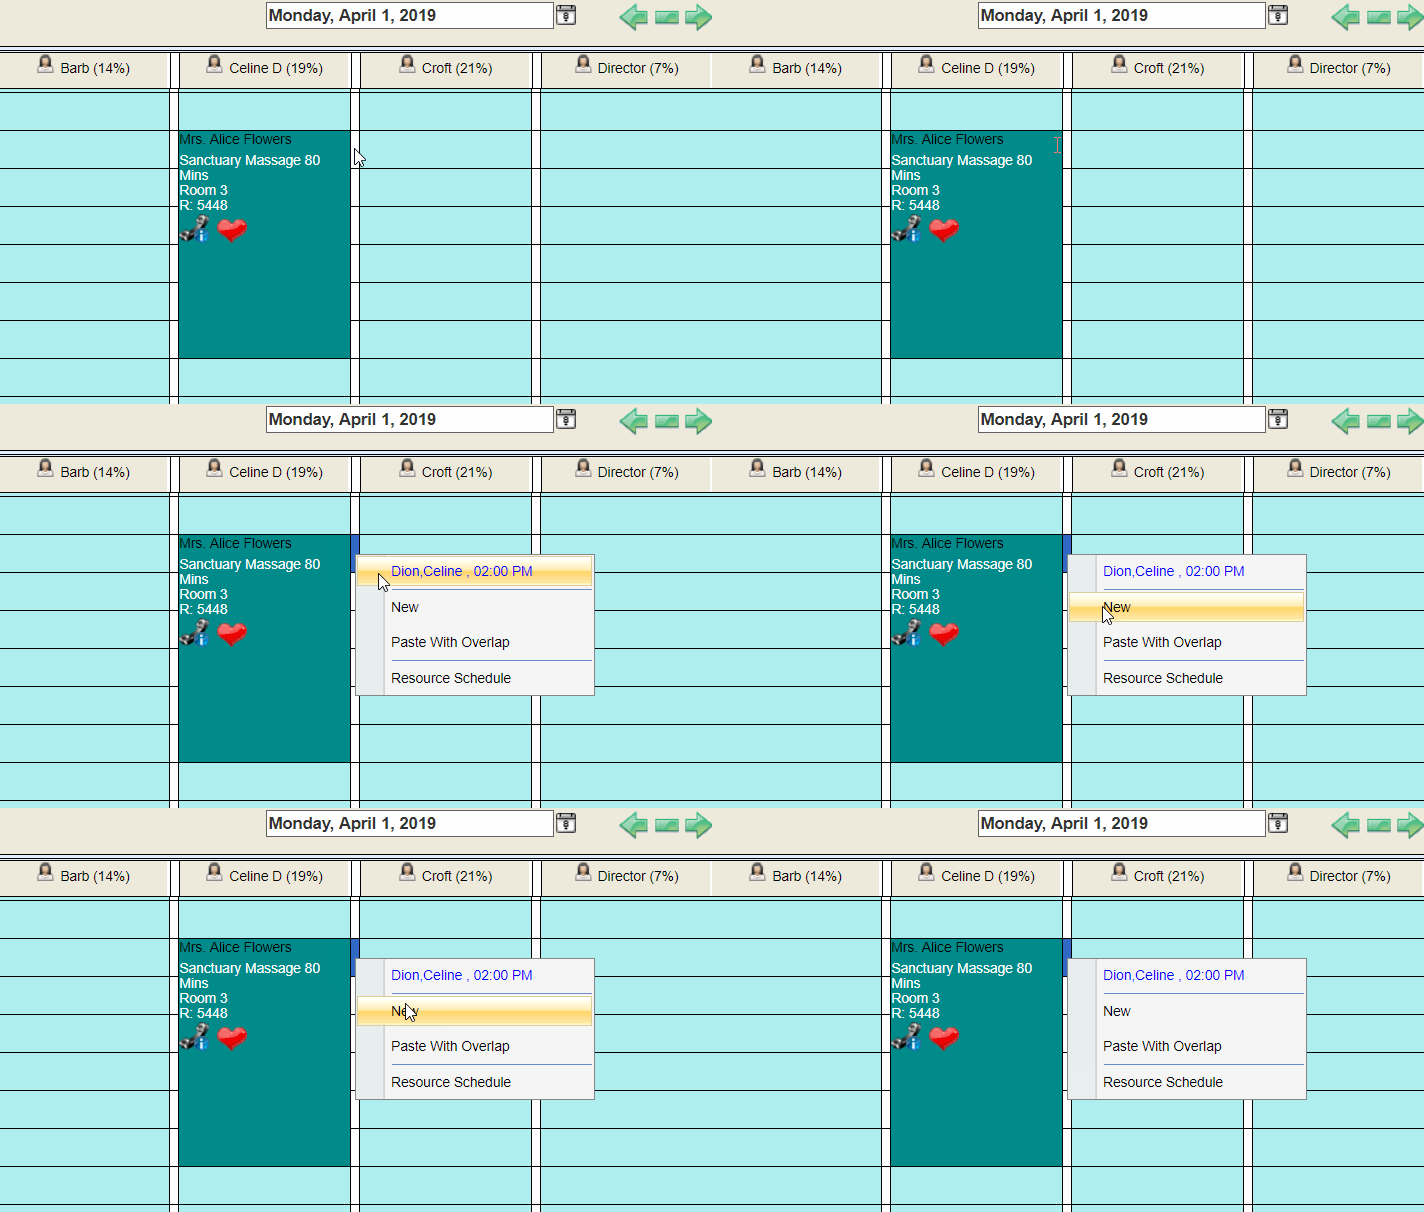
Step 3:
Select the Add-On Activity you would like to book
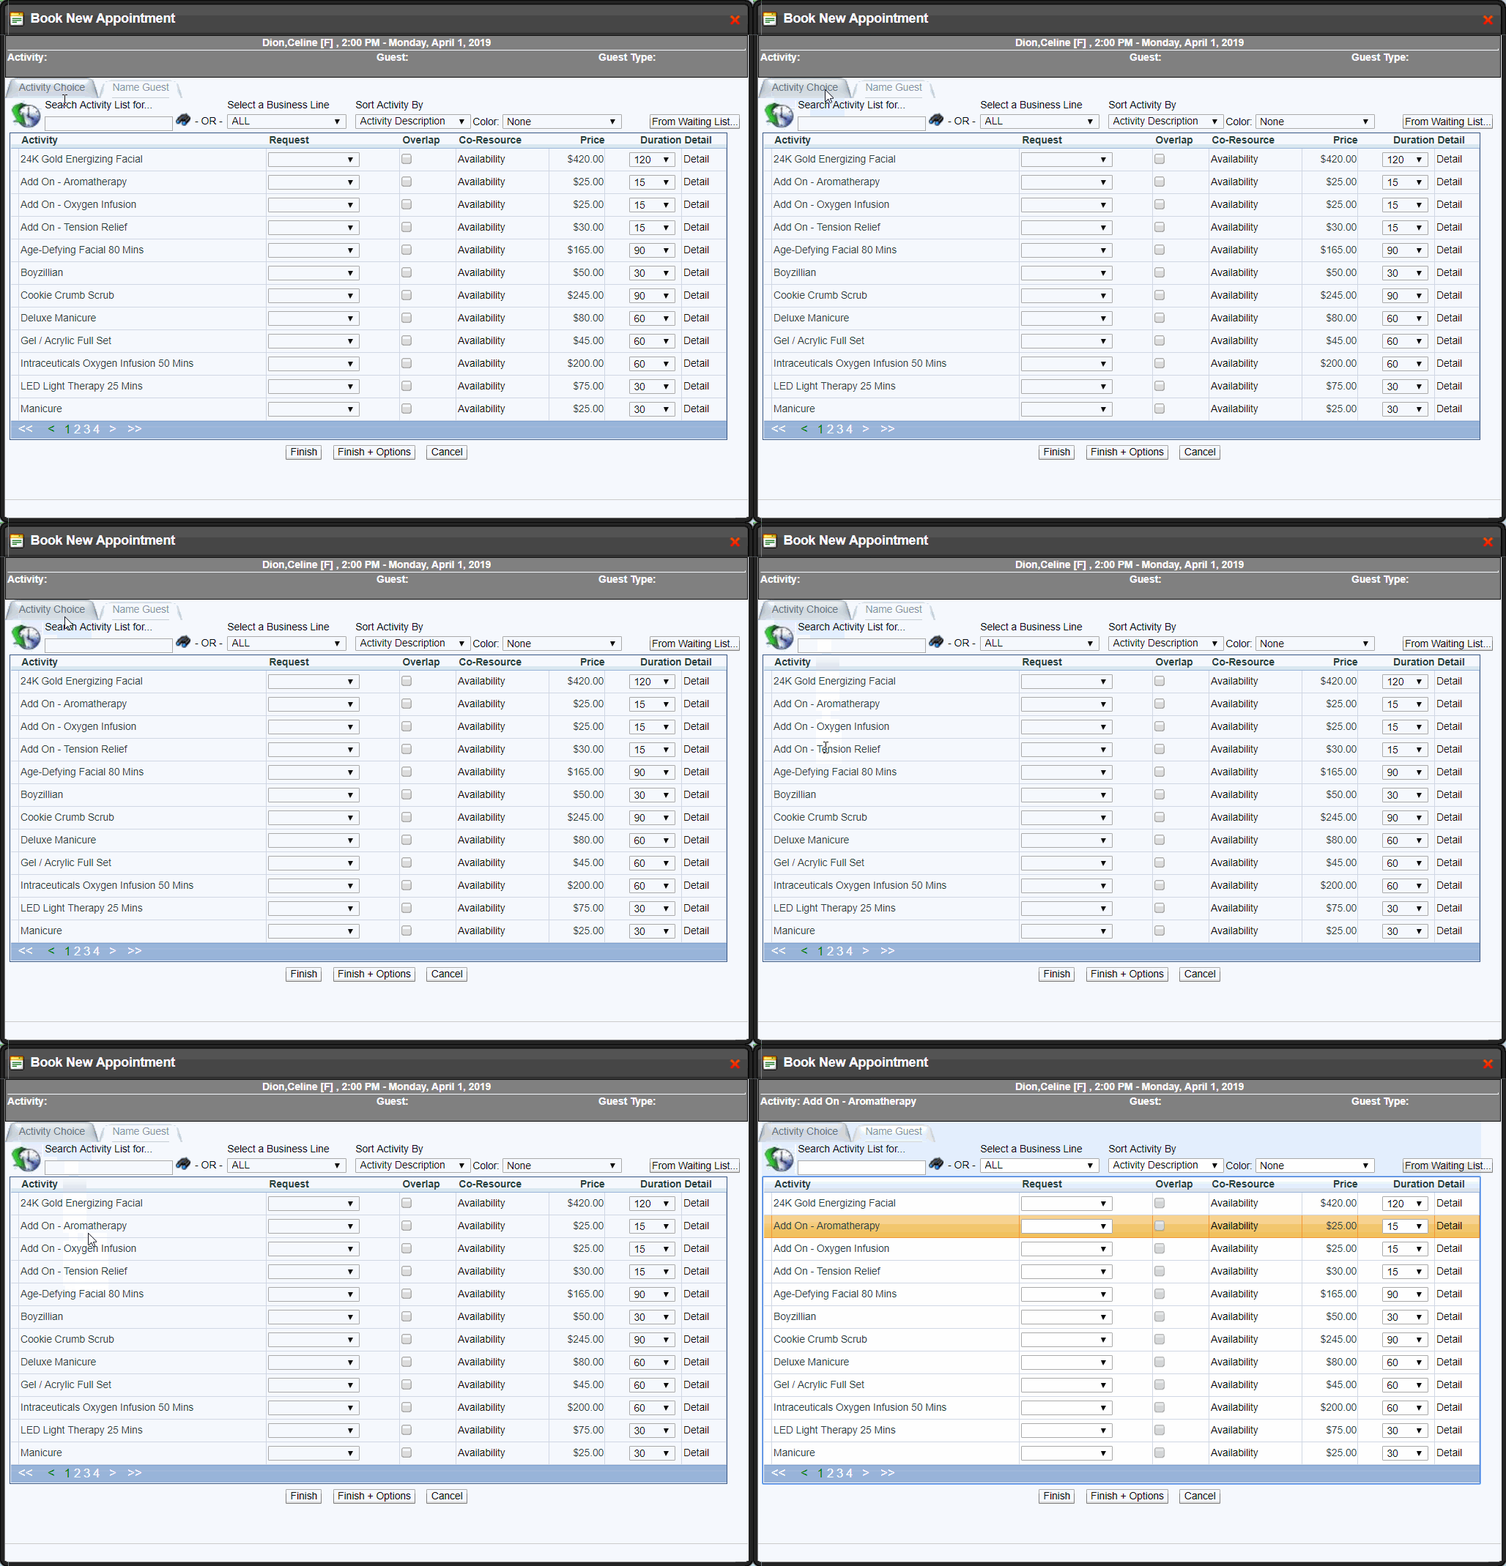
Step 4:
Specify the type of Resource Request
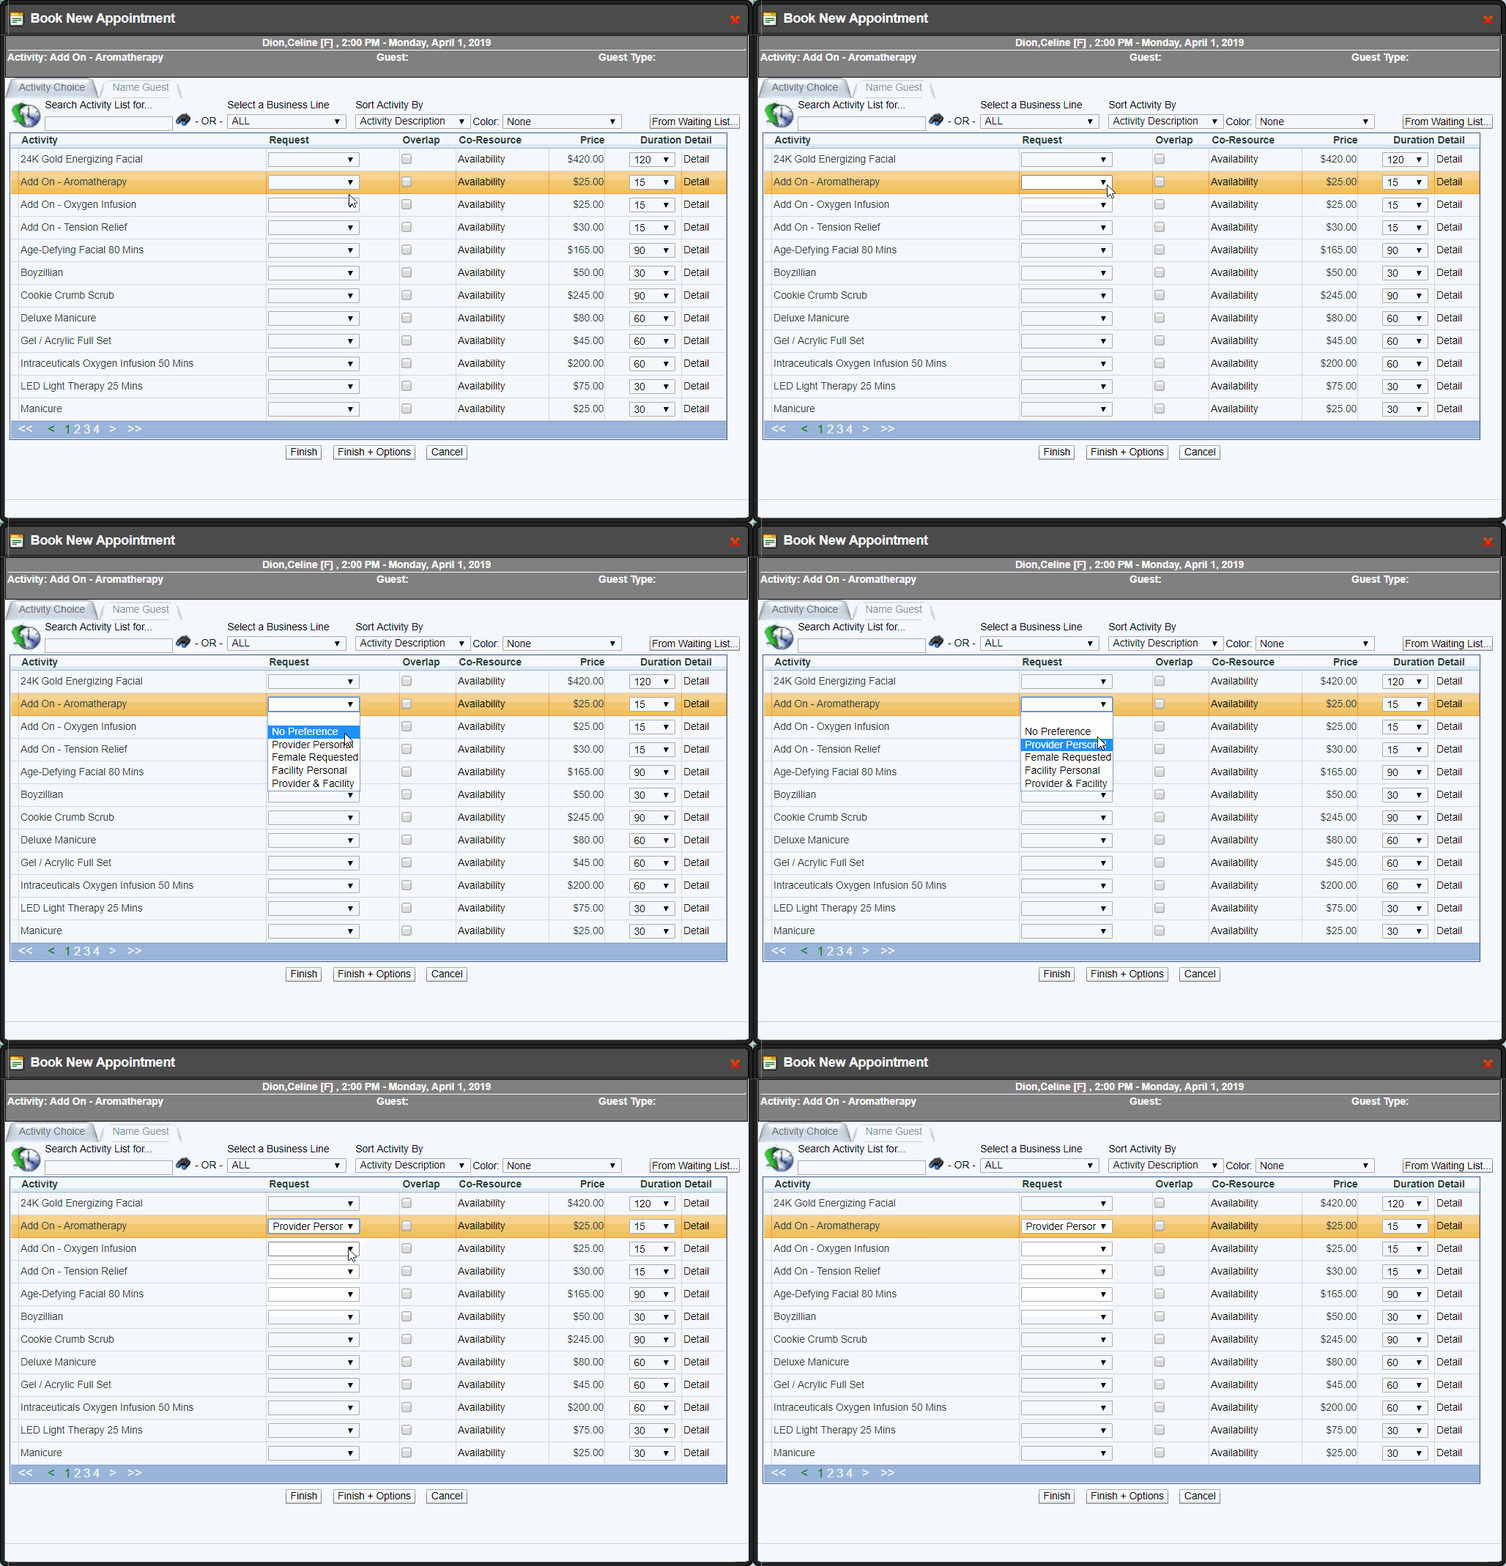
Step 5:
Select the “Overlap” checkbox
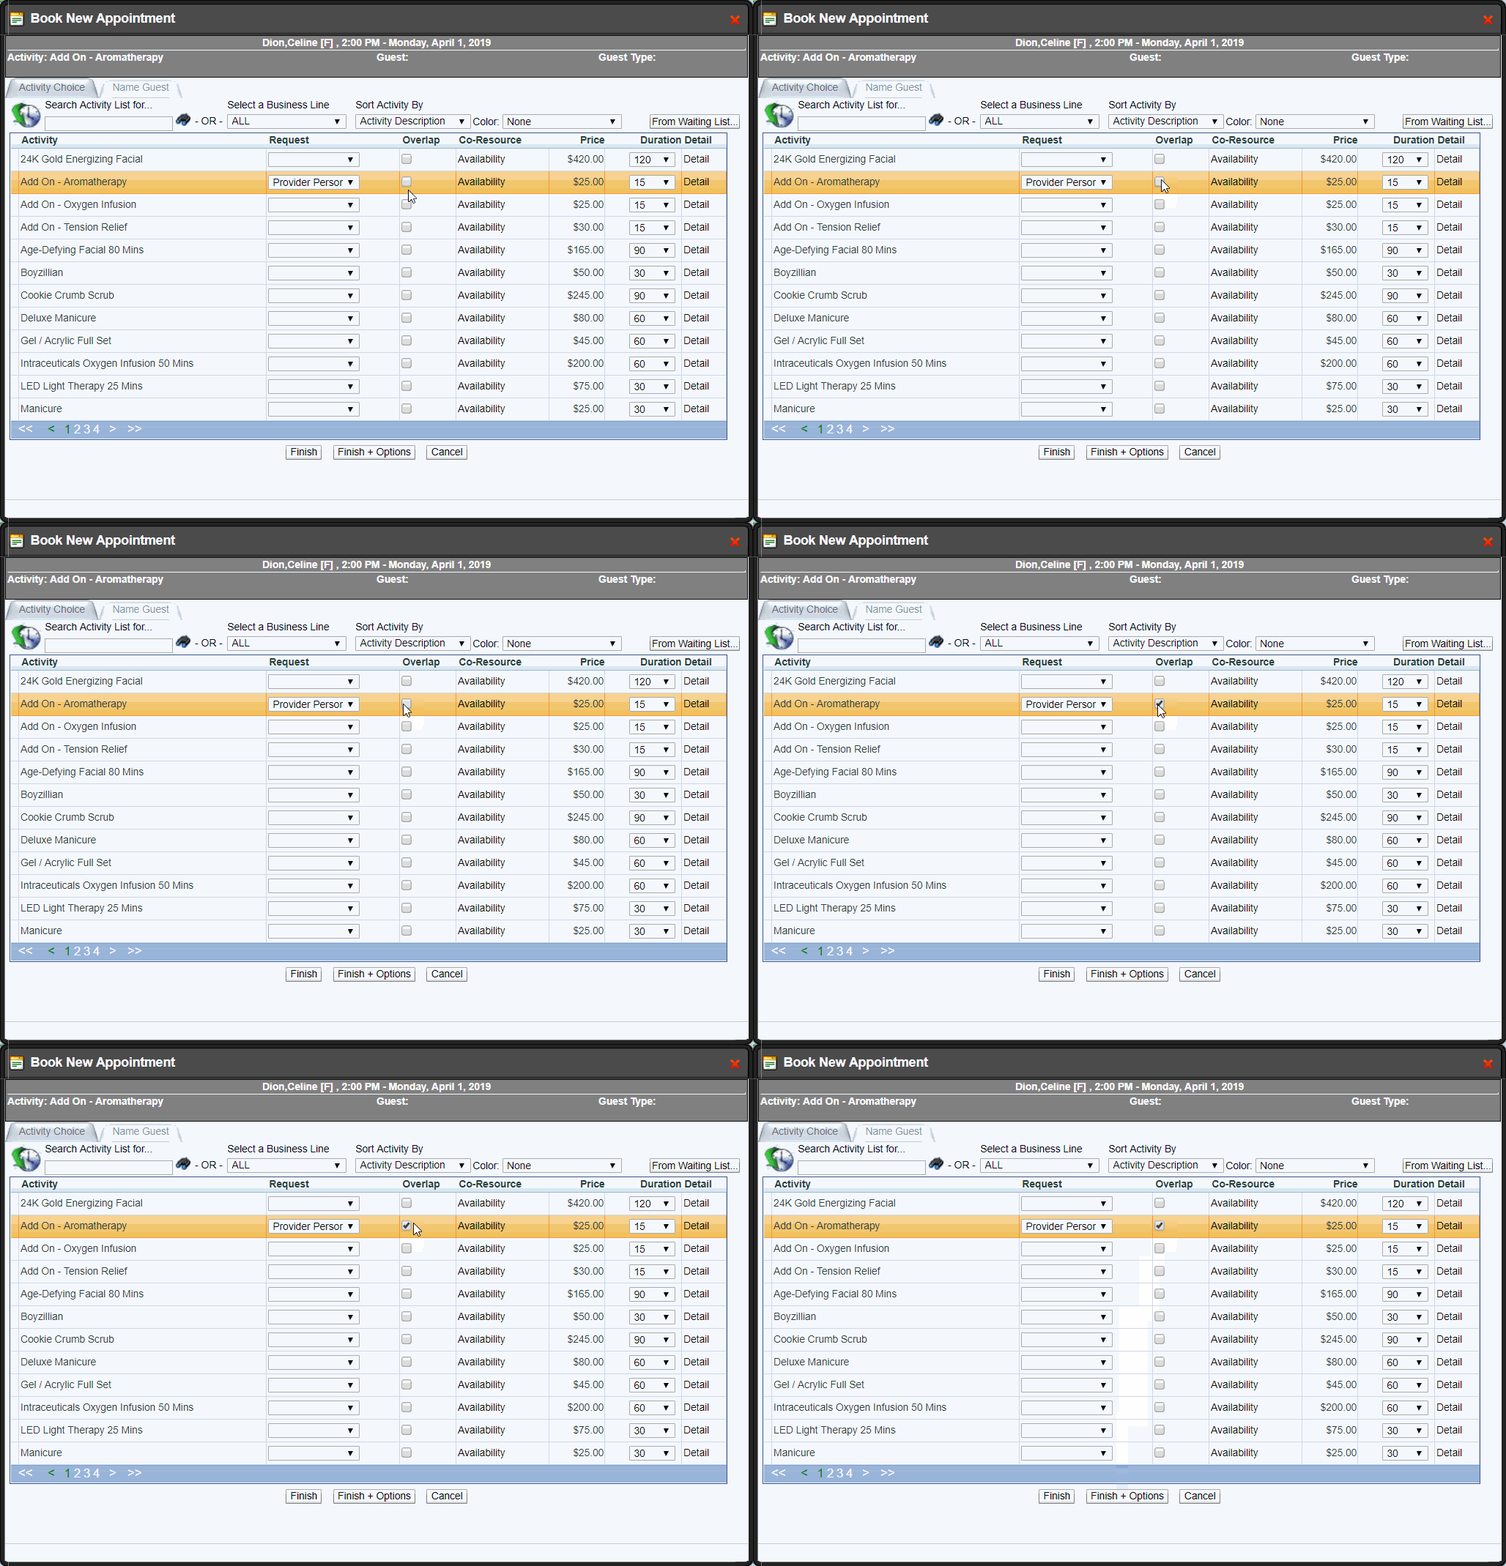
Step 6:
Select the Name Guest tab - search the Guest and select the Guest Name
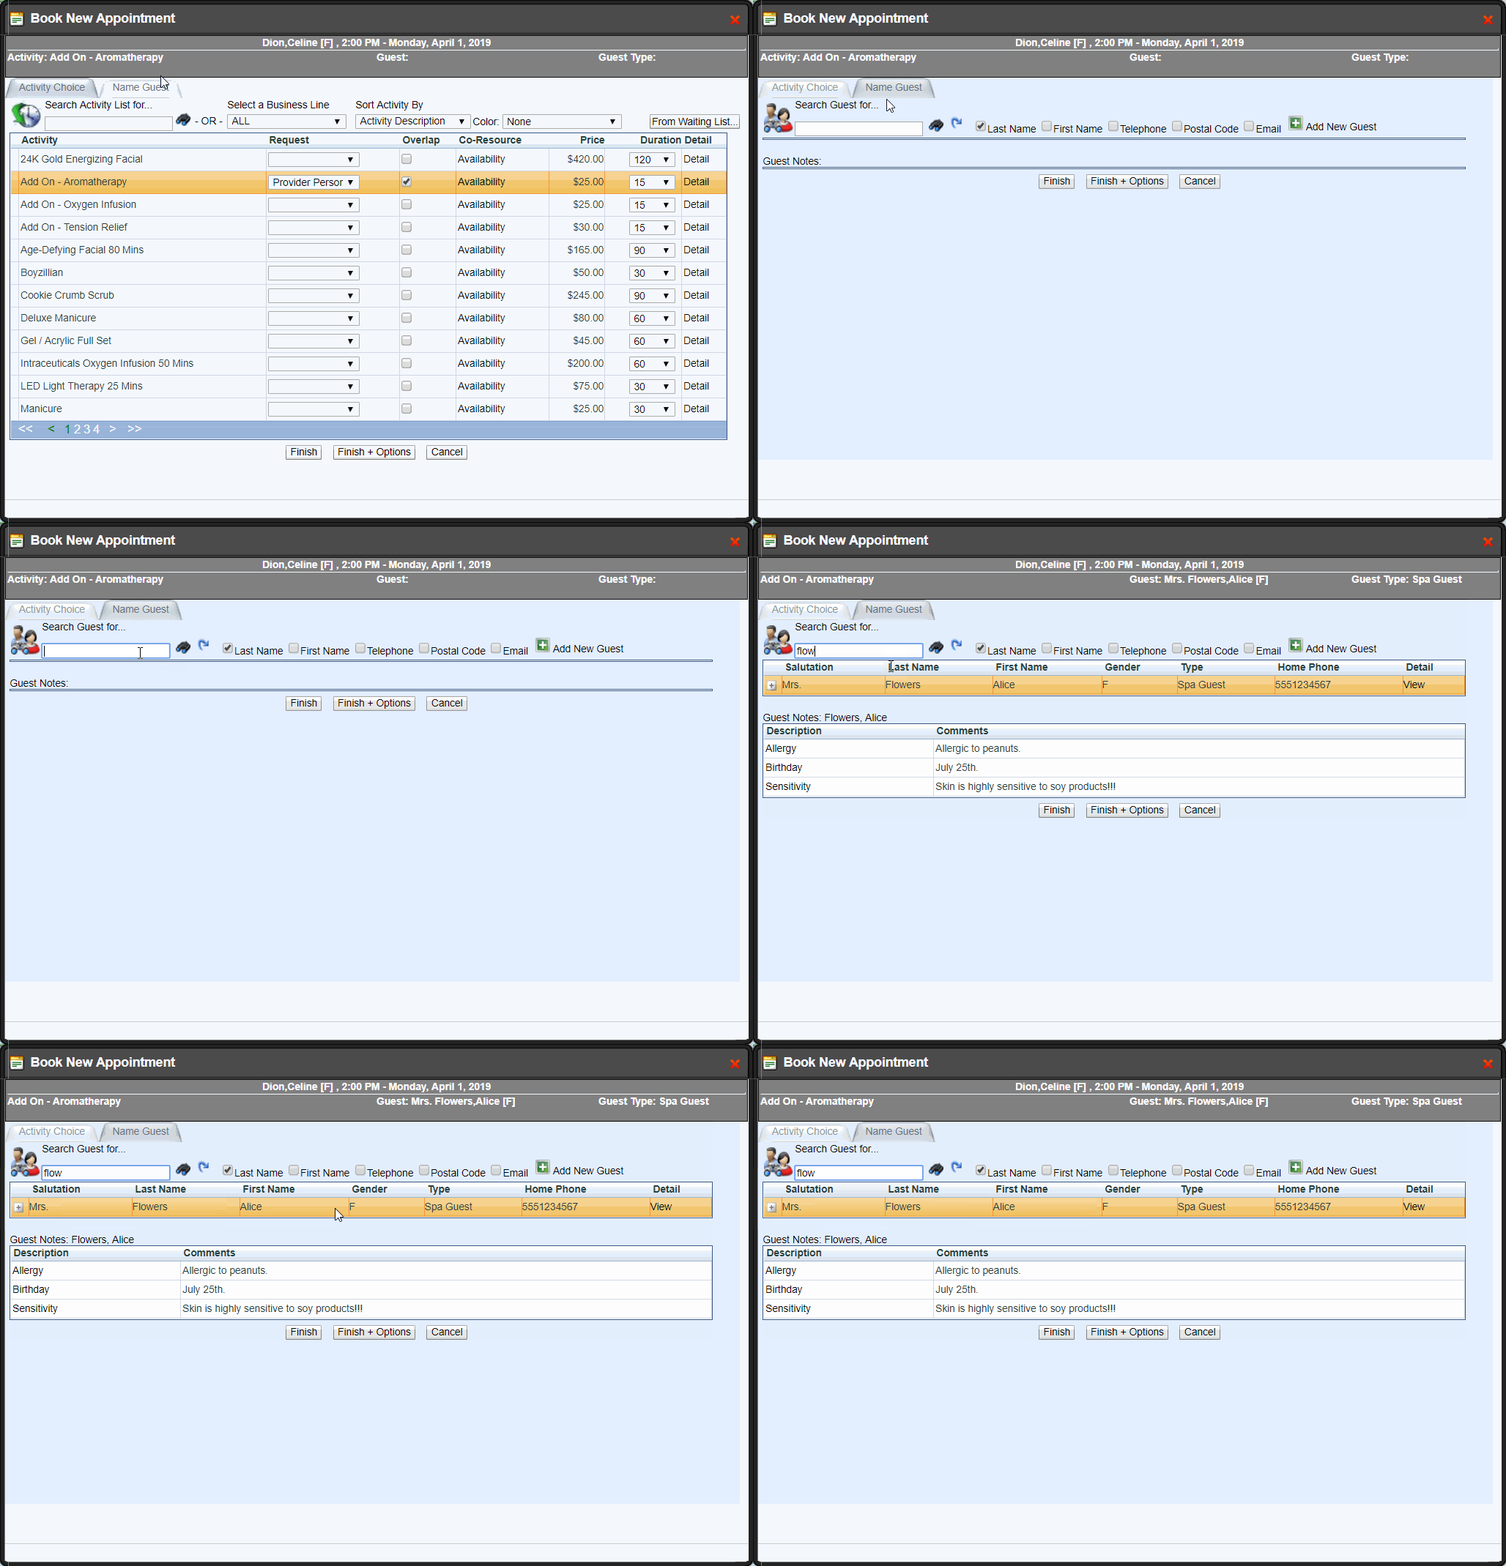
Step 7:
Select "Finish" - you will see the Add-On overlapped with the main Appointment!
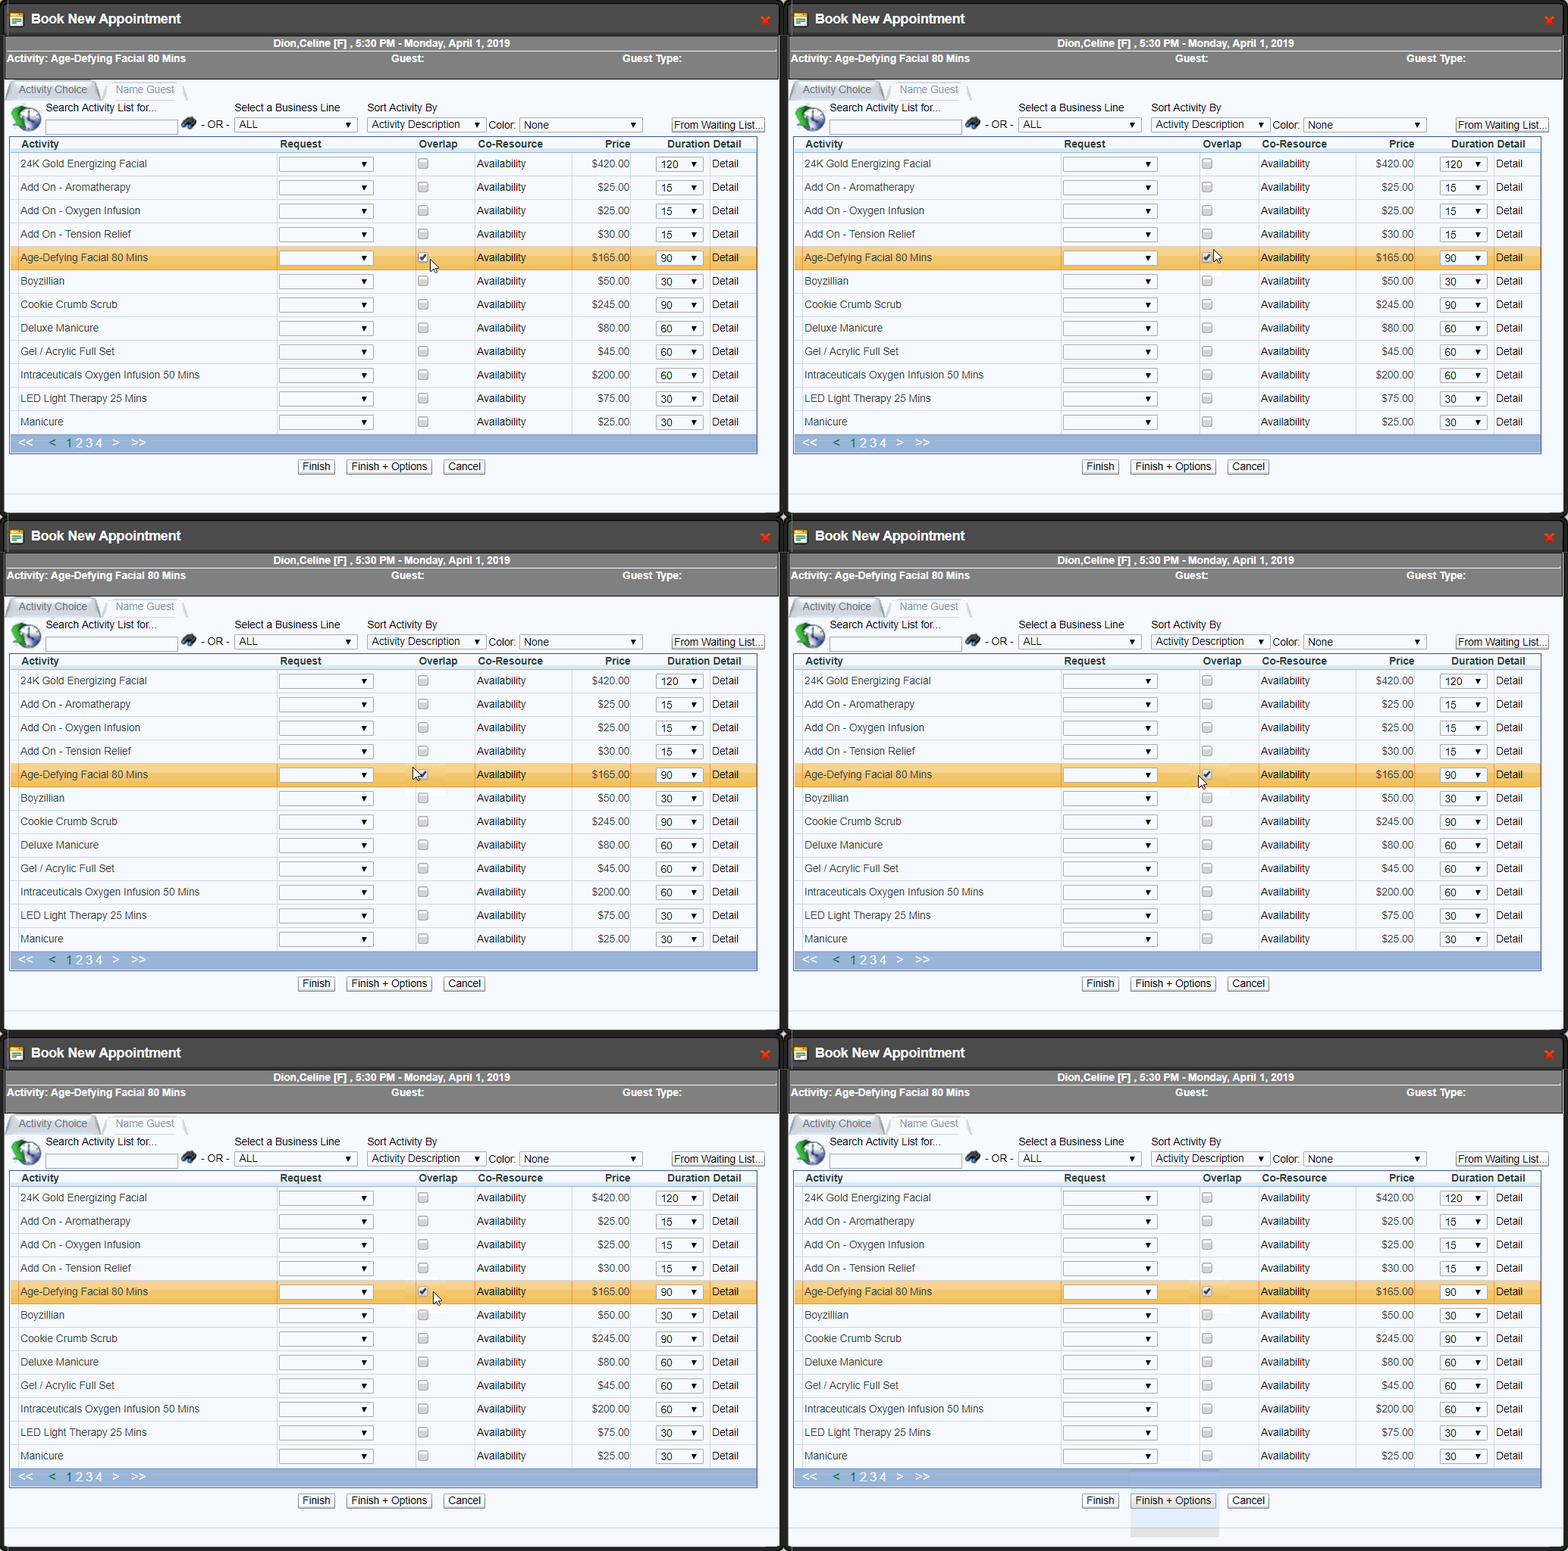
Select the "Overlap" checkbox if you wish to overlap this appointment with another appointment. You can overlap appointments as many times as you need.
NOTE: ALL appointments that you wish to overlap must have "Overlap" selected
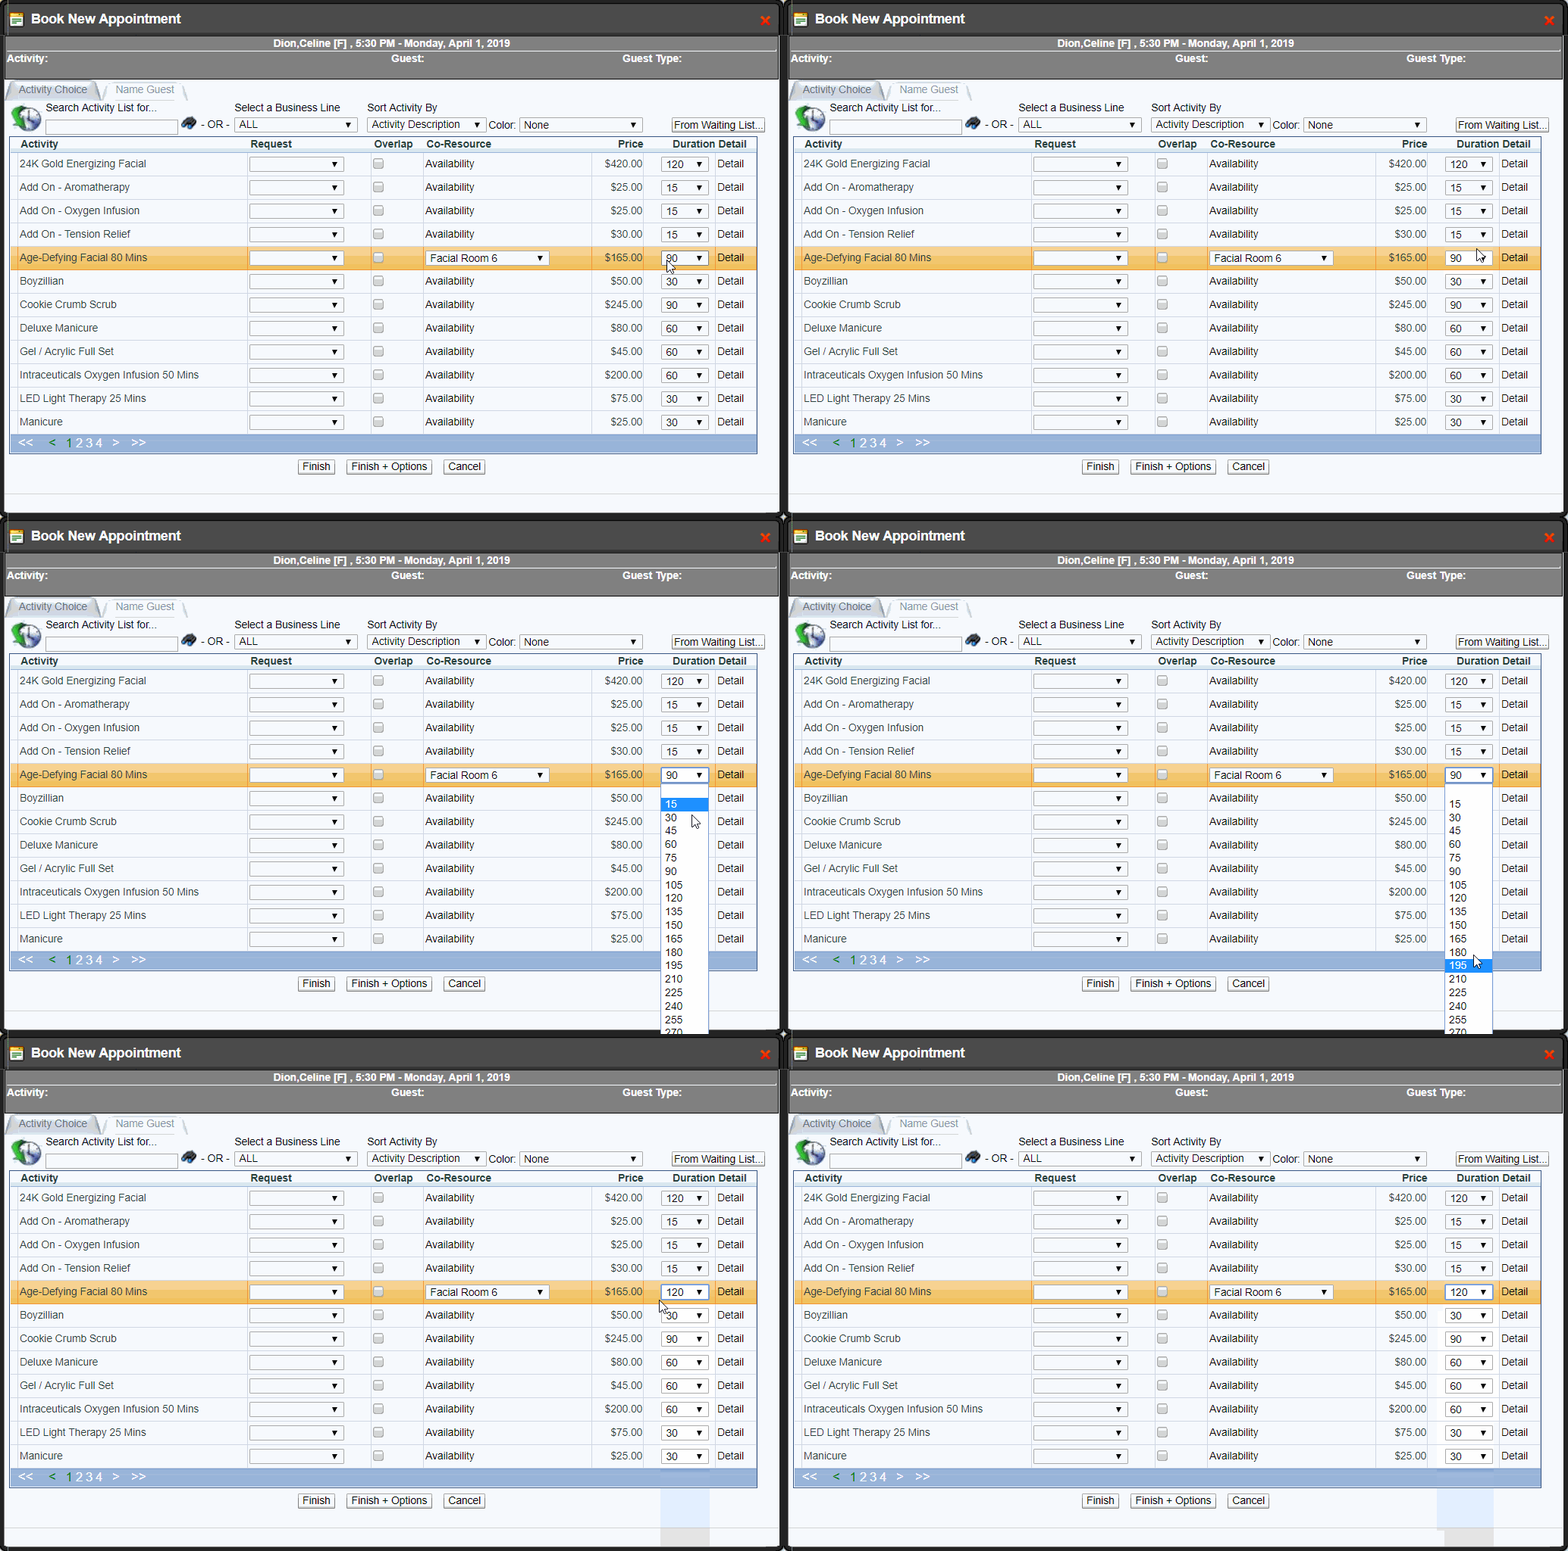
Co Resource is any other required Resource other than the one you are booking under. For example, if you are booking under a Provider, the Co-Resource would be a Facility. The system automatically assigns a Co-Resource based on availability and priority.
If you wish to specify the Co-Resource, select an available Resource from the drop-down list.

Edit duration
You can edit the configured Activity duration by selecting a new duration from the drop-down list.
NOTE: This will not change the price, you will need to adjust manually after booking
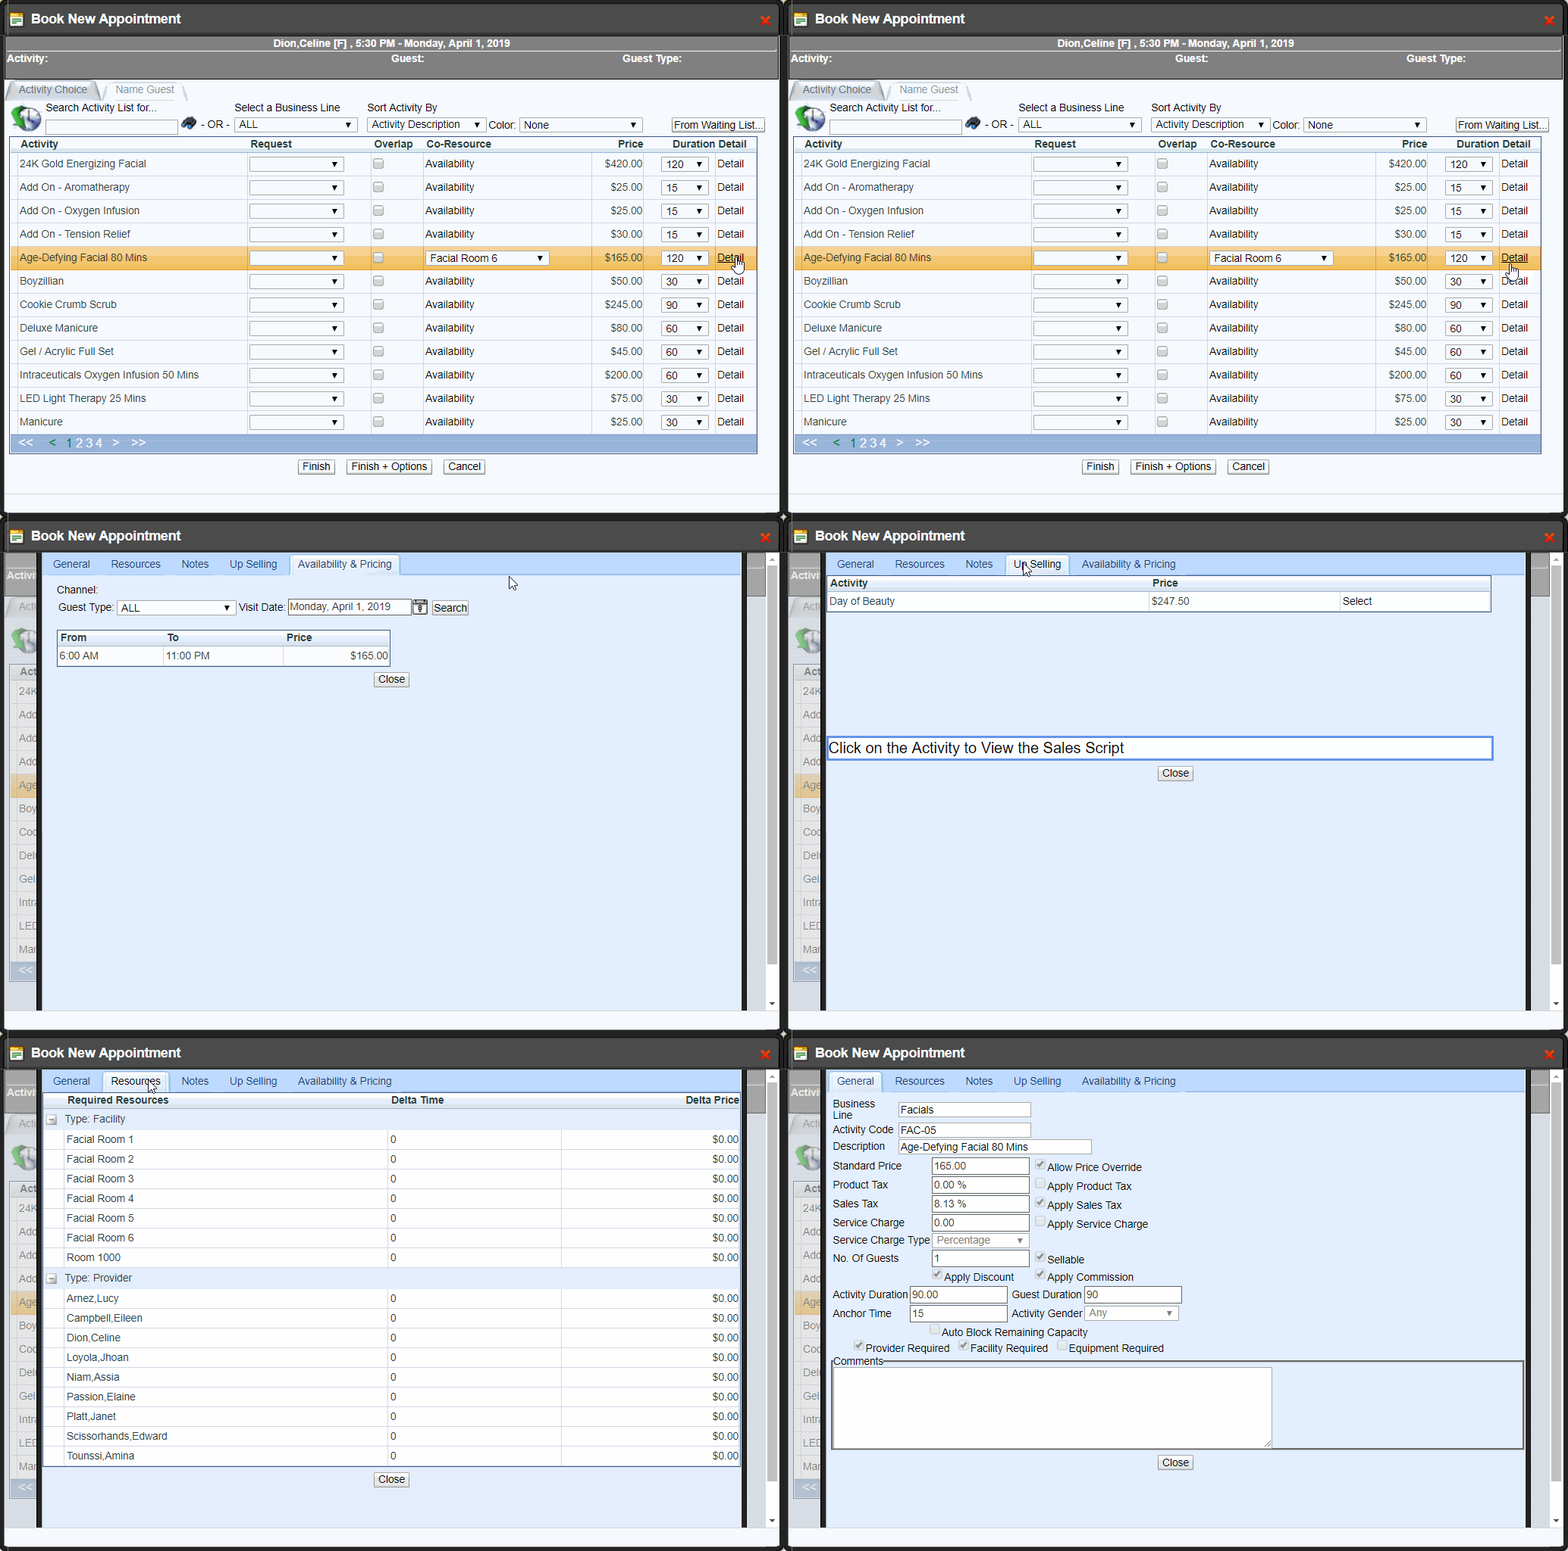
View Activity Details
Select "Details" to view the Activity detail configurations.
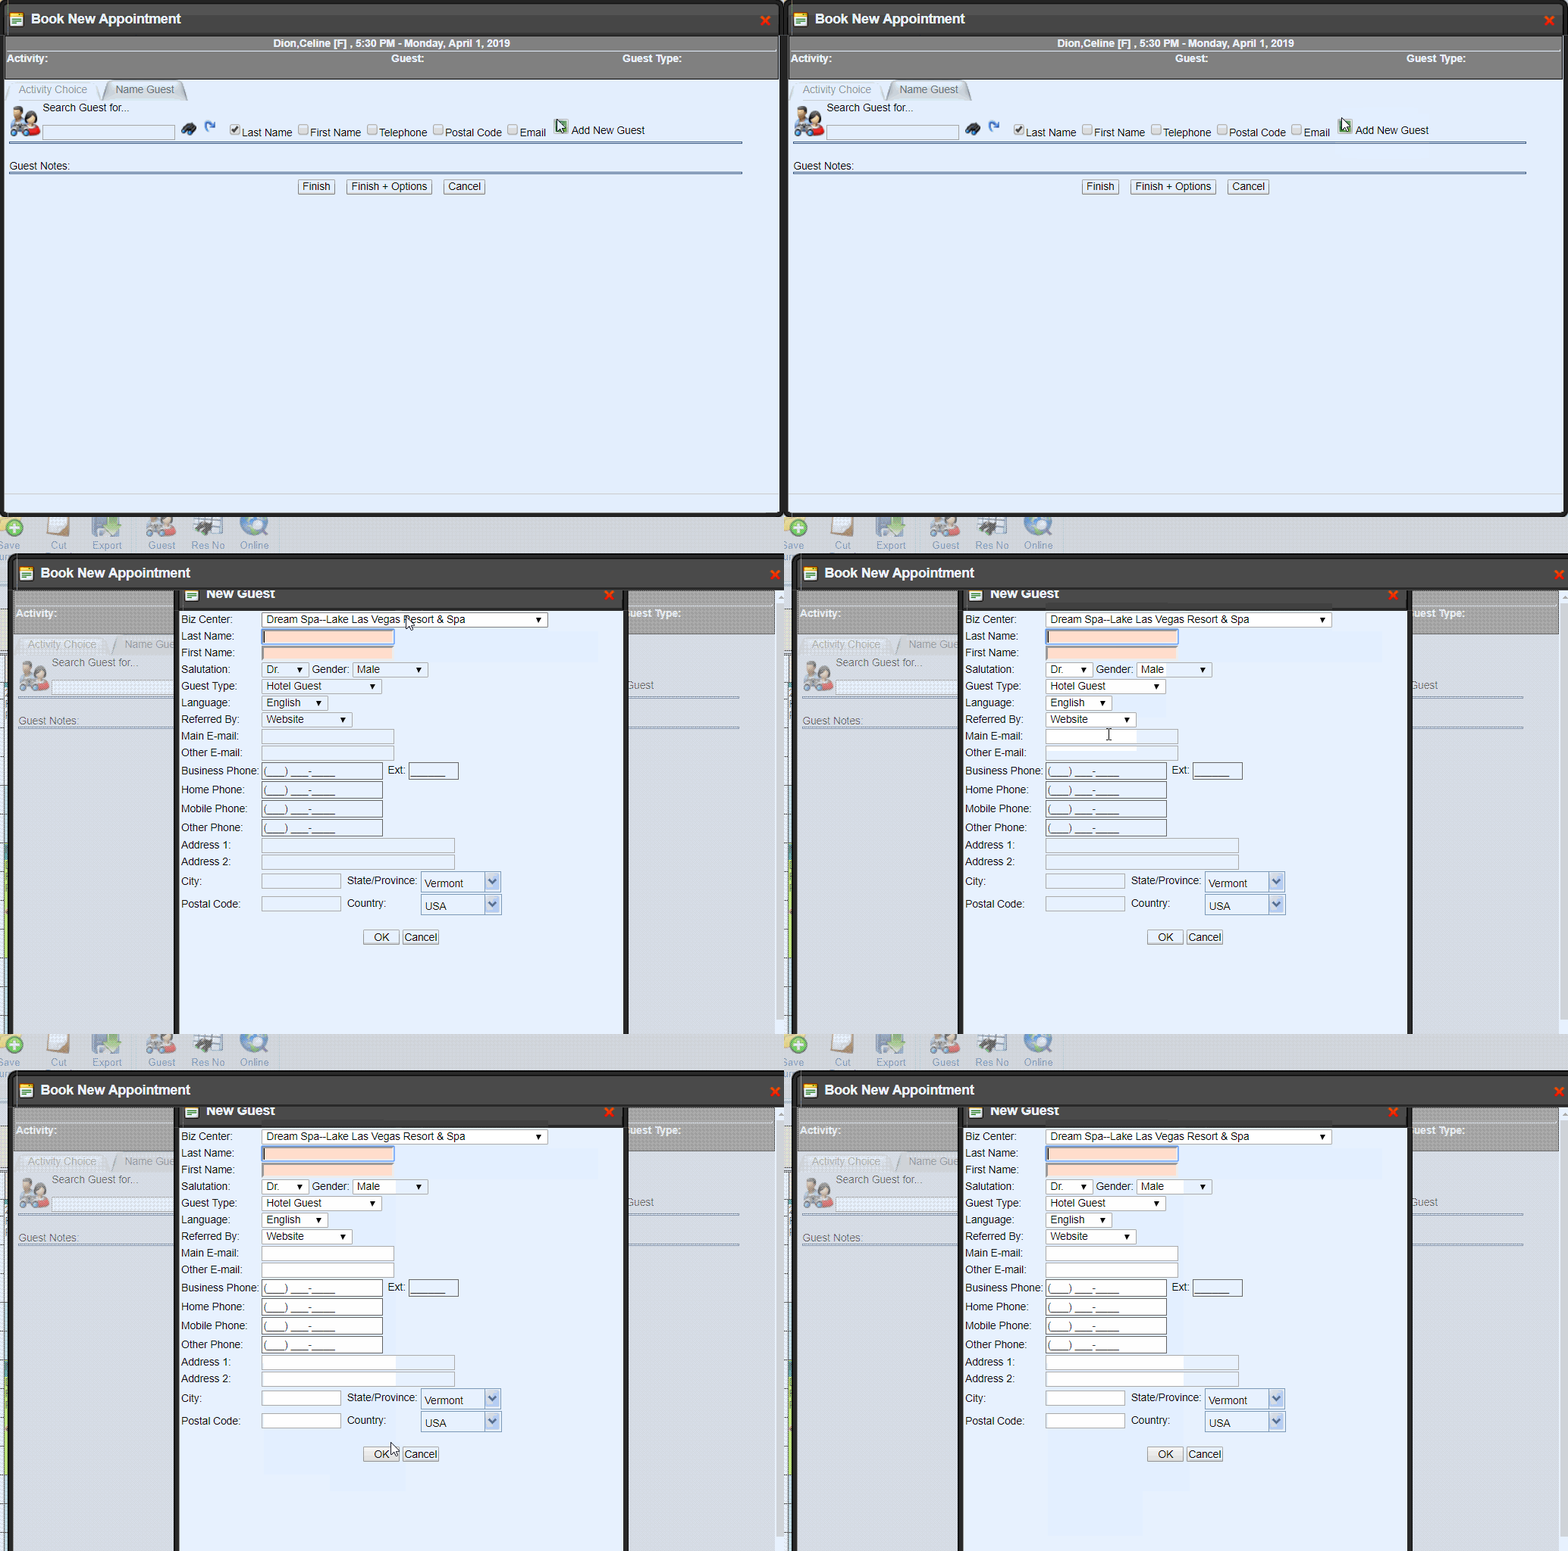
Add a New Guest
If the Guest you are booking is not in the system yet, select "Add a New Guest." The form will be similar to adding a new Guest within the Guest Management Module.
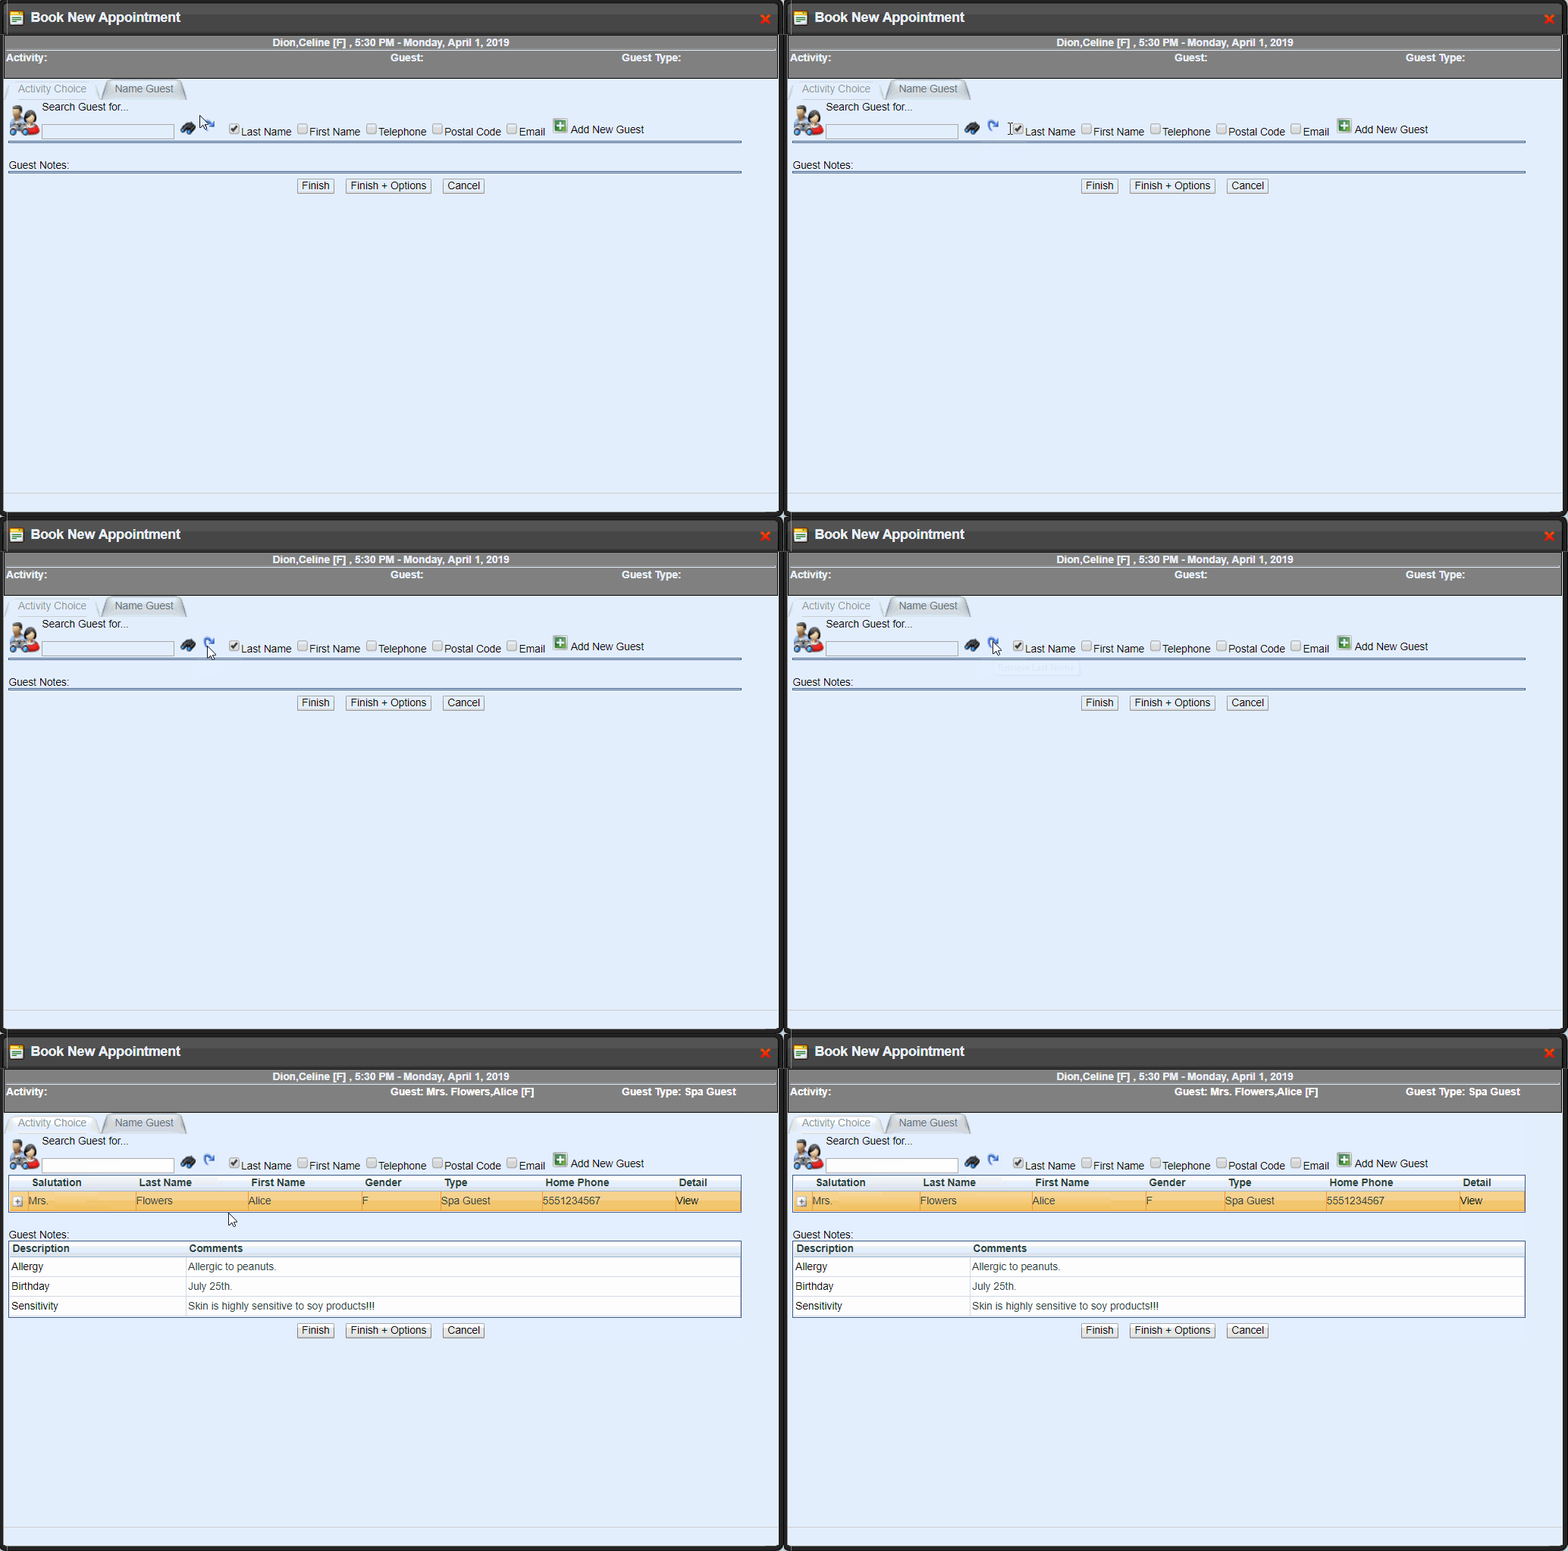
Blue Arrow
This option allows you to quickly retrieve last guest booked. This is a handy tool to use when you're booking back to back appointments for the same Guest, and will assign the same Reservation number as previous appointment.
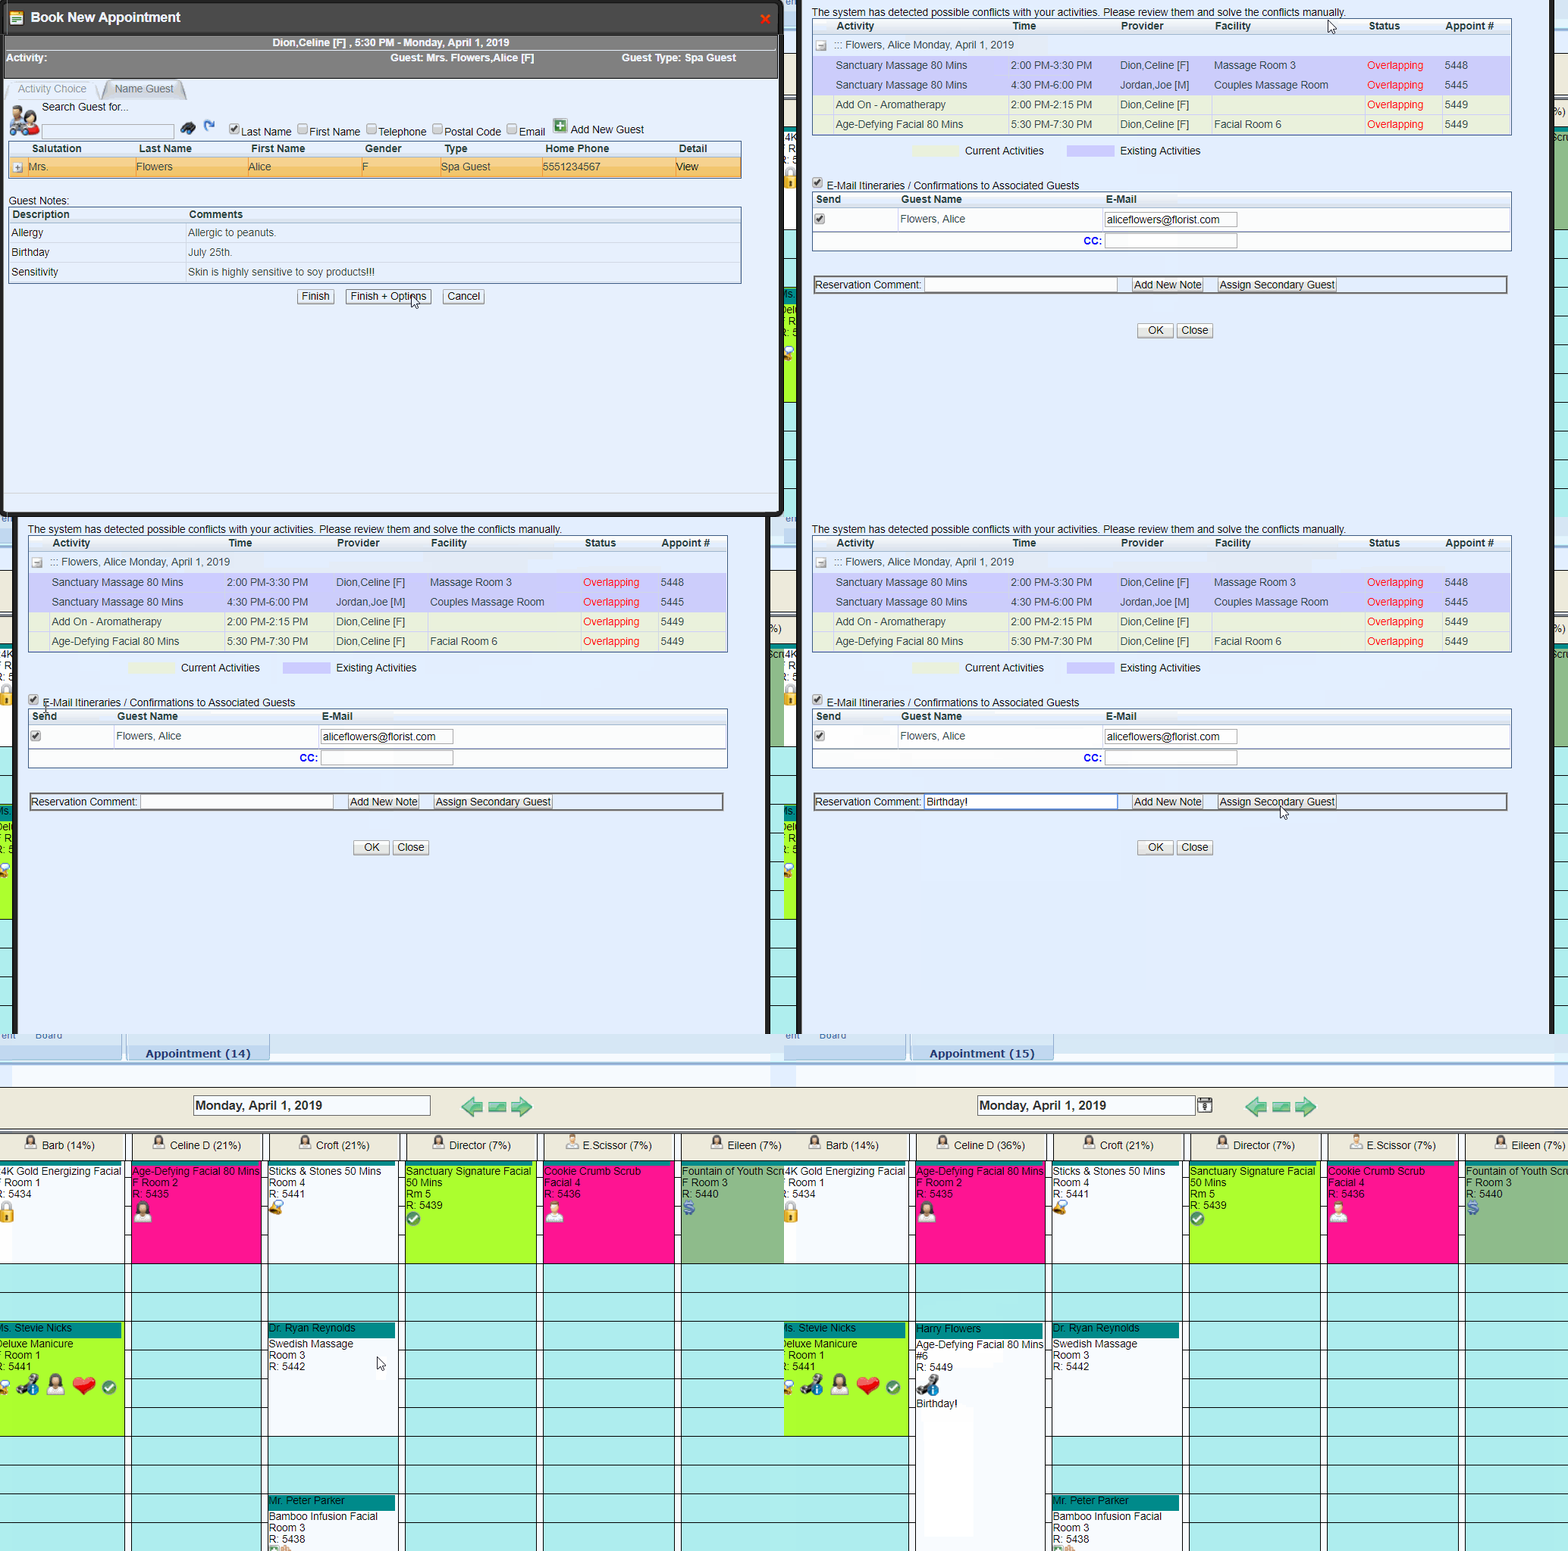
Finish + Options
Here you can view any conflicting appointments, send an Itinerary, add a comment, add a note, or Assign a Secondary Guest. Assigning a Secondary Guest will simply change the name on the physical appointment slot but keep the appointment record under the Primary Guest.
Comments are different than Notes in that they appear on the physical appointment slot.
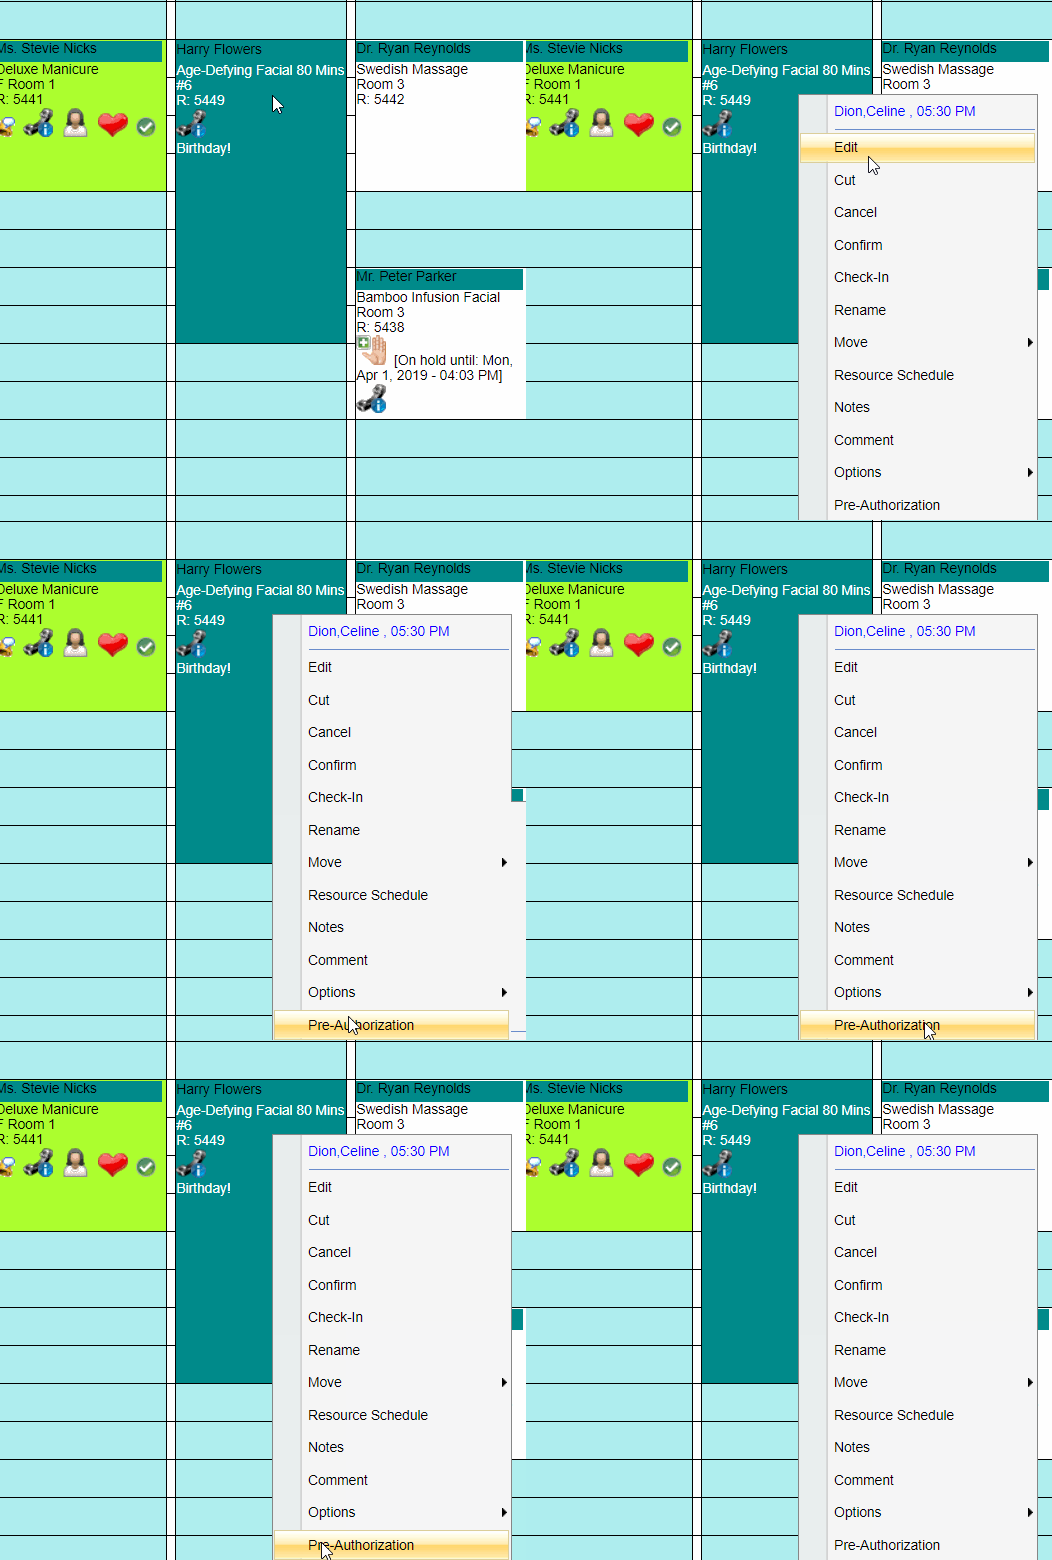
You can attach a card to a single appointment so that once you tender payment for it, that card is gone forever OR you can store the card on file for future use.
NOTE: You must be registered to a POS terminal to complete this process
To Add a card on File
Step 1:
Double click appointment & select Pre-Authorization
Step 2:
Select "Auth New Card"
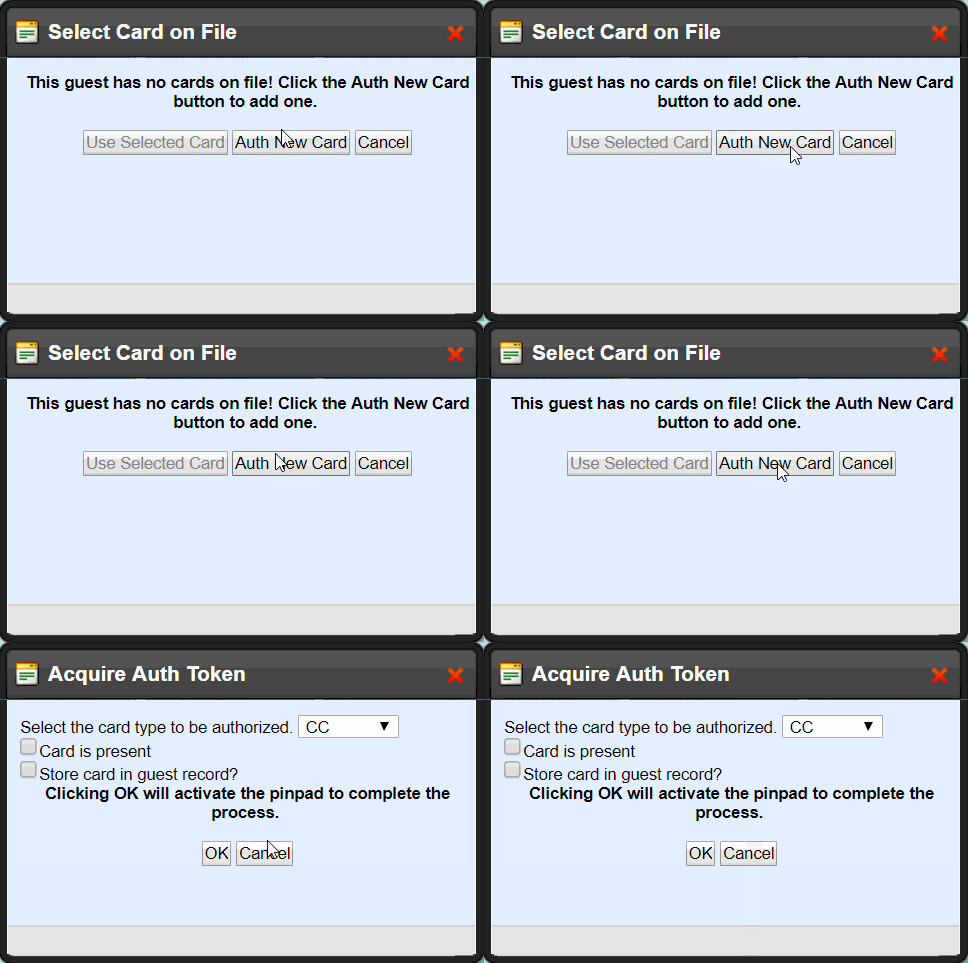
Step 3:
Select the type of credit card from the drop down list
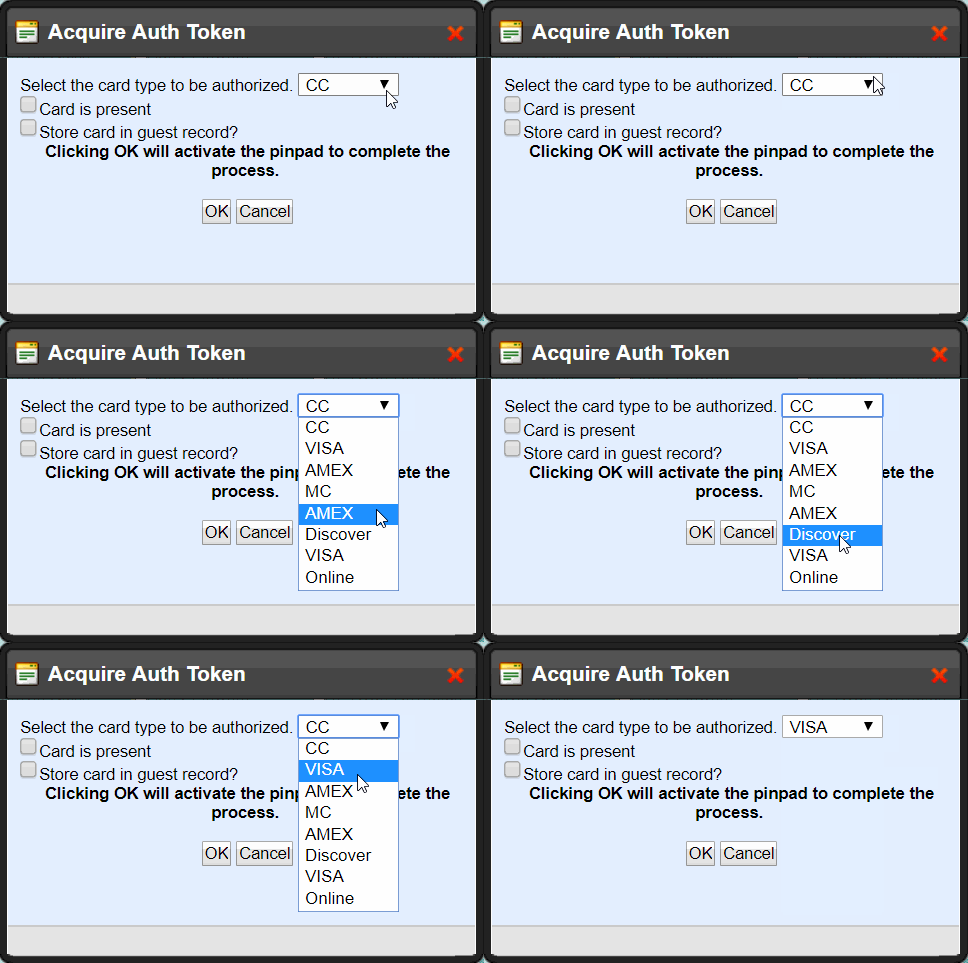
Step 4:
Select “Card is present” if the physical card can be swiped with the credit card reader - leave the box blank if the card needs to be manually typed in using a pin pad
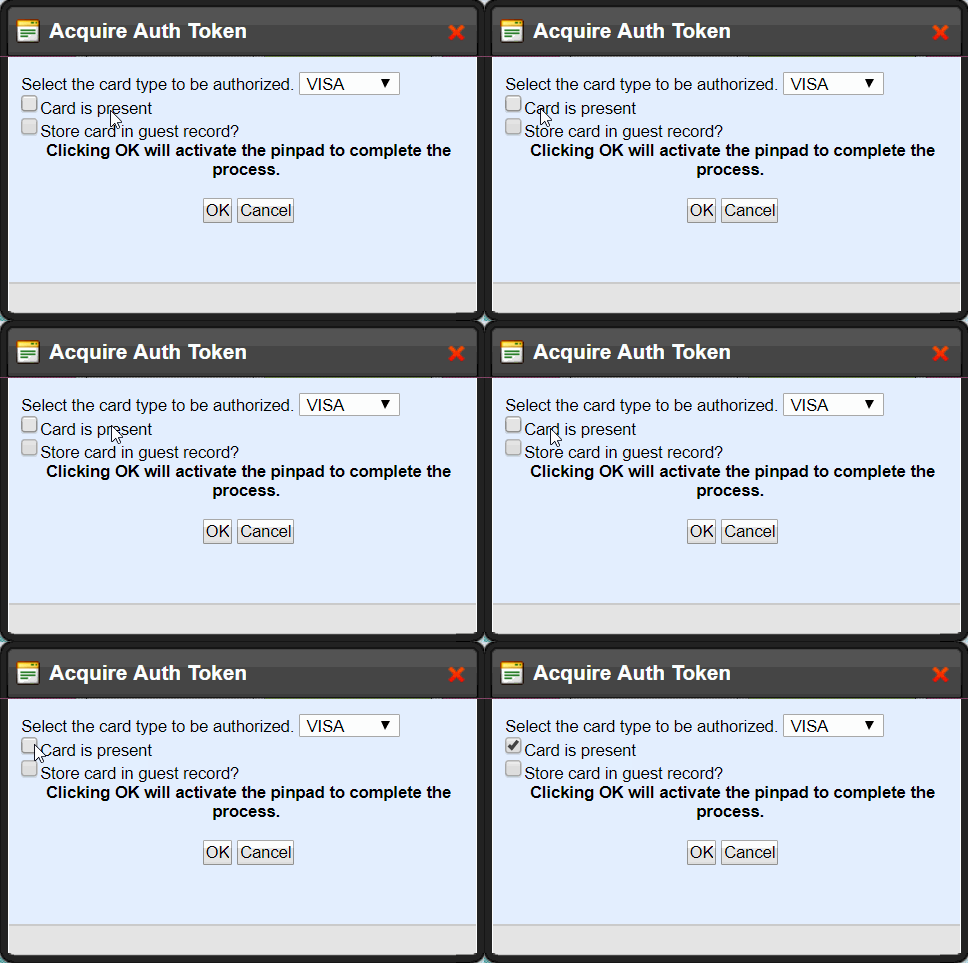
Step 5:
Select “Store card in guest record” if the Guest would like to store it for future use - leave the box blank if you only want to attach it to this appointment
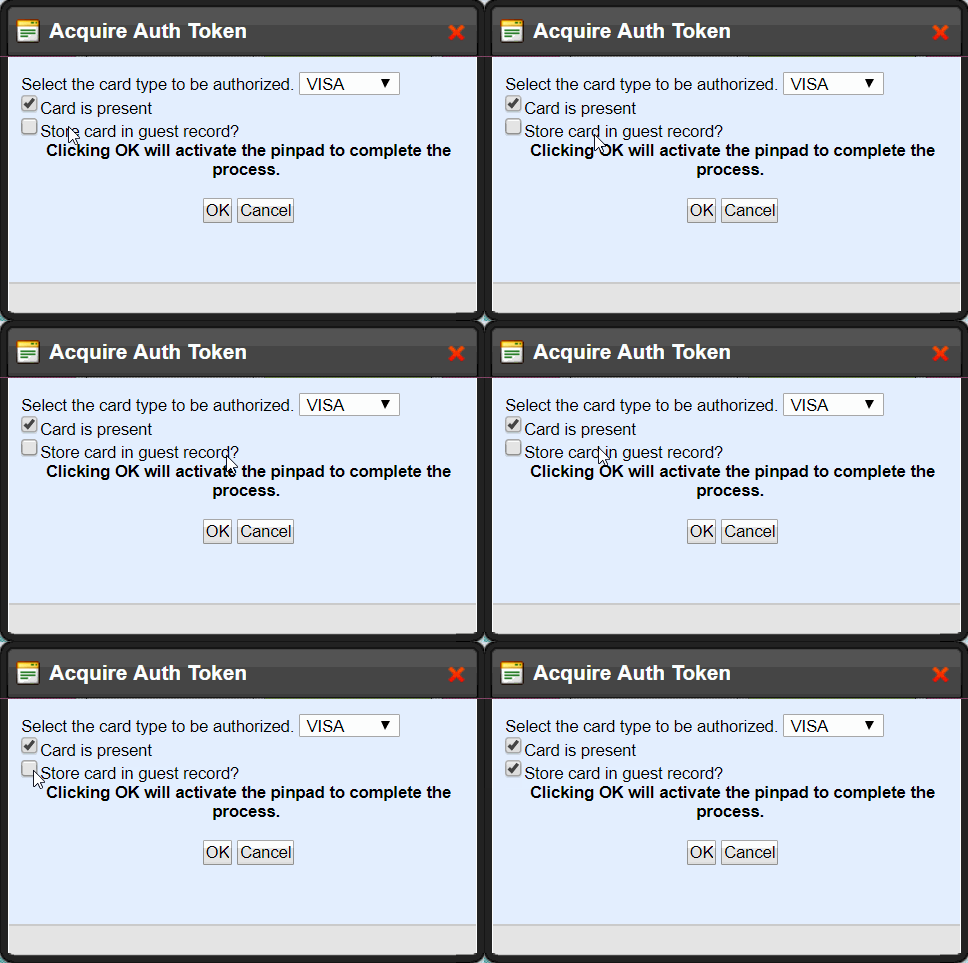
Step 6:
Select "OK"
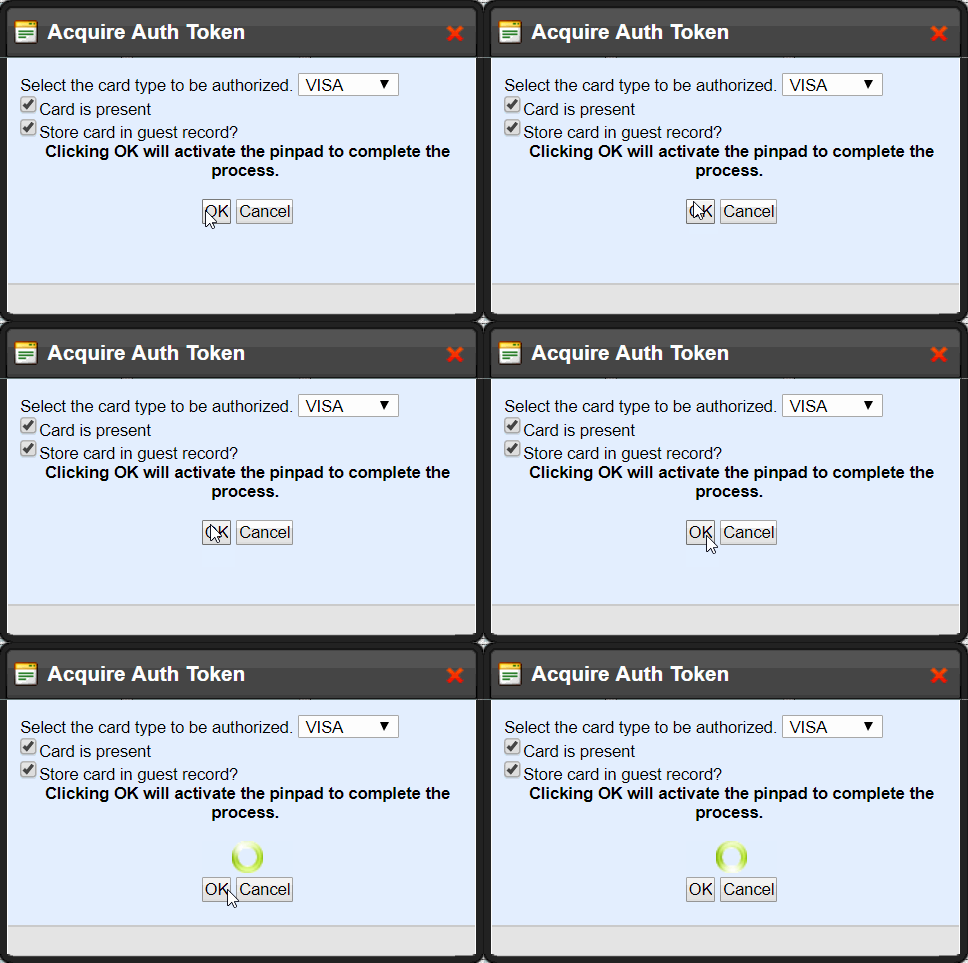
Step 7:
Wait for the success message - you added a card on file!

Credit Card Icon
Indicates that there is a card attached to this appointment

Storing Cards for Future Use
Cards are stored using our secure Payment Safe that saves them as encrypted tokens.
To add a card of file from stored cards, simply select the card you wish to use from the available list of card tokens.
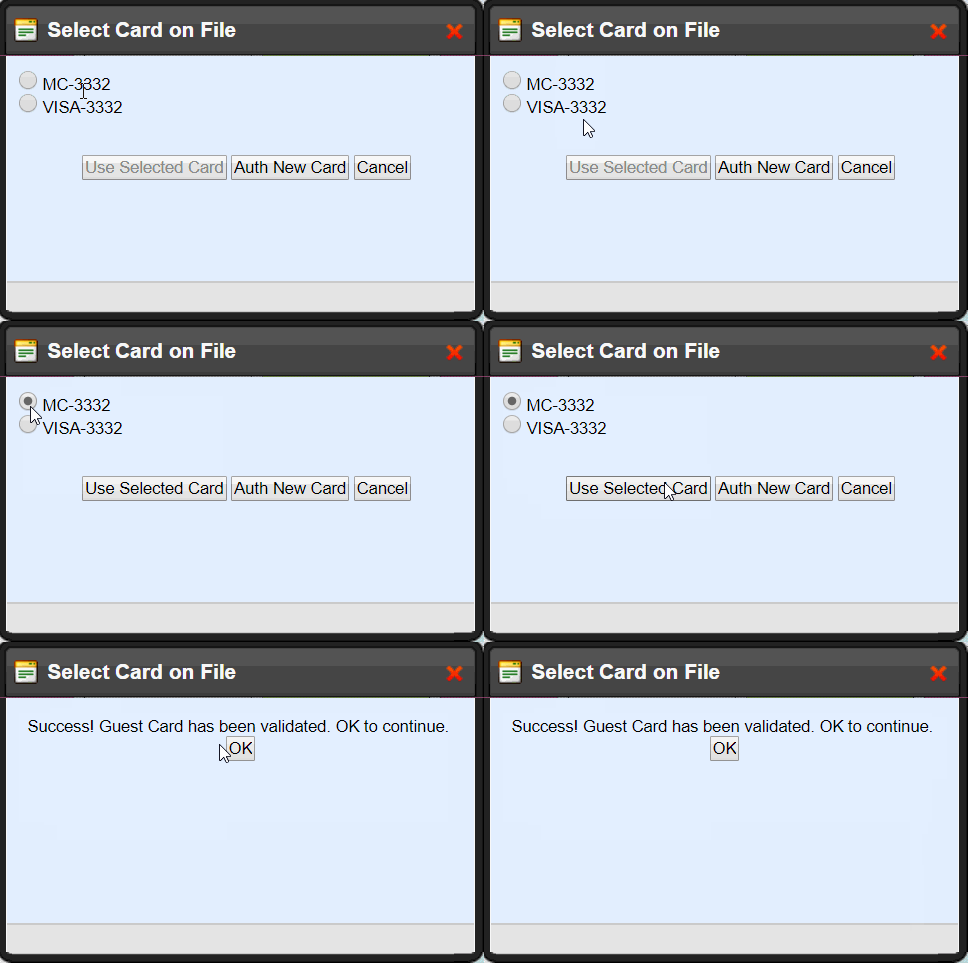
NOTE: Must be processing payment through an authorized payment processor that is authorized by SkyWire. For your safety we do not store credit card information in plain sight, we store them as encrypted tokens which you can then use to process payment.
When the system encounters any type of conflict while booking, it will generate an error message categorized as:
PROVIDER NOT AVAILABLE

FACILITY NOT AVAILABLE

EQUIPMENT NOT AVAILABLE or

INVALID TIME – ACTIVITY CONTAINS ANCHOR TIME

When you hover your cursor over the Error Message, a more detailed description of what is causing the error will appear. This allows you to provide a resolution and corrective action to whatever the issue might be.
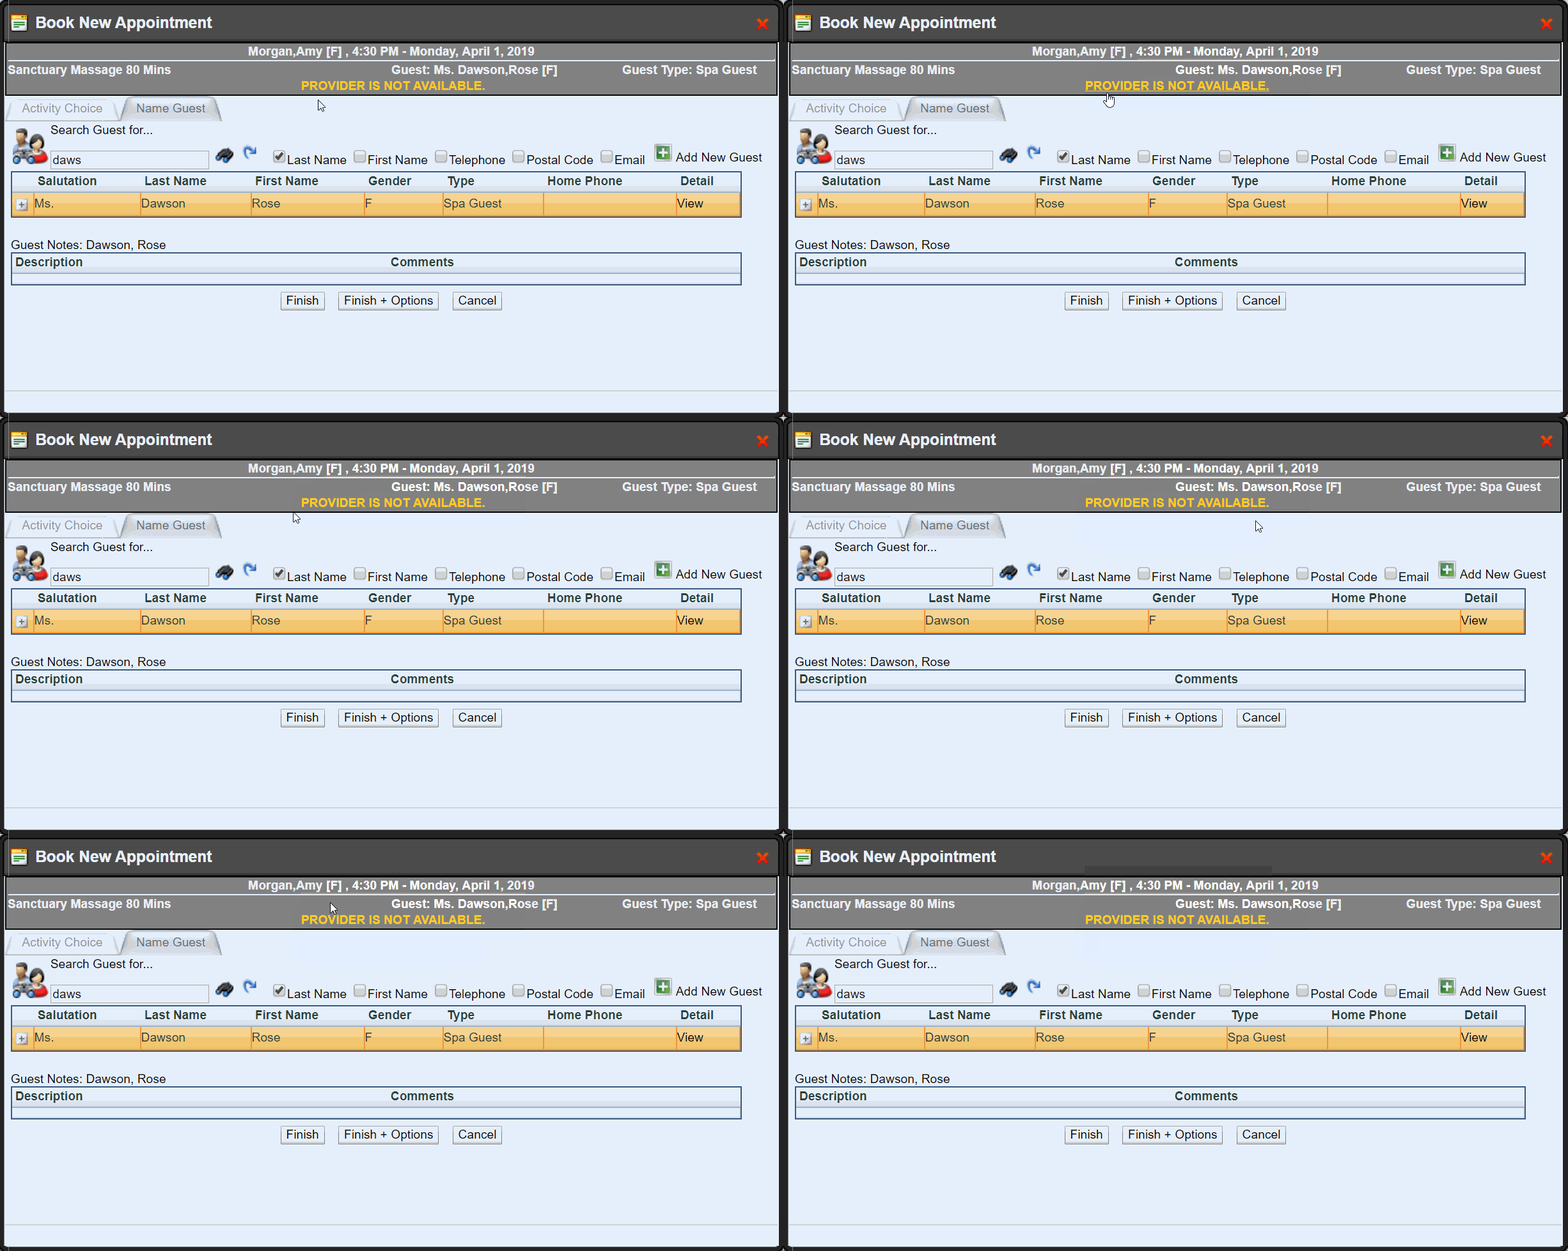
All of the following can lead to conflicting instances where error messages will be displayed:
- Unscheduled Resources
- Resources that are already booked
- Packages containing activities that can’t be booked
- Activities configured to require or not require specific Resources
- Activities configured or not configured for dynamic availability
- Activity Anchor Times
- Activity / Resource gender requirements
- Guest preferences at the time of booking
- Facility occupancy rates
- Resource availability based on time of week
- Any combination of any of the factors above
